
The Hidden Thermal Dangers of Custom Workstations
Building a custom workstation is a rite of passage for electronics hobbyists and professionals alike. However, a soldering stand DIY project introduces severe thermal variables that are frequently overlooked. Standard soldering stations, such as the Hakko FX-888D or the Weller WE1010NA, operate at tip temperatures ranging from 300°C to 450°C (572°F to 842°F). When designing a custom cradle or holder, material compatibility is not just a matter of structural integrity; it is a critical safety concern involving thermal degradation, toxic off-gassing, and fire hazards.
This guide provides a deep-dive material compatibility analysis for DIY soldering stands, ensuring your custom build survives the extreme thermal environment of a 2026 modern electronics workbench.
Thermal Thresholds of Common DIY Materials
Before cutting, printing, or machining, you must understand the thermal limits of your chosen materials. The table below compares standard DIY materials against the operational temperatures of a resting soldering iron.
| Material | Melting / Ignition Point | Max Continuous Use Temp | Verdict for DIY Stand |
|---|---|---|---|
| PLA (3D Printed) | ~180°C / 356°F | 55°C / 131°F | Never Use: Will melt and deform rapidly. |
| PETG (3D Printed) | ~230°C / 446°F | 75°C / 167°F | High Risk: Prone to thermal creep from radiant heat. |
| ABS (3D Printed) | ~240°C / 464°F | 95°C / 203°F | Marginal: Requires heavy shielding and air gaps. |
| Polycarbonate (PC) | ~267°C / 512°F | 115°C / 239°F | Good: Safe for outer housings, not direct contact. |
| PA6-CF (Nylon Carbon Fiber) | ~285°C / 545°F | 180°C / 356°F | Excellent: Ideal for direct-contact 3D printed cradles. |
| Brass (Alloy 260) | ~900°C / 1652°F | 400°C / 752°F | Ideal: Best for inner sleeves and direct iron contact. |
| Wood (Oak / Pine) | ~250°C+ (Ignition) | 150°C / 302°F | Conditional: Safe only with metal inserts/air gaps. |
Deep Dive: 3D Printed Materials and Thermal Creep
The accessibility of desktop 3D printing makes it the most popular method for fabricating custom soldering stands. However, the most common filament, PLA, is entirely unsuitable. Even if the soldering iron does not touch the PLA directly, the radiant heat from the metal sleeve or the iron's heating element will cause the plastic to undergo thermal creep—a slow, permanent deformation under mechanical stress at elevated temperatures.
According to the comprehensive MatterHackers Filament Guide, the glass transition temperature (the point at which a polymer becomes soft and rubbery) of standard PETG is around 80°C. A soldering iron resting in a PETG cradle will easily radiate enough heat to push the local ambient temperature past this threshold, causing the cradle to warp and potentially drop the hot iron onto your workbench.
The High-Temperature Filament Solution
If you must 3D print the direct-contact cradle, you need engineering-grade filaments. Polymaker PolyMide PA6-CF (Carbon Fiber reinforced Nylon 6) offers a heat deflection temperature of up to 180°C. For the outer housing and base, Polycarbonate (PC) or ABS is acceptable, provided there is a minimum 15mm air gap between the inner metal cradle and the outer plastic walls.
Wood, Organics, and the Pyrolysis Trap
Wood is a classic choice for DIY electronics enclosures and stands due to its aesthetic appeal and ease of CNC routing or laser cutting. However, wood does not simply 'burn' when exposed to high heat; it undergoes a chemical process called pyrolysis.
Research from the USDA Forest Products Laboratory indicates that wood begins to chemically degrade, lose structural integrity, and release flammable volatile organic compounds (VOCs) at temperatures as low as 150°C when exposed continuously. A 400°C soldering iron resting in a directly routed wooden groove will slowly carbonize the wood. This char layer acts as an insulator, trapping heat and eventually leading to deep-seated ember formation and ignition.
Expert Rule of Thumb: Never allow a soldering iron or its direct metal cradle to touch bare wood. Always use a brass or stainless steel insert sleeve, and ensure the insert is mechanically fastened rather than glued, as standard wood glues (like PVA or aliphatic resins) degrade and fail at 80°C.
Metals and the Thermal Bridging Problem
Metals like aluminum and steel will not melt or catch fire under a soldering iron, but they introduce a different hazard: thermal bridging. Aluminum has a high thermal conductivity (approx. 205 W/m·K). If you machine a solid aluminum cradle and bolt it directly to an aluminum or steel baseplate, the heat from the iron will rapidly transfer through the stand and into your workbench surface. This can scorch wooden desks, melt anti-static ESD mats, or damage underlying components.
Designing the Thermal Break
To prevent thermal bridging, your DIY stand must incorporate a thermal break between the cradle and the base.
- PTFE (Teflon) Standoffs: Use PTFE washers or standoffs between the metal cradle and the baseplate. PTFE has a very low thermal conductivity and can withstand continuous temperatures up to 260°C.
- High-Temp Silicone Grommets: Route the mounting bolts through high-temp silicone grommets (rated for 300°C) to prevent the steel bolts from acting as heat pipes.
- Mass Reduction: Mill out the underside of the cradle to reduce its overall thermal mass, forcing the heat to dissipate into the air rather than conducting downward.
Step-by-Step: Building a Thermally Safe Brass Cradle
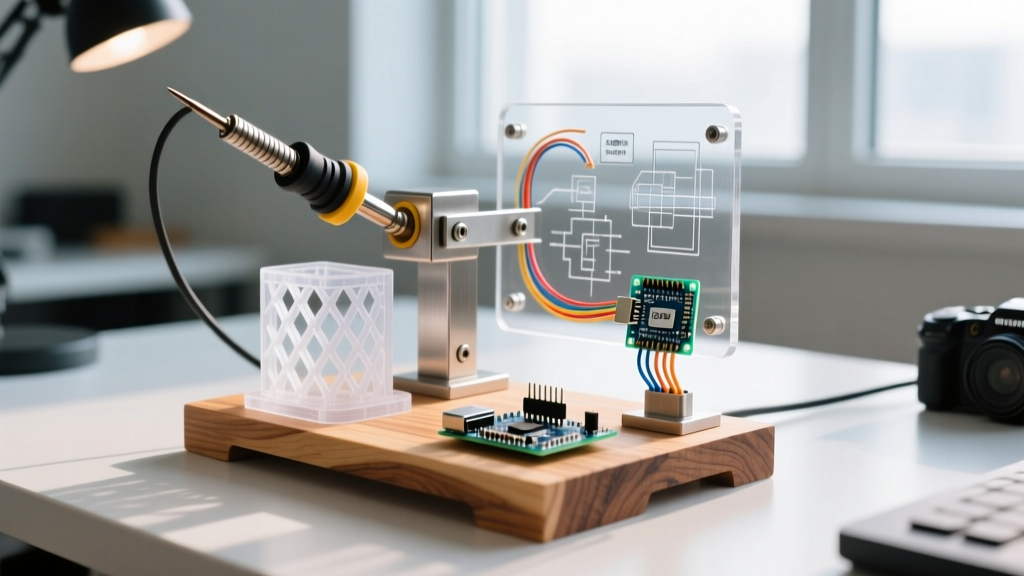
The most reliable and cost-effective design for a soldering stand DIY project is the 'Air-Gap Brass Tube' method. This design costs less than $15 in raw materials and provides absolute thermal safety.
- Procure the Core: Purchase a 300mm length of 10mm Outer Diameter (OD) / 8mm Inner Diameter (ID) brass tubing. Brass is preferred over aluminum because it has lower thermal conductivity and higher thermal mass, absorbing the iron's heat without rapidly transferring it.
- Design the Housing: Whether 3D printing or CNC routing the housing, design a U-shaped channel that is 14mm wide. This leaves a 2mm air gap on all sides of the 10mm brass tube.
- Secure the Tube: Do not use superglue or standard epoxy, which will off-gas toxic fumes when heated. Instead, secure the brass tube at the extreme ends of the housing using Permatex 81422 High-Temp Red RTV Silicone, which is rated for intermittent temperatures up to 343°C (650°F).
- Add a Cleaning Sponge Reservoir: If integrating a brass sponge holder, ensure the brass sponge itself sits on a silicone pad, not directly on a 3D-printed plastic floor. The conductive heat from the wet sponge and iron tip will easily melt a PLA or PETG base.
- ESD Grounding: While the IPC (Association Connecting Electronics Industries) standards primarily govern solder joint acceptability and assembly, maintaining an ESD-safe environment is critical when handling sensitive microcontrollers. Ensure your metal baseplate is connected to your workstation's ESD ground point via a 1MΩ resistor to safely dissipate static charges without creating a shock hazard.
Common Failure Modes and Edge Cases
Even with the right materials, poor design choices can lead to catastrophic failure. Watch out for these specific edge cases:
- The 'Flux Drip' Degradation: Aggressive fluxes (like Rosin-Activated or water-soluble organic acids) are highly corrosive when heated. If your DIY stand lacks a drip tray, flux will accumulate on the baseplate or 3D-printed housing, slowly degrading the material and creating a sticky, conductive residue that can short out PCBs placed nearby.
- Silicone Outgassing: Not all silicones are created equal. Standard hardware store silicone sealants release acetic acid as they cure and can continue to off-gas when heated, which corrodes bare copper and silver contacts. Always use electronics-grade, neutral-cure RTV silicone for any high-temp bonding.
- The Spring-Loaded Trap: Many DIYers attempt to use standard steel compression springs to create a 'pop-up' mechanism for the iron. Standard music wire springs lose their temper (heat treatment) and become brittle or permanently deformed when exposed to the 300°C+ radiant heat of a resting iron. Use Inconel or high-temp stainless steel springs if a mechanical return is required.
Conclusion
A successful soldering stand DIY build requires thinking beyond simple geometry and aesthetics. By respecting the thermal limits of your materials, utilizing brass inserts with air gaps, and avoiding the pyrolysis traps of bare wood and the thermal creep of basic 3D printing filaments, you can build a custom workstation that is as safe as it is functional. Always prioritize thermal isolation and ESD safety to protect both your workbench and the sensitive electronics you are assembling.