
The Economics of Soldering Repair in 2026
As the global Right to Repair movement gains legislative momentum, consumers and hobbyists are increasingly faced with a critical financial decision: should you attempt a DIY soldering repair or hand your device over to a professional service center? With the cost of consumer electronics rising and manufacturers continuing to restrict access to proprietary schematics, understanding the true cost analysis of board-level repair is essential. According to the iFixit Right to Repair coalition, repairing a device can save consumers up to 70% compared to replacement, but the initial barrier to entry for micro-soldering can be steep.
This guide provides a comprehensive cost breakdown comparing professional bench fees against DIY tooling investments, analyzing specific repair scenarios, and evaluating the hidden financial risks of botched rework.
Breakdown of Professional Soldering Repair Costs
When you send a damaged printed circuit board (PCB) to a professional repair shop, you are not just paying for the physical solder and flux. You are paying for diagnostic time, specialized micro-soldering equipment, and the technician's expertise in thermal profiling. Based on 2026 industry averages and data from the U.S. Bureau of Labor Statistics regarding electronics repair technicians, professional labor rates generally range from $85 to $150 per hour.
Standard Professional Fee Structure
- Diagnostic Fee: $50 to $125 (Often waived if you proceed with the repair).
- Minimum Bench Fee: $95 to $150 (Covers the first hour of labor and basic setup).
- Micro-Soldering Premium: +$50 to $100 (Applied for work under a microscope requiring hot air rework or BGA stenciling).
- Consumables Surcharge: $10 to $30 (For specialized lead-free solder pastes, UV curable masks, and premium fluxes).
The DIY Soldering Repair Investment: Tooling Tiers
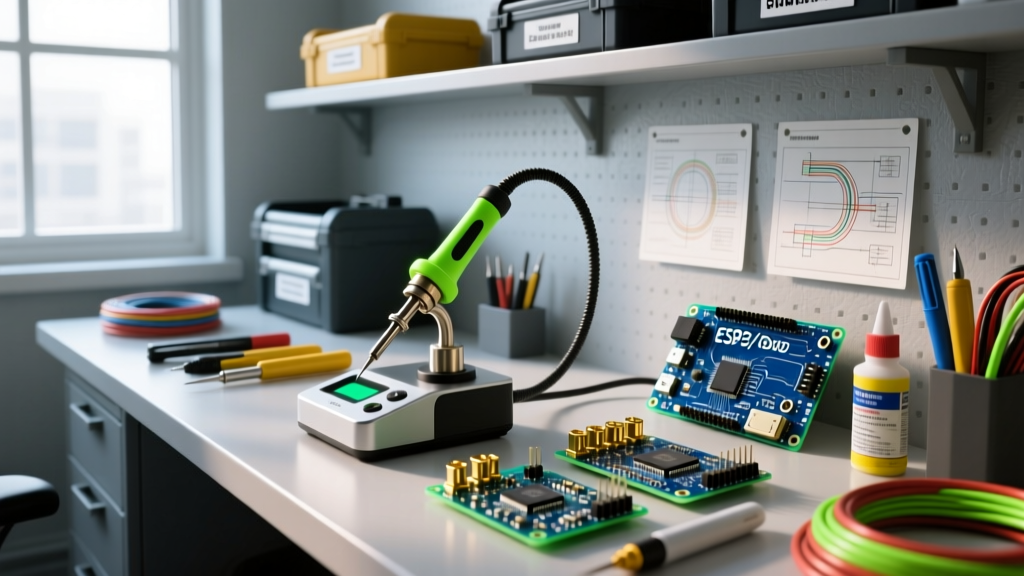
Building a personal soldering repair station requires upfront capital, but the cost per repair drops to mere pennies once the equipment is acquired. To accurately analyze the ROI, we must categorize DIY setups into three distinct tiers based on the complexity of the intended repairs.
| Setup Tier | Primary Iron / Station | Avg. Cost (2026) | Best Use Case |
|---|---|---|---|
| Tier 1: Hobbyist | Pine64 Pinecil V2 | $26 - $45 | Through-hole components, basic wire splicing, simple capacitor swaps. |
| Tier 2: Prosumer | Hakko FX-888D Digital | $110 - $135 | SMD resistors, SOIC chips, general consumer appliance PCB repair. |
| Tier 3: Micro-Soldering | JBC CD-2BQF + Quick 861DW | $850 - $1,100 | BGA rework, HDMI port replacements, trace jumping, smartphone logic boards. |
The Hidden Costs: Consumables and Ancillary Tools
A common mistake in DIY cost analysis is budgeting only for the soldering iron. A functional repair bench requires a suite of ancillary tools. For a Tier 2 Prosumer setup, expect to allocate an additional $120 to $180 for the following essentials:
- Solder Wire: Kester 245 (63/37 Leaded, 0.031") - $28 per spool. Leaded solder remains the gold standard for DIY repair due to its lower melting point (183°C) and superior wetting characteristics compared to SAC305 lead-free alternatives.
- Flux: Amtech NC-559-V2-TF (Tacky Flux) - $35 per syringe. Essential for SMD rework to prevent bridging.
- Wicking & Cleanup: Chemtronics Soder-Wick (Rosin) - $25 for a multi-pack, plus 99% Isopropyl Alcohol and lint-free Kimwipes.
- Magnification: A basic Amscope trinocular stereo microscope or a high-quality digital macro lens setup ($150 - $300).
Scenario Analysis: Calculating the Break-Even Point
To determine when DIY soldering repair becomes financially advantageous, let us examine two common real-world scenarios.
Scenario A: Blown Capacitor on an Audio Amplifier Board
The Problem: A vintage receiver has a bulged 4700µF electrolytic capacitor on the power supply rail.
Professional Route: The shop charges a $75 diagnostic fee and a $95 minimum bench fee. Total: $170.
DIY Route: Using a Pinecil V2 ($35) and a replacement Panasonic FM series capacitor ($4). Total time: 15 minutes. Total cost: $39.
Verdict: The DIY approach pays for the entire Tier 1 tool setup on the very first repair.
Scenario B: Laptop HDMI Port Replacement (Micro-Soldering)
The Problem: The plastic tongue inside the HDMI port is broken, requiring desoldering the 19-pin shield and signal pads from a multilayer motherboard.
Professional Route: Specialized micro-soldering shops charge between $200 and $350 for this procedure due to the high risk of thermal damage to adjacent BGA chips.
DIY Route: This requires hot air rework (Quick 861DW at $230), a JBC iron ($550), Kapton tape, and high-temp flux. Total setup: $850+.
Verdict: Unless you plan to repair multiple laptops or smartphones, outsourcing this specific repair to a professional is vastly more economical. The ROI on Tier 3 micro-soldering equipment only makes sense if you are performing high-density SMD rework at least twice a month.
Risk Assessment: The Financial Cost of Botched Rework
The most significant variable in the DIY vs. Professional cost analysis is the risk of catastrophic failure. Professional technicians adhere to strict thermal profiles and rework standards, such as those outlined in the EPA's electronics management guidelines and IPC-7711/7721 standards for rework and modification. When a DIY attempt goes wrong, the financial penalties can be severe.
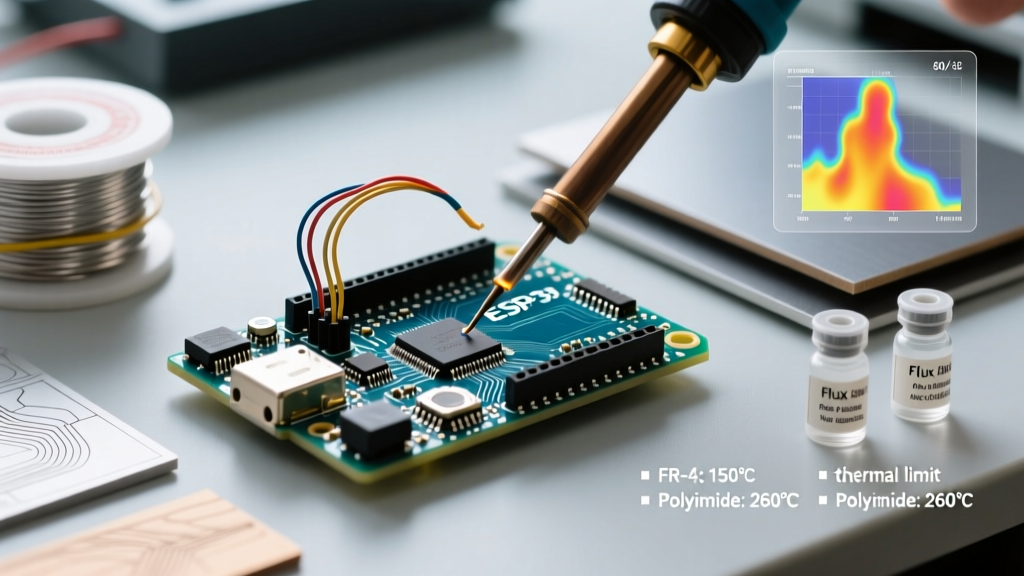
The Lifted Pad Penalty: Applying excessive heat with a low-tier soldering iron can delaminate the copper pads from the fiberglass substrate of a PCB. Repairing a lifted pad requires scraping away the solder mask, exposing the bare copper trace, and securing a jumper wire with UV-curable solder mask. If the trace connects to an inner layer via a micro-via, the board may be permanently destroyed, turning a $150 repair into a $2,000 motherboard replacement.
Common DIY Failure Modes and Their Costs
- Thermal Shock to ICs: Holding a hot iron on an SMD component for more than 3-5 seconds can internally fracture silicon dies or melt internal plastic connectors. Cost: Replacement of the donor IC ($15 - $200).
- Solder Bridging: Using too much solder or insufficient flux on fine-pitch QFP chips causes short circuits. While fixable with desoldering wick, aggressive wicking can rip pads off the board.
- Flux Residue Corrosion: Failing to clean water-soluble or mildly activated rosin fluxes can lead to dendritic growth and short circuits months after the repair is completed.
Final Verdict: Maximizing Your Repair Budget
The decision to pursue DIY soldering repair or hire a professional ultimately hinges on the density of the PCB and your long-term repair volume. For through-hole components, large SMD passives, and basic appliance wiring, a $50 to $150 investment in a Tier 1 or Tier 2 soldering setup yields an immediate and massive return on investment. You bypass the exorbitant minimum bench fees charged by local repair shops and gain a lifelong skill that aligns with sustainable e-waste reduction practices.
However, if your immediate need involves multilayer BGA rework, micro-JBG trace jumping, or smartphone logic board repair, the $1,000+ barrier to entry for safe, reliable Tier 3 micro-soldering tools makes professional services the mathematically sound choice for one-off fixes. Evaluate the component density, assess your thermal management skills, and choose the route that protects both your wallet and your hardware.