
The Hidden Danger of Solderless Connections: Material Mismatch
When field-repairing a harness or upgrading residential wiring, knowing how to connect two wires together without soldering is a critical skill. While soldering provides excellent electrical conductivity, it is often impractical for high-vibration environments, live-field repairs, or specific metallurgical combinations. However, the most common point of failure in solderless connections is not the connector itself, but a fundamental misunderstanding of material compatibility.
Connecting copper to aluminum without the proper barrier leads to galvanic corrosion. Using standard push-in connectors on fine-stranded wire causes strand shearing. As of 2026, the market offers highly specialized solderless solutions, but selecting the wrong one for your specific wire material will result in high-resistance joints, thermal runaway, and eventual fire hazards. This guide breaks down the exact mechanical and chemical requirements for solderless connections based on wire metallurgy.
Material Compatibility Matrix: Connector vs. Wire Type
Before selecting a connector, identify your wire material and stranding. The matrix below outlines the safety and reliability ratings for common solderless methods across different wire profiles.
| Connector Type | Copper (Solid) | Copper (Stranded) | Aluminum (Solid) | Nickel / High-Temp |
|---|---|---|---|---|
| Standard Wire Nuts | Good | Fair | Dangerous (Fails) | Poor |
| Crimp (Heat Shrink) | Excellent | Excellent | Poor (Creep) | Good |
| WAGO 221 (Lever) | Excellent | Excellent | Not Rated | Fair |
| AlumiConn (Set Screw) | Excellent | Fair | Excellent | Poor |
| Conductive Epoxy | Good (Low Amp) | Fair (Low Amp) | Poor | Good (Low Amp) |
Crimp Connectors: The Mechanical Standard for Copper
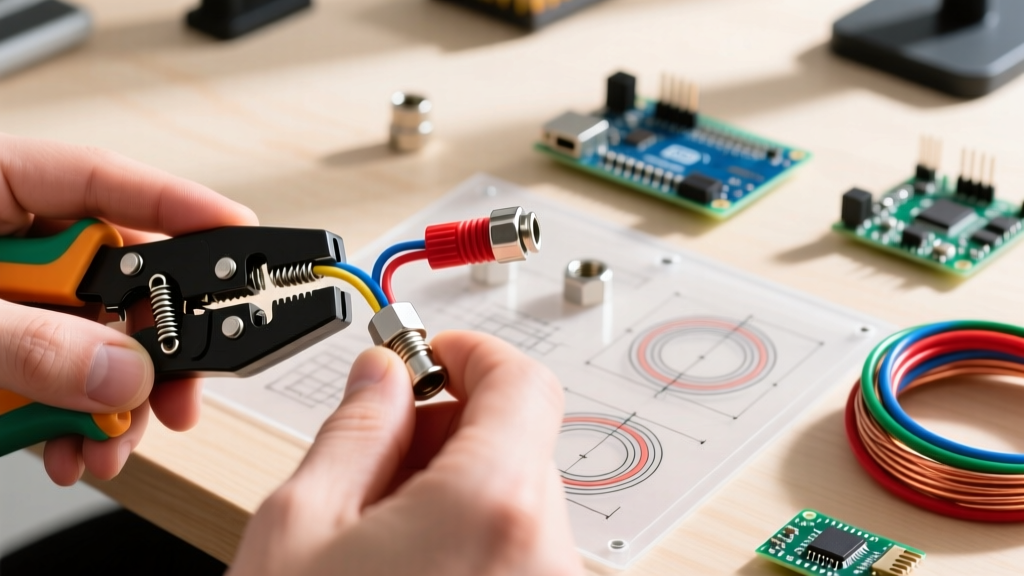
For copper wire, particularly in automotive, marine, and aerospace applications, crimping is vastly superior to soldering. Solder wicks into the wire strands, creating a rigid point that concentrates mechanical stress and leads to fatigue failure under vibration. A properly executed crimp creates a cold-weld gas-tight seal.
Tooling and Failure Modes
The most common failure mode in copper crimping is under-compression, which leaves voids that allow moisture ingress and oxidation. To avoid this, abandon cheap plier-style crimpers. Invest in a ratcheting crimper like the IWISS IWS-3220M (typically priced around $42). This tool ensures a full compression cycle before releasing, guaranteeing a uniform deformation on 16-10 AWG insulated terminals.
For harsh environments, use adhesive-lined heat shrink crimps, such as the 3M Scotchlok series. When heated to 120°C, the inner polyamide adhesive melts and flows into the wire strands, creating a waterproof seal that prevents the copper from oxidizing over time.
WAGO Lever Connectors: Stranded and Solid Versatility
When working with copper wiring in residential or low-voltage DC applications, the WAGO 221 Series Lever-Nuts have revolutionized solderless splicing. Unlike traditional push-in connectors (like the WAGO 2273) that require solid wire or ferrule-crimped stranded wire, the 221 series uses a cage-clamp mechanism that securely grips both solid and stranded copper without shearing the strands.
- Model: WAGO 221-412 (2-conductor) or 221-413 (3-conductor)
- Cost: Approximately $0.45 to $0.60 per connector in bulk
- Rating: 32 Amps, 450V, 105°C continuous operating temperature
- Strip Length: Exactly 11mm (use the built-in gauge on the connector)
According to the WAGO 221 Series technical specifications, the spring-pressure mechanism automatically compensates for thermal expansion and contraction of the copper wire, maintaining a constant, gas-tight connection pressure over decades of use. This makes them ideal for LED drivers, smart home relays, and junction box pigtailing where soldering is too slow or hazardous.
The Copper-to-Aluminum Dilemma: AlumiConn Solutions
If you are repairing older residential wiring (common in homes built between 1965 and 1973) or connecting modern copper pigtails to aluminum branch circuits, standard solderless methods will fail. Aluminum oxidizes rapidly, and its coefficient of thermal expansion differs significantly from copper. If twisted together under a standard wire nut, the aluminum expands when heated under load, deforms, and then contracts when cooled, loosening the joint and causing arcing.
The definitive solderless solution for this material mismatch is the King Innovation AlumiConn 3-Port connector (retailing around $3.25 per unit).
- Independent Ports: Each wire gets its own isolated chamber, preventing the copper and aluminum from physically touching, thereby eliminating galvanic corrosion.
- Oxide Inhibitor: The ports are pre-filled with a specialized antioxidant paste that penetrates the aluminum oxide layer.
- Set Screw Torque: The set screws are designed to be torqued to exactly 20 in-lbs. This specific torque breaks the aluminum oxide layer without snapping the softer aluminum conductor.
The Consumer Product Safety Commission (CPSC) guidelines on electrical wiring safety strongly warn against using standard wire nuts or unapproved connectors for aluminum-to-copper pigtailing, citing them as a leading cause of hidden electrical fires. Always rely on UL-listed, independent-port connectors like the AlumiConn for these specific material crossovers.
Conductive Epoxies: When Mechanical Pressure Fails
There are edge cases where mechanical connectors cannot be used—such as repairing a torn trace on a flexible printed circuit (FPC) or joining micro-gauge sensor wires (30+ AWG) where crimps are too bulky. In these scenarios, conductive silver epoxy acts as a solderless, chemical bond.
The CircuitWorks CW2400 Conductive Silver Epoxy (approx. $48 for a dual-syringe kit) offers a volume resistivity of 0.0008 ohm-cm. Unlike solder, it requires no heat, protecting sensitive microcontrollers and thermistors from thermal shock.
Limitations: Conductive epoxy is strictly for low-current signal lines (typically under 2 Amps). It lacks the mechanical shear strength of a crimp or solder joint and should always be reinforced with a secondary layer of non-conductive structural epoxy or heat shrink tubing for strain relief.
Step-by-Step Wire Preparation for Solderless Joints
Regardless of the connector chosen, the connection is only as reliable as the wire preparation. Follow these precise steps to ensure optimal material contact:
- Strip to Exact Tolerances: Use a precision stripper like the Knipex ErgoStrip ($45). For WAGO 221s, strip exactly 11mm. For crimps, ensure the wire sits flush with the end of the metal barrel without protruding into the insulation zone.
- Remove Oxidation (Aluminum Only): If using set-screw connectors for aluminum, lightly brush the exposed wire with a stainless steel wire brush immediately before insertion to break the surface oxide layer.
- Never 'Tin' the Wire: Never apply solder to the wire ends before inserting them into a WAGO lever-nut or a screw-terminal. Solder creeps under pressure, causing the connection to loosen over time.
- Pull Test: After making a solderless crimp or lever connection, apply a firm 15-lb tensile pull. If the wire slips, the connection is compromised and must be redone.
Expert Takeaway: Understanding how to connect two wires together without soldering is not about avoiding the soldering iron; it is about matching the mechanical and chemical properties of the connector to the wire material. Use cold-weld crimps for high-vibration copper, WAGO levers for rapid solid/stranded copper splicing, and independent-port set-screws for copper-to-aluminum transitions. Refer to the King Innovation AlumiConn installation guidelines for specific torque requirements when dealing with dissimilar metals.