
The Transition Dilemma: Why Skip the Torch?
For decades, sweating copper joints with a propane or MAPP gas torch was the undisputed standard for residential plumbing. However, when retrofitting modern cross-linked polyethylene (PEX) tubing into existing copper infrastructure, introducing an open flame poses severe fire hazards, especially inside enclosed wall cavities or near electrical wiring. Furthermore, soldering requires completely dry pipes; even a microscopic trickle of water will cause a cold joint failure. This reality forces DIYers and professionals to ask: how to connect pex to copper without soldering while maintaining a leak-proof, code-compliant seal?
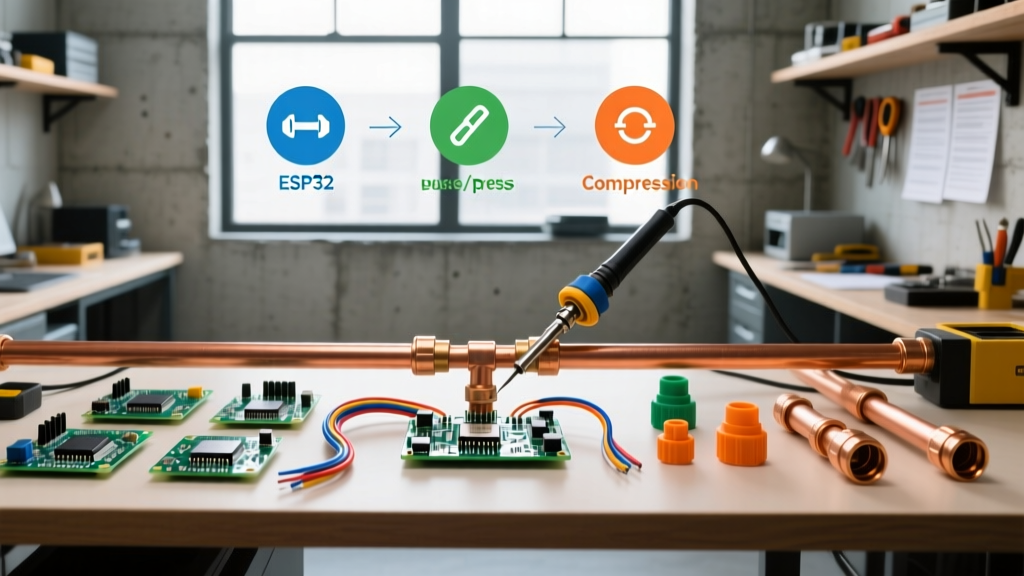
Transitioning between these two distinct metallurgical and polymeric materials requires specialized mechanical fittings. In 2026, the market is dominated by three primary solderless technologies: Push-to-Connect, Press-Fit (ProPress), and Compression. Choosing the wrong method can lead to catastrophic water damage, galvanic corrosion, or failed municipal inspections. This decision framework will break down the exact specifications, costs, and failure modes of each approach so you can select the optimal solution for your specific project.
The 2026 Decision Matrix: Push vs. Press vs. Compression
Before purchasing materials, evaluate your project scope against this comparison matrix. Tool costs and per-fitting pricing reflect current 2026 market averages.
| Method | Top Brand / Model | Upfront Tool Cost | Avg. Fitting Cost (1/2 in.) | Best Application |
|---|---|---|---|---|
| Push-to-Connect | SharkBite (U008A) | $0 - $25 (Prep tools) | $9.50 - $11.00 | Tight spaces, DIY repairs, emergency fixes |
| Press Technology | Viega ProPress (59238) | $350 - $650 (Press tool) | $13.00 - $16.00 | Whole-house repipes, commercial, new construction |
| Compression / Union | Lasco / Apollo Flare | $15 - $40 (Wrenches) | $7.00 - $12.00 | Accessible manifolds, water heater hookups |
Option 1: Push-to-Connect Fittings (The DIY Standard)
Push-to-connect fittings, pioneered by brands like SharkBite and Apollo Bite, utilize a dual-seal mechanism. Inside the fitting, a 316 stainless-steel grab ring bites into the exterior of the copper pipe, while an EPDM (Ethylene Propylene Diene Monomer) O-ring compresses to form a watertight seal. Because standard push fittings are designed to accept PEX, Copper, and CPVC, a simple straight coupling acts as a perfect transition piece.
Pros and Cons of Push Technology
- Pros: Zero specialized crimping or pressing tools required. Can be installed on wet lines. Rotatable after installation for easy alignment. Readily available at all major hardware retailers.
- Pros: Features a built-in release collar for non-destructive removal using simple disconnect clips or tongs.
- Cons: High per-fitting cost makes whole-house transitions economically unviable.
- Cons: Bulky profile can be difficult to route through standard 1.5-inch bored studs.
Expert Insight: While push fittings are approved for concealed behind-the-wall installation by UPC and IPC codes, many master plumbers still prefer to use them only in accessible areas. If a micro-leak develops over a 15-year horizon, an accessible fitting costs $10 to replace; a concealed one costs $1,500 in drywall repair.
Option 2: Press Technology (The Professional's Choice)
For contractors or advanced DIYers tackling a full bathroom remodel, mechanical pressing is the gold standard. Systems like Viega ProPress offer specific transition fittings (e.g., ProPress x PEX Crimp adapters). You press the copper side using a motorized jaw tool, and crimp or clamp the PEX side using a standard PEX cinch tool.
The pressing tool uses an EPDM O-ring that is permanently deformed by the jaw's 7,000+ PSI of force, creating a permanent, rigid mechanical lock. Unlike push fittings, press fittings do not rely on continuous outward radial pressure from the pipe to maintain the seal.
The Cost Barrier
The primary deterrent is the tooling. A reliable 1/2-inch to 1-inch press jaw set and a hydraulic driver (such as the Milwaukee M18 Fuel ProPress) will cost between $450 and $650 in 2026. However, if you are executing a project requiring 50+ transitions, the speed and reliability of pressing easily offset the tool rental or purchase cost.
Option 3: Compression and Flare Unions
If you are connecting PEX to a copper water heater line or an exposed manifold, a compression union or flare fitting is highly effective. You slide a brass compression nut and ferrule over the copper, tighten it with two wrenches, and attach a threaded PEX adapter to the opposite side. This method avoids O-rings entirely, relying instead on metal-to-metal deformation. It is highly resistant to UV degradation and chlorine exposure, making it ideal for utility rooms.
Step-by-Step Execution: The Push-Fitting Method
Because push-to-connect is the most common answer to how to connect pex to copper without soldering for residential DIYers, precise preparation is non-negotiable. A failed prep step is the cause of 95% of push-fitting leaks.
- Cut Square: Use a ratcheting copper tubing cutter. Never use a hacksaw or reciprocating saw, as these leave uneven edges that prevent the pipe from seating fully.
- Deburr the Exterior: Use a dedicated deburring tool to remove the microscopic outer lip created by the cutter. If this lip remains, it will act like a knife, slicing the internal EPDM O-ring as you push the pipe in.
- Ream the Interior: Remove internal burrs to prevent water turbulence, which can cause long-term erosion-corrosion inside the fitting.
- Mark the Depth: Use a manufacturer-provided depth gauge to mark exactly 1 inch (for 1/2-inch pipe) on both the copper and the PEX. If the pipe is not inserted past this line, the grab ring will not engage.
- Inspect and Insert: Wipe the copper with a clean cloth to remove abrasive grit. Push the PEX and Copper into opposite ends of the fitting until they bottom out on the internal tube stopper.
Edge Cases and Critical Failure Modes
Even the best solderless fittings will fail if environmental or chemical factors are ignored. Keep these edge cases in mind during your planning phase:
1. UV Degradation of EPDM O-Rings
The rubber O-rings inside push and press fittings are highly susceptible to ultraviolet light. If your transition is located outdoors, in a sunroom, or near an unshaded skylight, the O-ring will dry-rot and crack within 12 to 24 months. You must wrap exposed fittings in UV-rated insulation tape or paint them with a water-based, non-solvent paint to block UV rays.
2. Dezincification in High-Chlorine Water
Municipal water supplies increasingly use chloramines for purification. Standard brass fittings can suffer from dezincification—a form of galvanic corrosion where zinc is leached from the brass alloy, leaving a porous, brittle copper sponge that eventually bursts. Always verify that your transition fittings are stamped with DZR (Dezincification Resistant) or are certified to NSF/ANSI 372 for lead-free and corrosion-resistant plumbing.
3. Thermal Expansion Mismatch
PEX expands at a rate roughly 10 times greater than copper when exposed to hot water (approximately 1 inch per 100 feet per 10°F temperature change). If you run a long, rigid, straight line of PEX connected to fixed copper without allowing for lateral movement or expansion loops, the mechanical stress will eventually shear the grab ring inside the transition fitting. Always incorporate PEX expansion bends or offsets near rigid transition points.
Expert Verdict: Which Method Wins?
There is no universal 'best' method; the correct choice depends entirely on your budget, tool inventory, and project scale.
If you are a homeowner executing a localized repair, replacing a shut-off valve, or extending a single line into a new wet bar, Push-to-Connect (SharkBite) is the undisputed champion. The $10 fitting cost is negligible compared to the safety of avoiding a torch near drywall and electrical wiring. For comprehensive guidance on preparing your pipes for these fittings, refer to the SharkBite Official Installation Guidelines.
Conversely, if you are a contractor or an ambitious DIYer gutting a home and running hundreds of feet of PEX to existing copper trunks, investing in a ProPress system or utilizing Compression Unions at the manifold will yield a more professional, streamlined, and cost-effective result over the long term. For further reading on integrating PEX into existing home infrastructure, the Family Handyman PEX Installation Guide offers excellent visual references for routing and securing these hybrid lines.
By understanding the metallurgy, tooling requirements, and environmental constraints of each solderless technology, you can confidently bridge the gap between legacy copper and modern PEX, ensuring a watertight system that will last for decades.