
The Overlooked Hazards of Wick Soldering
Wick soldering—more accurately known as desoldering with a braided copper wick—is a foundational rework skill for electronics repair, prototyping, and PCB modification. While most DIYers and technicians obsess over the safety of their soldering iron tips and basic ventilation, the specific mechanics of wick soldering introduce unique thermal, chemical, and physical hazards. When you press a 350°C iron tip into a flux-soaked copper braid, you are not just melting solder; you are creating a high-efficiency thermal bridge that can aerosolize chemical activators, eject molten solder spatter, and irreversibly delaminate FR-4 substrates if mismanaged.
In 2026, with the industry's near-total shift to lead-free SAC305 (Tin-Silver-Copper) alloys requiring higher processing temperatures, the margin for error during wick soldering has shrunk. This guide details the exact safety protocols, thermal limits, and respiratory protections required to perform wick soldering safely and effectively.
Thermal Runaway and PCB Pad Delamination
The most common catastrophic failure in wick soldering is pad lifting. Copper desoldering wick acts as a massive heat sink. To get the solder to flow into the braid via capillary action, the iron must overcome the thermal mass of the wick, the solder joint, and the internal ground planes of the PCB.
Standard FR-4 PCB material has a Glass Transition Temperature (Tg) typically between 130°C and 170°C. While the board can survive brief excursions to 260°C (the standard IPC reflow peak limit), holding a 380°C iron on a copper trace for more than 8 seconds will break down the epoxy resin bond, causing the copper pad to rip away from the fiberglass substrate.
The IPC Thermal Dwell Limit
According to IPC-7711/21C standards for rework and modification, the maximum allowable time for a localized heat source on a standard SMT or through-hole pad is generally 5 to 7 seconds. If the solder has not wicked away in that timeframe, the technician must remove the heat, allow the joint to cool, and reassess the thermal strategy rather than simply applying more pressure or heat.
Expert Insight: Never press down hard on the soldering iron to force heat into the wick. Excessive mechanical pressure combined with high heat is the primary cause of trace scratching and pad ripping. Let the flux do the work; the iron should rest gently on top of the braid.
Fume Inhalation: The Colophony Threat
Desoldering wicks are pre-coated with flux—most commonly rosin (colophony) or synthetic no-clean activators. When heated above 200°C, rosin flux vaporizes and decomposes, releasing a complex mixture of aliphatic aldehydes, hydrochloric acid (in activated rosins), and microscopic particulate matter.
The UK Health and Safety Executive (HSE) identifies colophony fumes as a primary cause of occupational asthma. Furthermore, the National Institute for Occupational Safety and Health (NIOSH) lists rosin-based soldering fumes as a confirmed asthmagen. Because wick soldering requires a larger volume of flux to be heated simultaneously compared to standard wire soldering, the localized fume plume is significantly denser and more concentrated.
Respiratory Protection and Extraction
- Source Capture Extraction: A desktop fan blowing fumes away from your face is insufficient and actually dangerous, as it disperses asthmagens into the wider room. You must use a localized HEPA and activated carbon fume extractor.
- Recommended Equipment: The Hakko FA-400 (approx. $65) is the minimum viable desktop unit for hobbyists, featuring a replaceable carbon filter. For professional benches, the Weller WFE-2 (approx. $250) offers superior static-safe extraction with multi-stage filtration.
- Positioning: The extraction nozzle must be positioned within 2 to 4 inches of the solder joint, angled to intercept the plume before it reaches the technician's breathing zone.
2026 Buyer’s Matrix: Safest Desoldering Wicks
Not all desoldering wicks are created equal. The type of flux coating directly impacts both the spatter risk (physical safety) and the fume toxicity (respiratory safety). Below is a comparison of the safest and most effective wicks available on the market.
| Brand & Model | Flux Type | Spatter Risk | Fume Density | Est. Price (5ft Spool) |
|---|---|---|---|---|
| Chemtronics Soder-Wick (Blue - No-Clean) | Synthetic No-Clean | Very Low | Low | $9.50 |
| MG Chemicals 42-2025 | Activated Rosin (RA) | Medium | High | $6.00 |
| Edsyn SW025 | Mild Rosin (RMA) | Low | Medium | $11.00 |
| Chip Quik SMD293AX | No-Clean / Lead-Free Opt. | Low | Low | $12.50 |
Safety Recommendation: For indoor DIY environments lacking industrial HVAC systems, always opt for No-Clean (NC) or Rosin-Mild (RMA) wicks. Avoid Activated Rosin (RA) wicks unless you are operating a fully enclosed, negatively pressured fume hood, as the acid activators in RA flux produce highly irritating hydrogen chloride gas when vaporized.
Step-by-Step Safe Wick Soldering Protocol
Follow this strict operational sequence to minimize thermal damage to your PCB and protect your physical health.
Step 1: Preparation and PPE
- Don ANSI Z87.1-rated safety glasses. Molten solder spatter from a wick can easily eject if the iron tip contains microscopic moisture or if the flux boils too rapidly.
- Turn on your HEPA/Carbon fume extractor and verify airflow at the nozzle.
- Clean the target PCB area with 99% Isopropyl Alcohol (IPA) to remove surface contaminants that could vaporize into toxic compounds.
Step 2: Iron Temperature and Tip Selection
Do not use a standard conical tip for wick soldering. Conical tips lack the surface area required to transfer heat into the wide copper braid, leading to prolonged dwell times and pad damage.
- Lead-Free Solder (SAC305): Set your station (e.g., Hakko FX-888D or Weller WE1010NA) to 340°C - 350°C.
- Leaded Solder (Sn63/Pb37): Set your station to 310°C - 320°C.
- Tip Geometry: Use a wide chisel or bevel tip (e.g., Hakko C4 or Weller RT3) to maximize thermal transfer to the wick.
Step 3: The 5-Second Thermal Rule
- Unspool 1 to 2 inches of wick. Never hold the wick with your bare fingers near the iron. Use a specialized wick holder tool or hemostats to prevent severe conduction burns.
- Place the wick directly over the solder joint you wish to clear.
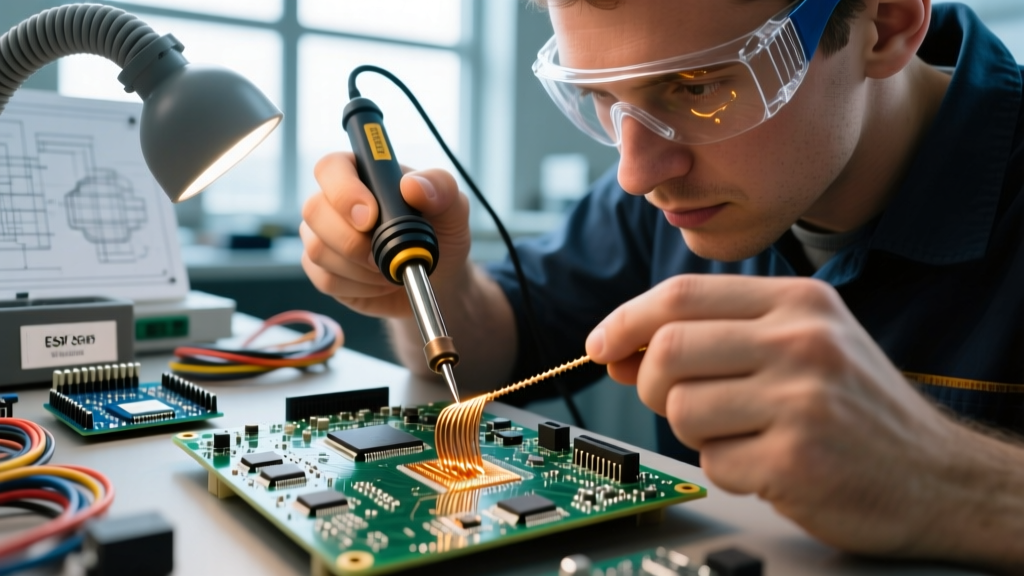
- Place the heated iron tip on top of the wick, not directly on the PCB pad. The wick acts as a thermal buffer and flux delivery system.
- Watch for capillary action. The solder will melt and turn the copper braid from metallic to a dull silver/grey color. This should take 2 to 4 seconds.
- Remove the iron and the wick simultaneously. Never pull the wick away while the solder is solidifying, as it will fuse to the pad and rip it off.
Step 4: Post-Rework Cleanup
Even "no-clean" fluxes leave behind residues that can become conductive or corrosive over time if subjected to high humidity. After the board has cooled to room temperature, scrub the reworked area with a stiff-bristle ESD-safe brush and 99% IPA. Inspect the pads under a magnifying lamp to ensure no microscopic strands of copper wick are left bridging adjacent SMT pads, which can cause latent short circuits.
Essential Safety Equipment Upgrades
If you are regularly performing wick soldering for board-level rework, investing in the following safety and precision tools will drastically reduce your risk of injury and PCB destruction:
- Chip Quik HSK10 Heat Sink Paste: Apply this thermally conductive, non-electrically conductive paste around sensitive components near your desoldering zone to absorb excess thermal runaway.
- Thermal Camera (e.g., FLIR ONE or InfiRay): For advanced technicians, monitoring the PCB substrate temperature in real-time ensures you never exceed the 170°C Tg limit on the surrounding fiberglass.
- ESD-Safe Tweezers and Hemostats: Essential for manipulating the hot copper braid without risking fingertip burns or introducing electrostatic discharge to sensitive ICs.
By respecting the thermal mass of copper wick, utilizing proper source-capture ventilation, and selecting low-spatter no-clean fluxes, you can master wick soldering without compromising your respiratory health or destroying expensive prototype boards.