
The Short Answer: Yes, But the Chromium Oxide Layer is the Enemy
When engineers, HVAC technicians, and electronics hobbyists ask, "can stainless steel be soldered?", the definitive answer is yes. However, the process is notoriously unforgiving compared to soldering copper or brass. The primary obstacle is the passive chromium oxide layer (Cr2O3) that forms on the surface of stainless steel. This layer is what gives stainless steel its corrosion resistance, but it also acts as an impenetrable barrier to standard molten solder.
To compile this 2026 expert roundup, we synthesized insights from metallurgical engineers, master HVAC fabricators, and senior electronics technicians. The consensus is clear: standard rosin-based fluxes (RMA) and low-wattage irons will fail 100% of the time. Success requires aggressive flux chemistry, high thermal mass delivery, and specific alloy selections. Below, we break down the exact methodologies, current market pricing for tools, and the metallurgical science required to achieve a reliable wetting bond on stainless substrates.
The Metallurgical Hurdle: 300 Series vs. 400 Series
Not all stainless steel behaves identically under heat. According to guidelines referenced by the American Welding Society (AWS), the alloy composition drastically dictates solderability:
- 400 Series (Martensitic/Ferritic): Contains lower chromium and little to no nickel. It is the easiest to solder, behaving somewhat similarly to carbon steel when paired with an acid flux.
- 300 Series (Austenitic - e.g., 304, 316): Contains high levels of chromium (18-20%) and nickel (8-12%). The nickel content increases the surface tension of the molten solder, causing it to "ball up" rather than flow. Soldering 316 stainless requires significantly more aggressive flux activation and higher tip temperatures (up to 400°C at the iron tip) to maintain a 280°C pad temperature.
Expert Consensus: The 3 Pillars of Stainless Soldering
Pillar 1: Aggressive Flux Chemistry
You cannot use standard electronics flux for mechanical stainless joints. You need an inorganic acid (IA) or highly activated organic acid flux to etch through the chromium oxide layer in real-time. The Harris Products Group has long been the industry standard for these aggressive chemical etchants.
| Flux Category | Active Chemistry | Corrosivity | Post-Solder Cleaning | Ideal Application | Approx. Cost (2026) |
|---|---|---|---|---|---|
| Heavy-Duty Acid | Zinc Chloride / Ammonium Chloride | Extreme | Mandatory (Water + Baking Soda) | HVAC, Structural, Automotive | $14 / 4oz (e.g., Harris Stay-Clean) |
| Phosphoric Acid | Phosphoric Acid (H3PO4) | High | Mandatory (Isopropyl/Water) | General Fabrication, Jewelry | $18 / 4oz (e.g., Rubyfluid) |
| Specialty No-Clean | Mild Organic Acids + Activators | Low | Optional | Electronics, Sensors, Medical | $45 / 10cc Syringe |
Pillar 2: Thermal Mass and Heat Delivery
Stainless steel is a relatively poor thermal conductor, meaning heat does not spread laterally as fast as it does in copper. However, the joint mass will rapidly sink heat away from the tip. A standard 40W to 60W iron (like the classic Weller WES51) will experience severe tip temperature drop-off, resulting in cold joints and burned flux.
Expert Equipment Recommendations:
- For Electronics/Small Parts: The Hakko FX-601 (adjustable up to 400°C, ~$85 in 2026) or the Weller W100PG (100W heavy-duty, ~$110). You must use a bevel or chisel tip (e.g., Hakko T19-C3) to maximize surface contact area.
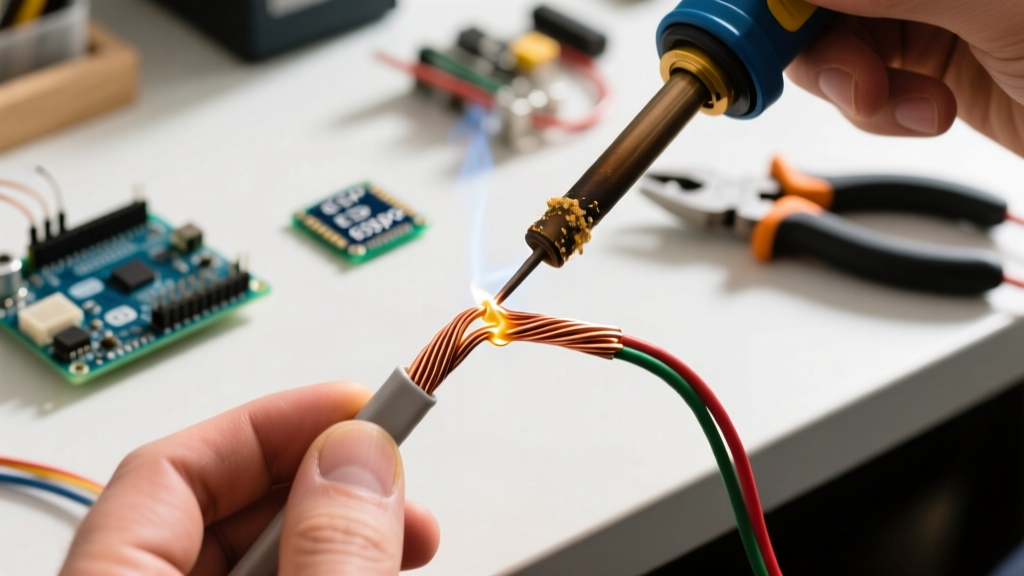
- For Mechanical/Plumbing Joints: Skip the iron entirely. Use a propane or MAPP gas torch with a localized flame, applying the flame to the joint area, not directly to the solder wire.
Pillar 3: Alloy Selection and Wetting Agents
While standard Sn63/Pb37 (63% Tin / 37% Lead) will wet stainless steel if the flux is adequate, experts recommend silver-bearing alloys for structural integrity. The Indium Corporation produces specialized alloys for difficult-to-solder substrates.
"When bonding 304 stainless in high-vibration environments, we specify SAC305 (Sn96.5/Ag3.0/Cu0.5). The silver content lowers the surface tension of the molten pool and increases the shear strength of the final intermetallic compound layer by up to 40% compared to standard tin-lead."
— Senior Metallurgical Engineer, Aerospace Fabrication
For low-temperature applications where heat damage to adjacent components is a concern, Indalloy 281 (a bismuth-based low-temp alloy) can be used, though it requires a specialized organic acid flux to penetrate the oxide layer.
Step-by-Step Field Procedure (from HVAC Fabricators)
To achieve a mirror-finish wetting bond on 304 stainless steel, follow this exact sequence:
- Mechanical Abrasion: Use 220-grit Silicon Carbide (SiC) sandpaper or a Scotch-Brite pad to physically remove the bulk oxide layer. Do not use steel wool, as embedded iron particles will cause localized rust (galvanic corrosion) later.
- Solvent Degreasing: Wipe the abraded area with pure acetone. Avoid Isopropyl Alcohol (IPA) for this step, as lower-grade IPA leaves a water-soluble residue that interferes with acid flux.
- Flux Application (Pre-Heat): Apply your Zinc Chloride or Phosphoric acid flux before applying heat. The liquid flux acts as a temporary barrier against atmospheric oxygen while the metal heats up.
- Thermal Transfer: Apply your 100W iron or torch to the base metal. Wait until the flux bubbles and turns slightly amber (approx. 180°C-220°C).
- Solder Feeding: Introduce the solder wire to the base metal, not the iron tip. If the base metal is hot enough and the flux is active, the solder will instantly flash and flow across the joint.
- Neutralization (Critical): Acid fluxes will aggressively corrode the stainless steel over time if left active. Immediately after the joint cools, scrub the area with a wire brush and a baking soda/water solution to neutralize the acid, then rinse with distilled water.
Troubleshooting Common Failure Modes
Failure Mode 1: The "Ball-Up" Effect (Poor Wetting)
Symptom: The molten solder forms a perfect sphere on the tip of the iron or sits on the stainless surface like a water droplet on a waxed car, refusing to flow.
Cause: The chromium oxide layer was not fully etched, or the iron tip temperature dropped below the alloy's liquidus point upon contact with the metal mass.
Fix: Remove the iron, re-abrade the surface with SiC paper, apply fresh acid flux, and use a higher-wattage iron with a larger thermal mass tip.
Failure Mode 2: Blackened, Crusty Flux Residue
Symptom: The flux turns black and hardens into a glass-like crust before the solder ever melts.
Cause: Overheating. You applied too much heat directly to the flux, burning off the active chemical carriers before the base metal reached the required wetting temperature.
Fix: Apply heat to the metal substrate, not the flux pool. Use a sweeping motion with a torch, or ensure the iron tip is tinned to facilitate rapid thermal transfer rather than localized scorching.
Electronics vs. Mechanical: Diverging Expert Advice
It is vital to distinguish between mechanical plumbing and PCB-level electronics. You must never use Zinc Chloride or Phosphoric acid fluxes on printed circuit boards or delicate sensor housings. The ionic residue will cause dendritic growth and short circuits in humid environments.
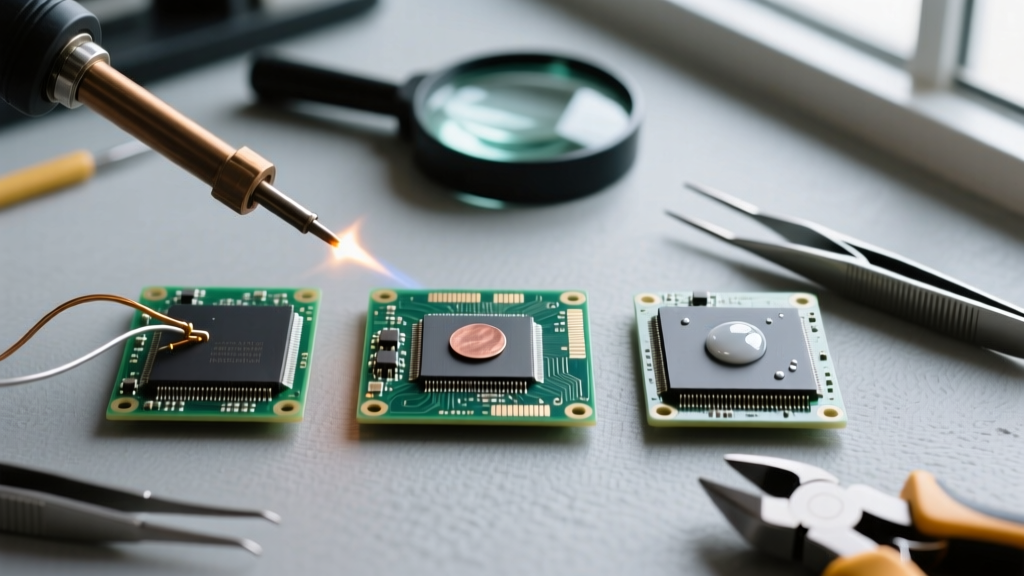
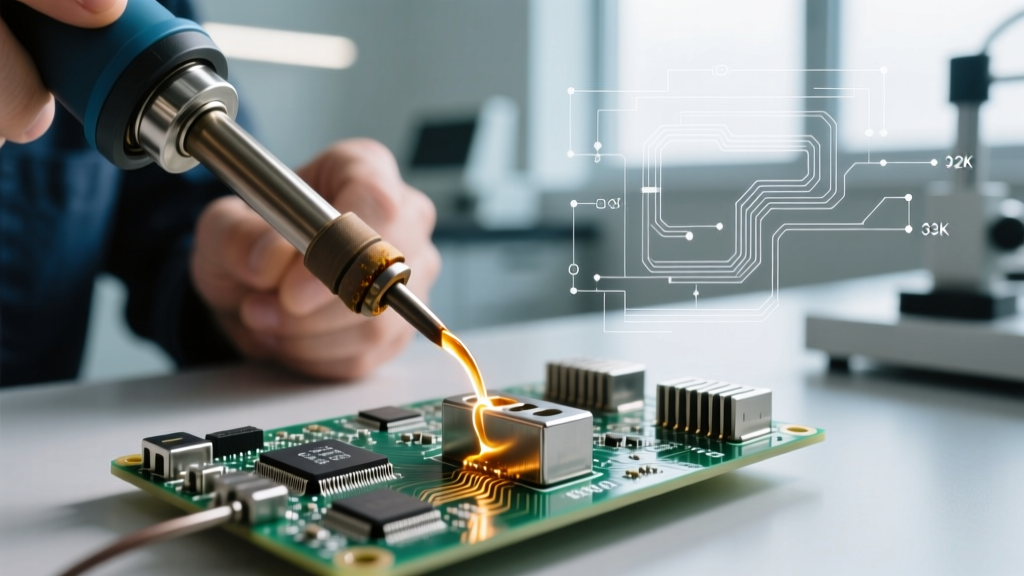
For electronics, experts recommend using specialized highly-activated no-clean fluxes (like those found in Amtech or Indium specialty syringes) combined with a localized hot-air rework station set to 350°C. If soldering a stainless steel RF shield to a PCB ground plane, consider using a silver-filled conductive epoxy (e.g., MG Chemicals 8331) if thermal limits of the surrounding SMD components prevent the use of high-heat acid fluxes.
Final Verdict
Can stainless steel be soldered? Absolutely. But it demands respect for the metallurgy. By abandoning standard electronics fluxes in favor of targeted acid chemistries, upgrading to high-thermal-mass tools like the Hakko FX-601, and rigorously neutralizing your joints post-solder, you can achieve bonds that rival TIG welding in sheer strength and reliability. Always match your alloy and flux to the specific 300 or 400 series stainless you are working with, and prioritize mechanical surface prep above all else.