
Transitioning to IoT: The Next Step for Makers
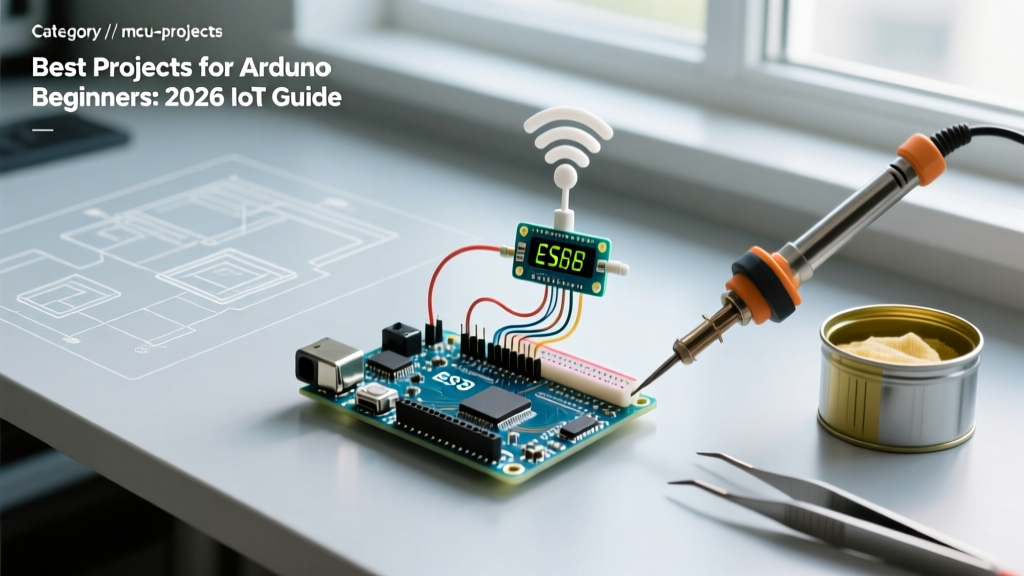
If you have mastered blinking LEDs and reading basic push buttons, you are likely searching for the best projects for Arduino beginners that connect to the real world. In 2026, the Internet of Things (IoT) is no longer an advanced niche; it is the standard for modern microcontroller builds. However, jumping straight into complex mesh networks or custom PCB design can be overwhelming. The secret to a successful IoT transition is leveraging beginner-friendly hardware with robust, well-documented cloud ecosystems.
This guide focuses on practical, high-reliability IoT builds using the latest 2026 hardware standards. We will move away from the legacy Arduino Uno R3 and instead utilize boards with native wireless capabilities, ensuring your projects remain stable and secure.
Essential IoT Hardware for Beginners (2026 Stack)
Before diving into the builds, you need the right foundation. The table below outlines the most reliable, cost-effective components for entry-level IoT projects available today.
| Component | Model / Version | Primary Function | Approx. Cost |
|---|---|---|---|
| Microcontroller | Arduino Uno R4 WiFi | Main logic & Wi-Fi (ESP32-S3 coprocessor) | $27.50 |
| Environment Sensor | Bosch BME280 (I2C) | Temperature, Humidity, Pressure | $4.50 |
| Soil Sensor | Capacitive Soil Moisture v1.2 | Analog moisture reading (corrosion-resistant) | $2.80 |
| Actuator | 5V Optocoupler Relay Module | Switching mains/high-power DC loads | $3.20 |
| Power Supply | 5V 2A USB-C Wall Adapter | Stable power for Wi-Fi transmission spikes | $6.00 |
Expert Note: Never power Wi-Fi-enabled Arduinos directly from a standard PC USB 2.0 port for permanent deployments. Wi-Fi transmission bursts can draw up to 350mA, causing voltage drops that trigger brownout resets. Always use a dedicated 5V 2A USB-C power adapter.
Top 3 Best Projects for Arduino Beginners (IoT Edition)
1. Wi-Fi Weather Station with Arduino IoT Cloud
The classic weather station is a rite of passage, but adding Wi-Fi transforms it from a desk toy into a genuine smart home data node. By pairing the Arduino Uno R4 WiFi with a Bosch BME280 sensor, you can push live environmental data to a cloud dashboard accessible from your phone.
Wiring and Logic
- VCC: Connect to the 3.3V pin on the Uno R4 WiFi. Warning: The BME280 is strictly a 3.3V logic device. Connecting it to 5V will permanently destroy the sensor.
- GND: Connect to GND.
- SCL / SDA: Connect to the dedicated I2C pins on the R4 WiFi (A5 and A4, or the dedicated SCL/SDA headers near the USB port).
Using the Arduino Uno R4 WiFi Official Documentation, you can configure the onboard ESP32-S3 coprocessor to handle Wi-Fi credentials securely. The Arduino IoT Cloud library automatically generates the boilerplate code, allowing you to map variables like float humidity directly to cloud widgets without writing complex HTTP request logic.
2. Smart Plant Moisture Monitor via MQTT
Most beginner plant watering projects use resistive soil sensors, which corrode within weeks due to electrolysis. The best projects for Arduino beginners prioritize longevity, which is why we use the Capacitive Soil Moisture Sensor v1.2. It measures the dielectric permittivity of the soil without passing current directly through the dirt.
Implementation Details
- Insert the sensor into the soil and coat the exposed header solder joints with clear nail polish or conformal coating to prevent ambient humidity shorts.
- Connect the analog out (AOUT) pin to Analog Pin A0 on your Arduino.
- Use the
PubSubClientlibrary to publish the analog reading (0-1023) to an MQTT broker like Mosquitto or directly to a Home Assistant MQTT Integration.
Calibration Edge Case: Capacitive sensors output a lower voltage when the soil is wet, and a higher voltage when dry. You must map your analog readings inversely in your code. Take a reading in completely dry air (usually ~580) and submerged in a glass of water (usually ~290) to set your map() function boundaries.
3. Web-Controlled 5V Relay Desk Lamp
Controlling mains voltage or high-draw DC devices requires a relay. However, cheap relay modules are notorious for causing microcontroller resets.
The Flyback Diode Fix
When a relay coil de-energizes, it generates a reverse voltage spike (back-EMF). While most optocoupler modules have built-in flyback diodes, manufacturing defects in budget batches often omit them. If your Arduino resets every time the relay clicks off, solder a standard 1N4007 diode in reverse bias across the relay coil terminals (cathode to positive, anode to negative). This simple $0.05 component addition solves 90% of beginner IoT actuator crashes.
Common IoT Failure Modes and Troubleshooting
Even the best projects for Arduino beginners can fail if network and hardware realities are ignored. Keep this troubleshooting matrix handy:
| Symptom | Probable Cause | Hardware / Code Fix |
|---|---|---|
| Wi-Fi connects initially, then drops after 10 minutes. | Router DHCP lease timeout or weak RSSI. | Implement a Wi-Fi reconnect loop in void loop() checking WiFi.status() != WL_CONNECTED. |
I2C sensor reads NaN or 0x00 constantly. | Missing pull-up resistors or wrong logic level. | Verify 3.3V power. Add 4.7kΩ pull-up resistors to SDA/SCL lines if using long wires. |
| Cloud dashboard updates are delayed by 30+ seconds. | Blocking code (like delay()) halting the Wi-Fi stack. | Replace delay() with millis() based non-blocking timers to keep the ESP32 coprocessor fed. |
Frequently Asked Questions
Can I use the ESP8266 NodeMCU instead of the Arduino Uno R4 WiFi?
Yes, the ESP8266 (NodeMCU v3) remains a budget staple at around $5. However, it only features a single analog pin (A0) and lacks the robust over-the-air (OTA) update security features native to the Arduino IoT Cloud ecosystem. For beginners prioritizing ease of use and modern security in 2026, the Uno R4 WiFi or ESP32-C3 SuperMini are superior choices.
Do I need to know HTML/CSS to build IoT dashboards?
Not anymore. Platforms like Arduino IoT Cloud, Blynk, and Home Assistant provide drag-and-drop widget builders. You simply define your variables in the C++ sketch, and the platform automatically generates the mobile and web interfaces.
How do I secure my IoT devices from external hackers?
Never expose your Arduino's local IP address directly to the public internet via port forwarding. Instead, use secure cloud intermediaries (like the Arduino Cloud or AWS IoT Core) which utilize TLS 1.3 encrypted tunnels. This ensures your device initiates the outbound connection securely, keeping your home network firewall intact.