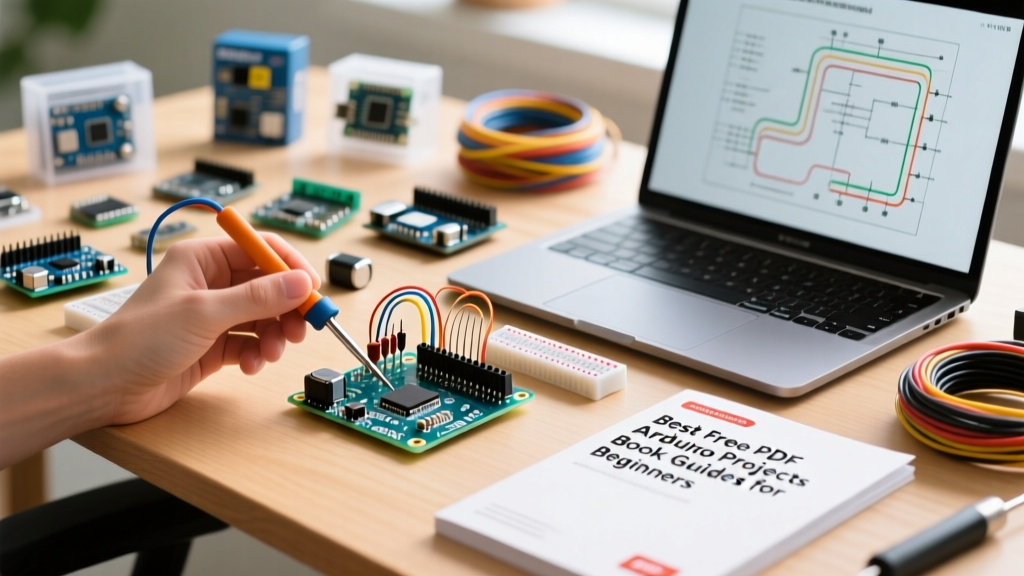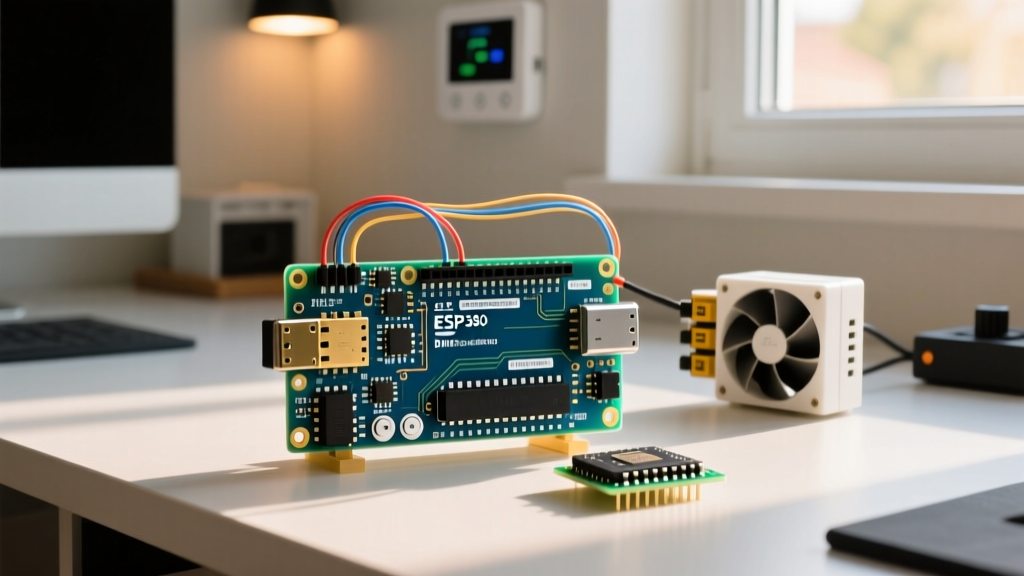

Beyond Timers: The Shift to Sensor-Driven Automation
Most DIY enthusiasts begin their journey into Arduino and home automation using basic time-based triggers or manual smartphone toggles. However, true environmental efficiency and comfort require closed-loop, sensor-driven logic. Relying on a static schedule to control your HVAC or smart blinds ignores the dynamic reality of your living space. Solar gain, occupancy, and volatile organic compound (VOC) buildup fluctuate wildly throughout the day.
In this advanced guide, we will architect a robust, multi-sensor environmental node using the Arduino MKR WiFi 1010. By integrating a Bosch BME680 environmental sensor and a BH1750 lux sensor, we will build a system that doesn't just read data—it actively drives automated relay controls for HVAC dampers and motorized blinds via MQTT and Home Assistant. This guide bypasses beginner fluff and focuses on the critical hardware edge cases, I2C bus physics, and MQTT Last Will and Testament (LWT) implementations required for a production-grade smart home node in 2026.
Bill of Materials (BOM) and 2026 Pricing
Selecting the right microcontroller is critical. While the ESP32 is popular, the Arduino MKR WiFi 1010 offers a native crypto-authentication chip (ECC508) for secure IoT connections and a highly stable SAMD21 Cortex-M0+ architecture that excels in low-power, interrupt-driven sensor polling.
| Component | Model / Part Number | Est. Price (2026) | Function |
|---|---|---|---|
| Microcontroller | Arduino MKR WiFi 1010 (ABX00023) | $32.50 | Main logic, WiFi, MQTT |
| Env. Sensor | Adafruit BME680 Breakout (3660) | $14.95 | Temp, Hum, Press, VOC Gas |
| Light Sensor | GY-302 BH1750FVI Module | $4.50 | Ambient Lux Measurement |
| Actuator | Songle SRD-05VDC 4-Ch Opto-Isolated | $7.99 | Switching HVAC / Blinds |
| Passives | 4.7kΩ Resistors, 1N4007 Diodes, Caps | $3.00 | I2C Pull-ups, Flyback, Decoupling |
Total Node Cost: ~$62.94. This is highly cost-effective compared to commercial off-the-shelf multi-sensor hubs, which often exceed $150 and lock you into proprietary cloud ecosystems.
Hardware Architecture & Critical Wiring Rules
The most common point of failure in DIY Arduino and home automation projects is poor hardware design, specifically regarding I2C bus capacitance and inductive kickback. Do not skip these architectural rules.
1. I2C Bus Capacitance and Pull-Up Resistors
The BME680 and BH1750 both communicate via I2C. When you place multiple sensors on the same SDA/SCL lines, the parasitic capacitance of the traces and breakout boards increases. If the capacitance exceeds 400pF, the signal edges degrade, resulting in I2C NACK (Not Acknowledged) errors and frozen microcontrollers.
- Trace Length: Keep I2C traces under 10cm.
- Pull-Up Resistors: Many cheap BH1750 modules lack onboard pull-ups. You must solder 4.7kΩ resistors from the SDA and SCL lines to the 3.3V rail. Do not use 10kΩ; the higher resistance will result in slow rise times at 400kHz I2C speeds.
2. Opto-Isolation and Back-EMF Protection
Switching inductive loads (like HVAC contactors or blind motors) generates massive voltage spikes known as back-EMF. If you wire a standard 5V relay directly to your Arduino pins, the collapsing magnetic field will feed high-voltage noise back into the 3.3V logic rail, instantly bricking the SAMD21 chip.
Critical Warning: Always use an opto-isolated relay module. Furthermore, power the relay coil circuit using a completely separate 5V 2A power supply. Connect only the ground reference and the opto-isolator input pins to the Arduino. Never share the 5V rail between inductive loads and sensitive I2C sensors.
3. Power Supply Decoupling
Place a 100nF ceramic capacitor in parallel with a 10µF electrolytic capacitor within 5mm of the BME680 VCC pin. This filters out high-frequency switching noise from the WiFi radio, ensuring clean analog-to-digital conversions inside the Bosch sensor.
Firmware Logic: BSEC Library and VOC Burn-In
The BME680 is not just a thermometer; it features a metal-oxide (MOx) gas sensor that detects Volatile Organic Compounds (VOCs). To translate raw resistance readings into an actionable Indoor Air Quality (IAQ) index, you must use the proprietary Bosch BSEC (Bosch Software Environmental Cluster) library.
According to the Bosch BME680 Sensor Datasheet, the MOx sensor requires a stabilization period. When you first flash the firmware, the BSEC library must run continuously for at least 48 hours to establish a baseline resistance profile for your specific indoor environment. During this burn-in phase, do not use the IAQ output to trigger HVAC automation, or you will experience erratic damper toggling. Store the BSEC state variables in the MKR WiFi 1010's EEPROM or external flash every 10 minutes to survive power outages without resetting the calibration.
MQTT Architecture and the Last Will and Testament
When integrating Arduino and home automation platforms like Home Assistant, HTTP REST APIs are too heavy and prone to timeout errors. MQTT is the industry standard. However, a common flaw in DIY implementations is failing to handle WiFi dropouts gracefully.
If your router reboots, the Arduino loses connection. If Home Assistant sends an MQTT command to open the blinds while the node is offline, the command is lost, and the physical state diverges from the dashboard state. To solve this, implement the Last Will and Testament (LWT) feature in your PubSubClient configuration.
// MQTT LWT Configuration Snippet
client.setServer(mqtt_server, 1883);
// Topic: homeassistant/sensor/mkr_climate/status
// Message: offline
client.connect(client_id, mqtt_user, mqtt_pass, willTopic, 1, true, "offline");
By setting the retain flag to true on the LWT message, the MQTT broker (like Mosquitto) will immediately broadcast the 'offline' status the moment the Arduino's TCP socket drops. Home Assistant will instantly gray out the UI elements, preventing user confusion. For a complete guide on configuring the broker side, refer to the official Home Assistant MQTT Integration documentation.
Home Assistant Discovery Payloads
Instead of manually creating entities in the Home Assistant UI, utilize MQTT Discovery. Your Arduino should publish a JSON configuration payload to the homeassistant/sensor/mkr_climate/temp/config topic upon booting. This payload tells Home Assistant exactly how to parse the incoming telemetry, including device classes, units of measurement, and unique IDs. This ensures your sensor data is correctly categorized for long-term statistical tracking and energy dashboards.
Diagnostic Troubleshooting Matrix
Even with meticulous wiring, environmental nodes face unique edge cases. Use this matrix to diagnose anomalous behavior in your sensor-driven setup.
| Symptom | Root Cause | Engineering Fix |
|---|---|---|
| I2C NACK Errors / Frozen MCU | Missing pull-up resistors or excessive bus capacitance. | Verify 4.7kΩ pull-ups to 3.3V. Lower I2C clock to 100kHz if traces exceed 15cm. |
| MCU Resets on Relay Click | Back-EMF inductive spike causing brownout on the 3.3V rail. | Implement opto-isolation. Use a dedicated PSU for relays. Add flyback diodes across relay coils. |
| Erratic IAQ / VOC Readings | BSEC baseline state lost due to power cycle. | Implement EEPROM state saving every 10 mins. Ensure 48-hour initial burn-in without automation triggers. |
| Ghost Triggers in Home Assistant | MQTT Retain flag misconfigured on command topics. | Set retain: false for command topics (e.g., /set). Only use retain: true for state/telemetry topics. |
| WiFi Fails to Reconnect | DHCP lease expiration or router client-limit. | Implement a hardware watchdog timer (WDT) to hard-reset the SAMD21 if the WiFi stack hangs for >5 minutes. |
Conclusion
Bridging the gap between basic microcontrollers and enterprise-grade smart home infrastructure requires a deep understanding of both hardware physics and network protocols. By leveraging the Arduino MKR WiFi 1010, respecting I2C electrical limits, and utilizing MQTT LWT for robust state management, you transform a simple hobby project into a reliable, sensor-driven climate controller. For further hardware specifications and pinout diagrams, always consult the Arduino MKR WiFi 1010 Documentation before finalizing your PCB or perfboard layout.