
Beyond the Blink: Why Sensor-Driven Builds Matter
When searching for the best Arduino projects for kids, most beginner guides stop at blinking LEDs or basic DC motor spins. While these are fine for a first afternoon, they rarely sustain a child’s interest. To truly ignite a passion for STEM, young makers need to interact with the physical world. Sensor-driven projects bridge the gap between abstract code and tangible environmental feedback, teaching kids how smart home devices, weather stations, and robotics actually work.
In 2026, the maker landscape has evolved. With the widespread adoption of the Arduino Uno R4 Minima and more accessible I2C sensors, kids can build highly responsive, real-world automation systems. Below, we detail five sensor-driven projects that offer deep learning outcomes, complete with specific hardware recommendations, real-world edge cases, and troubleshooting insights.
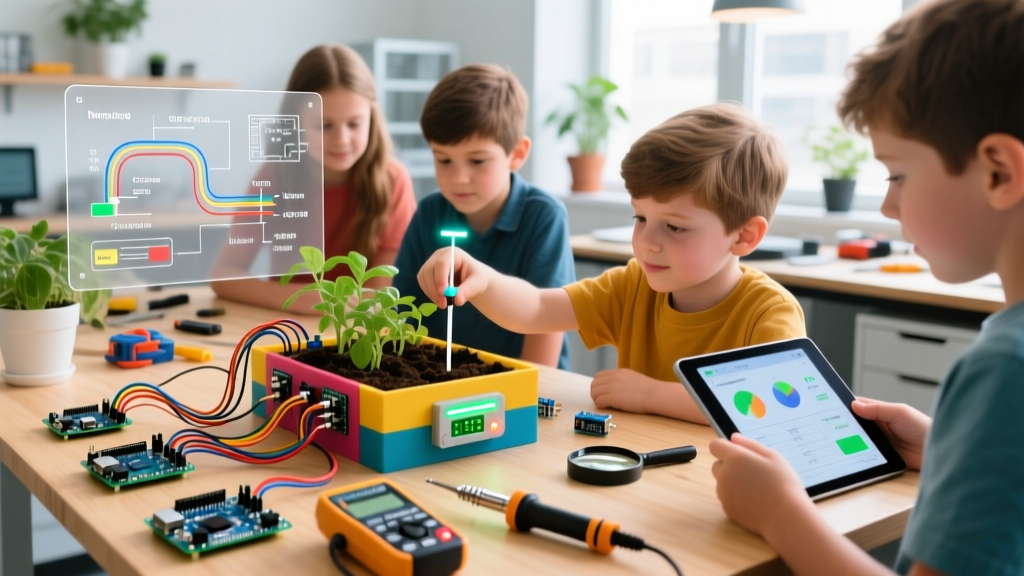
1. The “Plant Thirst” Monitor (Capacitive Soil Sensing)
Automating plant care is a classic introduction to environmental monitoring. However, the standard approach often leads to frustration due to hardware failure.
The Electrolysis Edge Case
Most cheap kits include resistive soil moisture sensors. These pass a current through two exposed metal probes. Within 48 to 72 hours, electrolysis causes the metal to corrode and dissolve into the soil, destroying the sensor and potentially harming the plant.
The Solution: Use a Capacitive Soil Moisture Sensor v1.2 or the Adafruit STEMMA Soil Sensor. Capacitive sensors measure the dielectric permittivity of the soil without passing a direct current through it, eliminating corrosion entirely.
Hardware & 2026 Pricing
- Microcontroller: Arduino Uno R4 Minima (~$22.00)
- Sensor: Capacitive Soil Moisture Sensor v1.2 (~$2.50)
- Output: 5V Active Buzzer or I2C OLED Display (~$4.00)
Pro-Troubleshooting: Capacitive sensors output an inverse analog reading compared to resistive ones. Wet soil yields a lower analog value (typically around 350-450), while dry soil yields a higher value (700-850). Kids must map their thresholds accordingly in the IDE.
2. Ultrasonic “Intruder” Alarm (HC-SR04P)
Building a proximity alarm teaches the physics of sound and the mathematics of time-of-flight calculations. The HC-SR04 ultrasonic sensor emits a 40kHz pulse and listens for the echo.
Logic Level Warning
Historically, kids used the standard HC-SR04, which strictly requires 5V logic. If a young maker later upgrades their project to an ESP32 or Arduino Nano 33 IoT (which operate at 3.3V), the 5V echo pin can fry the microcontroller’s GPIO. Always purchase the HC-SR04P (the ‘P’ stands for pin-compatible/3.3V tolerant). It costs roughly $0.50 more but saves expensive boards from permanent damage.
The Math Behind the Magic
Kids will learn that distance is calculated by multiplying the echo duration by the speed of sound (0.034 cm/microsecond) and dividing by two (to account for the round trip). This is a fantastic practical application of middle-school physics.
3. Automated Color-Sorting Bin (TCS3200)
This project introduces optical sensing and basic robotics. Using a TCS3200 color sensor and two SG90 micro-servos, kids can build a chute that sorts colored blocks or candies into different bins.
- Sensor Mechanics: The TCS3200 uses an array of photodiodes covered by red, green, blue, and clear filters. It outputs a square wave whose frequency is proportional to light intensity.
- Coding Challenge: Unlike simple analog sensors, this requires the
pulseIn()function to read frequencies. Kids must calibrate the sensor by taking baseline readings of “pure” red, green, and blue objects under their specific room lighting, creating a custom color-mapping array.
Sensor Comparison Matrix for Young Makers
Choosing the right sensor depends on the learning objective. Here is how these components stack up for educational builds:
| Sensor Model | Protocol | Avg Cost (2026) | Difficulty | Core STEM Concept |
|---|---|---|---|---|
| Capacitive Soil v1.2 | Analog | $2.50 | Beginner | Dielectrics & Threshold Mapping |
| HC-SR04P | Digital Pulse | $3.00 | Beginner | Acoustics & Time-of-Flight |
| TCS3200 | Frequency | $5.50 | Intermediate | Optics & Calibration Arrays |
| A3144 Hall Effect | Digital | $1.20 | Advanced | Magnetism & Hardware Interrupts |
| APDS-9960 | I2C | $6.50 | Advanced | IR Gesture State Machines |
4. Wind Speed Anemometer (Hall Effect & Interrupts)
For kids interested in meteorology, building a digital anemometer is a rite of passage. By attaching a small neodymium magnet to a spinning 3D-printed or recycled plastic cup assembly, and placing an A3144 Hall Effect sensor nearby, the Arduino can count revolutions.
Why Polling Fails Here
Beginners often use delay() or simple while loops to check sensor states. If the wind spins the cups rapidly, a polling loop might miss the magnet’s pass entirely, resulting in wildly inaccurate wind speed data.
This project is the perfect vehicle to teach Hardware Interrupts. By using the attachInterrupt() function, the Arduino instantly pauses its main routine to register the magnet, guaranteeing zero missed rotations. As detailed in the Arduino Hardware Interrupts Documentation, this is a foundational concept for real-time operating systems and advanced robotics.
5. Gesture-Controlled Robotic Claw (APDS-9960)
Moving away from environmental data, the APDS-9960 allows kids to control hardware with hand gestures. This sensor uses infrared LEDs and photodiodes to detect directional swipes (up, down, left, right) and proximity.
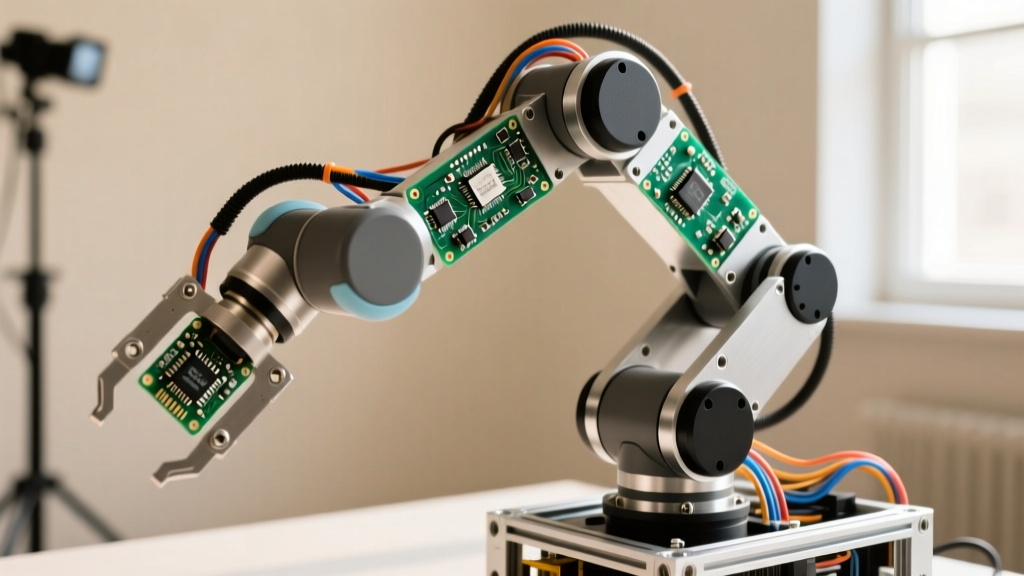
Because it communicates via the I2C protocol (using only the SDA and SCL pins), it introduces children to standardized digital communication buses used in almost all modern consumer electronics. Paired with a standard robotic claw kit and an L298N motor driver, kids can build a “Jedi mind trick” claw that opens and closes based on hand swipes.
Sourcing Authentic Components in 2026
When buying parts for kids’ projects, avoid ultra-cheap, unbranded starter kits from third-party marketplace sellers. These often contain counterfeit ATmega328P chips or cloned CH340 USB-UART converters that require sketchy, unsigned drivers to function on modern Windows and macOS systems.
For a reliable experience, source your microcontrollers and sensors from authorized distributors like Digi-Key, Mouser, or directly from the Arduino Education Initiative partners. Paying an extra $5 for a genuine board ensures the hardware works exactly as the documentation promises, keeping the focus on coding rather than driver troubleshooting.
Final Thoughts on STEM Education
The best Arduino projects for kids are those that solve a tangible problem or create a delightful interaction. By focusing on sensor-driven builds like capacitive soil monitoring, ultrasonic acoustics, and I2C gesture tracking, you equip young makers with the exact skills used in modern IoT and automation engineering. Start with the soil monitor to build confidence, and graduate to the Hall Effect anemometer to master real-time processing.