
The Hidden Power Drain in Basic Microcontroller Builds
When makers first explore arduino simple projects—like a basic mailbox alert, a DIY weather station, or an automated plant waterer—they almost always start with a standard Arduino Uno or Nano. While excellent for prototyping, these development boards are notoriously inefficient for battery-powered deployments. If you connect a standard 2000mAh 18650 lithium-ion battery to an Uno running a basic sensor loop, the battery will be dead in less than four days.
Why? The standard Arduino Uno features an NCP1117 linear voltage regulator with a quiescent current draw of roughly 5mA. Add the USB-to-serial converter chip (like the CH340 or ATmega16U2) drawing another 10mA to 15mA, and the onboard power LED consuming 3mA. Your board idles at roughly 20mA before the ATmega328P microcontroller even executes a single line of code. To build truly energy-efficient arduino simple projects that run for months or years on a single battery, you must fundamentally rethink your hardware selection and firmware architecture.
Core Strategies for Energy-Efficient Arduino Simple Projects
Achieving ultra-low power consumption requires a three-pronged approach: stripping away parasitic board components, leveraging AVR hardware sleep modes, and utilizing hardware interrupts instead of active polling.
1. Stripping the Hardware Parasites
For deployment, abandon the fully populated development board. Instead, use a barebones ATmega328P-PU chip (typically $2.80) on a custom PCB or breadboard, or use an Arduino Pro Mini 3.3V where you have physically desoldered the power LED and the onboard voltage regulator. By removing these components, you eliminate the parasitic drains that ruin battery life.
2. Leveraging AVR Sleep Modes
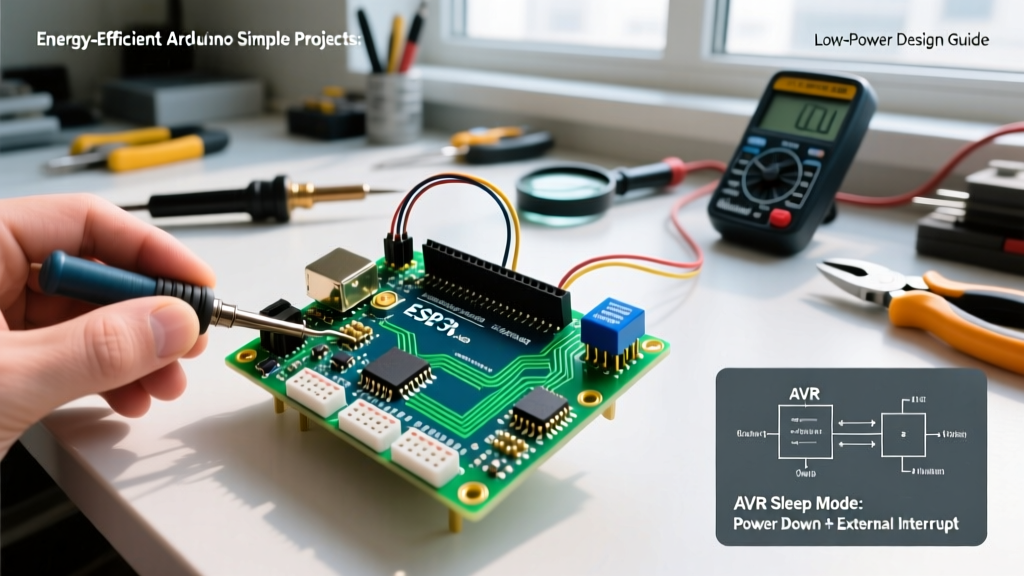
The ATmega328P microcontroller features six distinct sleep modes. For battery-operated nodes, the Power-Down mode is your most critical tool. In this state, the CPU, ADC, and oscillators are halted, dropping the chip's current consumption to roughly 0.1µA. According to the official Microchip ATmega328P specifications, disabling the Brown-Out Detector (BOD) during sleep is mandatory to achieve this microamp-level efficiency, as the BOD alone consumes roughly 20µA.
| Sleep Mode | CPU State | Oscillator State | Typical Power Draw (3.3V) | Wake Sources |
|---|---|---|---|---|
| Idle | Stopped | Running | ~1.5 mA | Any interrupt |
| ADC Noise Reduction | Stopped | Running (CPU clk stopped) | ~0.8 mA | INT0/1, Pin Change, TWI |
| Power-Down | Stopped | Stopped | ~0.1 µA (BOD Off) | INT0/1, Pin Change, WDT |
| Power-Save | Stopped | Async Timer Running | ~1.2 µA | INT0/1, Timer2, WDT |
3. Hardware Interrupts Over Polling
Beginners often use delay() or while() loops to wait for a button press or a PIR motion sensor to trigger. This keeps the CPU active at 15mA. Instead, configure your sensors to trigger a hardware interrupt on Pin 2 (INT0) or Pin 3 (INT1). The microcontroller stays in Power-Down mode (0.1µA) and wakes up in microseconds only when the sensor pulls the pin LOW or HIGH.
Step-by-Step: Implementing Deep Sleep in Firmware
To manage sleep modes without writing dozens of lines of raw AVR register code, the community standard is the Rocket Scream Low-Power library. Below is the architectural flow for a low-power soil moisture node.
Step 1: Include Libraries and Define Pins
#include <LowPower.h>

const int wakePin = 2; // Hardware interrupt pin 0
const int sensorPowerPin = 4; // Controls MOSFET gate
const int sensorReadPin = A0;
Step 2: The Sleep and Wake Routine
void setup() {
  pinMode(wakePin, INPUT_PULLUP);
  pinMode(sensorPowerPin, OUTPUT);
  digitalWrite(sensorPowerPin, LOW); // Keep sensor off by default
  Serial.begin(9600);
}

void loop() {
  // 1. Power up the sensor via MOSFET
  digitalWrite(sensorPowerPin, HIGH);
  delay(50); // Allow sensor capacitor to charge

  // 2. Read data
  int moistureLevel = analogRead(sensorReadPin);
  Serial.println(moistureLevel);

  // 3. Cut power to sensor
  digitalWrite(sensorPowerPin, LOW);

  // 4. Enter deep sleep for 8 seconds (Watchdog Timer)
  // ADC and BOD are turned off to save maximum power
  LowPower.powerDown(SLEEP_8S, ADC_OFF, BOD_OFF);
}
Component Selection: Power Gating with MOSFETs
A common failure mode in energy-efficient arduino simple projects is leaving sensors powered continuously. Even a low-power capacitive soil moisture sensor draws 2mA to 5mA when idle. Over a year, this destroys a battery.
As of 2026, the best practice is power gating. Use a logic-level N-channel MOSFET like the BSS138 or AO3400 (costing less than $0.05 each) to switch the ground path of your sensor. Connect the MOSFET gate to a digital output pin on the ATmega328P. Set the pin HIGH only for the 50 milliseconds required to take a reading, then pull it LOW to completely sever the sensor's circuit.
Critical Edge Case: I2C Pull-Up Leakage
If you are using I2C sensors (like the BME280), power gating the sensor's VCC while leaving the SDA and SCL lines connected to the ATmega's internal pull-ups will cause current to leak backward through the sensor's protection diodes. Always use a secondary MOSFET to gate the pull-up resistors, or use a dedicated I2C level shifter with an enable pin.
Real-World Battery Life Calculations
Let us calculate the exact battery life for a mailbox alert project using a standard 2500mAh 18650 Li-ion cell (approx. $4.50) and a barebones ATmega328P running at 3.3V/8MHz.
- Active State: CPU awake, RF transmitter sending data. Draws 25mA for 0.5 seconds.
- Sleep State: Power-Down mode with BOD off. Draws 5µA (0.005mA) for 3599.5 seconds (assuming a 1-hour wake interval via Watchdog Timer).
Average Current Draw Calculation:
[(25mA * 0.5s) + (0.005mA * 3599.5s)] / 3600s = 0.0084mA (8.4µA) average continuous draw.
Battery Life:
2500mAh / 0.0084mA = 297,619 hours, or roughly 33.9 years.
Of course, lithium-ion self-discharge (roughly 2-3% per month) and battery degradation will cap the real-world physical lifespan at about 3 to 5 years, but the microcontroller's energy budget is no longer the limiting factor. For a deeper dive into the physics of AVR power consumption and self-discharge curves, Nick Gammon's comprehensive guide on microcontroller power saving remains the definitive reference for hardware engineers.
FAQ: Troubleshooting Low-Power Arduino Builds
Why is my sleeping circuit still drawing 3mA?
You likely have floating pins. If an ATmega328P input pin is left unconnected (floating), ambient electromagnetic noise causes the internal CMOS logic gates to oscillate rapidly, drawing milliamps of current. Always tie unused pins to GND via a 10kΩ resistor, or configure them as OUTPUT and set them LOW in your setup routine.
Can I use the internal Watchdog Timer to wake up every 24 hours?
No. The AVR hardware Watchdog Timer maxes out at an 8-second interval. To achieve 24-hour sleep intervals, you must loop the 8-second sleep command 10,800 times inside your code, or use an external ultra-low-power Real-Time Clock (RTC) module like the PCF8523, which draws roughly 1µA and can trigger an interrupt on Pin 2 once per day.
Do I need to disable the ADC before sleeping?
Yes. If you use the Rocket Scream library, passing ADC_OFF handles this. If you forget to disable the Analog-to-Digital Converter before entering Power-Down mode, the ADC circuitry will remain partially active, adding roughly 100µA to your sleep current—effectively reducing your battery life by a factor of ten.