
Why 2026 is the Best Time to Start with Arduino
The microcontroller landscape has evolved significantly, making this the perfect year to dive into embedded systems. While the classic Uno R3 remains a staple, the Arduino Uno R4 Minima has largely become the new standard for beginners, offering a 32-bit ARM Cortex-M4 processor, a built-in 12x8 LED matrix, and native HID capabilities without breaking the $22 price point.
If you are searching for the best Arduino projects for beginners, you need builds that teach foundational concepts (I2C, SPI, PWM, and analog reading) while solving real-world problems. Below, we break down seven highly actionable projects, complete with 2026 component pricing, specific wiring edge cases, and the exact failure modes you must avoid.
Pro Tip for Beginners: Never power inductive loads (like motors or solenoids) directly from the Arduino's 5V pin. The onboard linear regulator maxes out around 400mA and will thermally throttle or fail. Always use external motor drivers or buck converters.Quick Comparison: Top Beginner Microcontroller Builds
| Project | Core Concept | Key Component | Est. Cost (2026) | Build Time |
|---|---|---|---|---|
| 1. Desktop Weather Station | I2C Communication | BME280 Sensor | $12 - $15 | 1.5 Hours |
| 2. RFID Door Lock | SPI Bus & Security | MFRC522 Module | $8 - $10 | 2 Hours |
| 3. Auto Plant Waterer | Analog Read & Relays | Capacitive Soil v1.2 | $9 - $12 | 2 Hours |
| 4. Digital Tape Measure | Timing & PulseIn | HC-SR04 Ultrasonic | $5 - $7 | 1 Hour |
| 5. Bluetooth LED Ticker | UART & Shift Registers | MAX7219 Matrix | $11 - $14 | 2.5 Hours |
| 6. Obstacle Avoidance Rover | PWM & H-Bridges | TB6612FNG Driver | $18 - $24 | 3 Hours |
| 7. MIDI Macro Pad | USB HID & Interrupts | EC11 Rotary Encoders | $10 - $15 | 2 Hours |
1. BME280 OLED Desktop Weather Station
Forget the outdated DHT11; the Bosch BME280 is the gold standard for hobbyist environmental sensing. It measures temperature, humidity, and barometric pressure over I2C with high precision.
Crucial Edge Case: I2C Address Conflicts
The BME280 typically uses the I2C address 0x76 or 0x77. If you are daisy-chaining it with an SSD1306 OLED display (which uses 0x3C), you are safe. However, cheap clone BME280 boards often lack the required 4.7kΩ pull-up resistors on the SDA and SCL lines. If your serial monitor spits out NaN or fails to initialize, add external 4.7kΩ resistors between the 3.3V line and your I2C data/clock pins. For a deep dive into wiring this specific sensor, check out the Adafruit BME280 Breakout Guide.
2. RC522 RFID Access Control System
Building an RFID lock teaches you the SPI (Serial Peripheral Interface) protocol. The MFRC522 module reads 13.56 MHz tags and can trigger a 5V solenoid lock via a logic-level MOSFET (like the IRLZ44N).
Warning: The RC522 operates strictly at 3.3V logic. Connecting its MISO, MOSI, and SCK pins directly to the 5V digital pins of a standard Arduino Uno will slowly degrade and eventually fry the module's internal silicon. Use a bidirectional logic level shifter (like the BSS138 or CD4050) for reliable, long-term operation.
3. Capacitive Soil Moisture Auto-Waterer
This project solves a real-world problem: keeping plants alive. You will read analog voltage drops to determine soil hydration and trigger a 12V water pump via a 5V relay module.
Why You Must Avoid Resistive Probes
Beginners often buy the $1 nickel-plated resistive soil sensors. Do not use these. The electrical current causes rapid galvanic corrosion, destroying the probes within 72 hours. Instead, spend the extra $2 on the v1.2 Capacitive Soil Moisture Sensor. It uses a 555 timer circuit to measure the dielectric permittivity of the soil without exposing bare metal to the elements, ensuring a lifespan of several years.
4. HC-SR04 Ultrasonic Tape Measure
By measuring the time it takes for a 40kHz sound wave to bounce off an object, you can calculate distance. This project introduces the pulseIn() function.
- The Math: Distance = (Time × Speed of Sound) / 2.
- The Edge Case: The speed of sound changes with temperature (approx. 331.4 m/s at 0°C, increasing by 0.6 m/s per °C). For a truly accurate tape measure, add a TMP36 temperature sensor to your code to dynamically adjust the speed of sound variable in real-time.
- Code Tip: Always set a timeout in your
pulseIn(echoPin, HIGH, 20000)function. If the sound wave scatters and never returns, a missing timeout will cause your Arduino to freeze indefinitely.
5. MAX7219 Scrolling Bluetooth Ticker
Combine a 4-module MAX7219 8x8 LED matrix with an HC-05 Bluetooth module to create a smartphone-controlled scrolling desk ticker. The MAX7219 handles the heavy lifting of multiplexing the LEDs, freeing up your microcontroller's CPU cycles.
Power Delivery & Ghosting
A 4-module matrix can draw up to 1.2 Amps when all LEDs are at maximum brightness. Do not power this from the Arduino's 5V pin. Use a dedicated 5V 2A buck converter. Furthermore, if you see 'ghosting' (faint LEDs lighting up in the wrong rows), place a 100µF electrolytic decoupling capacitor across the VCC and GND pins of the first MAX7219 module to stabilize voltage dips during high-current switching.
6. TB6612FNG Motor Driver Rover
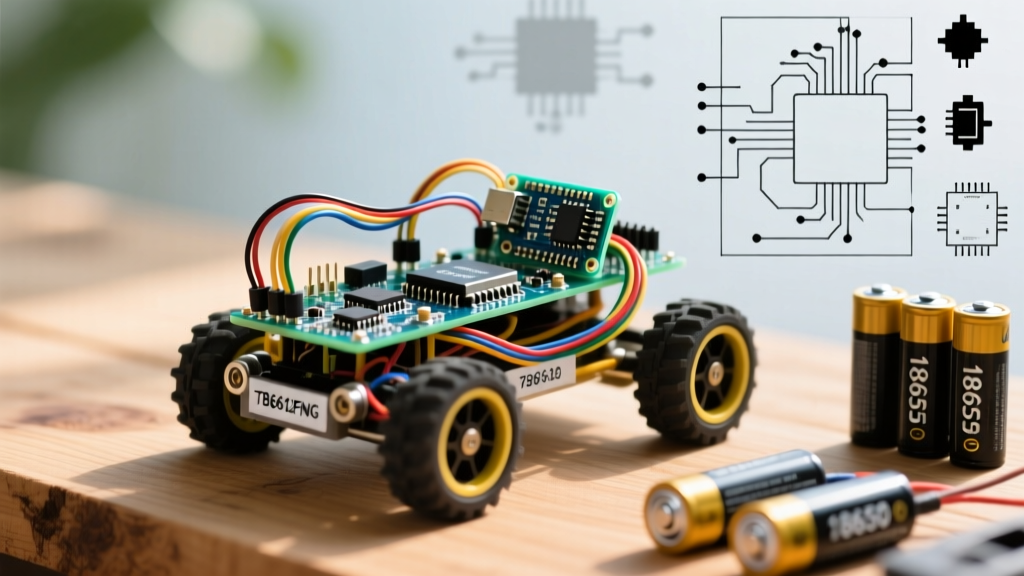
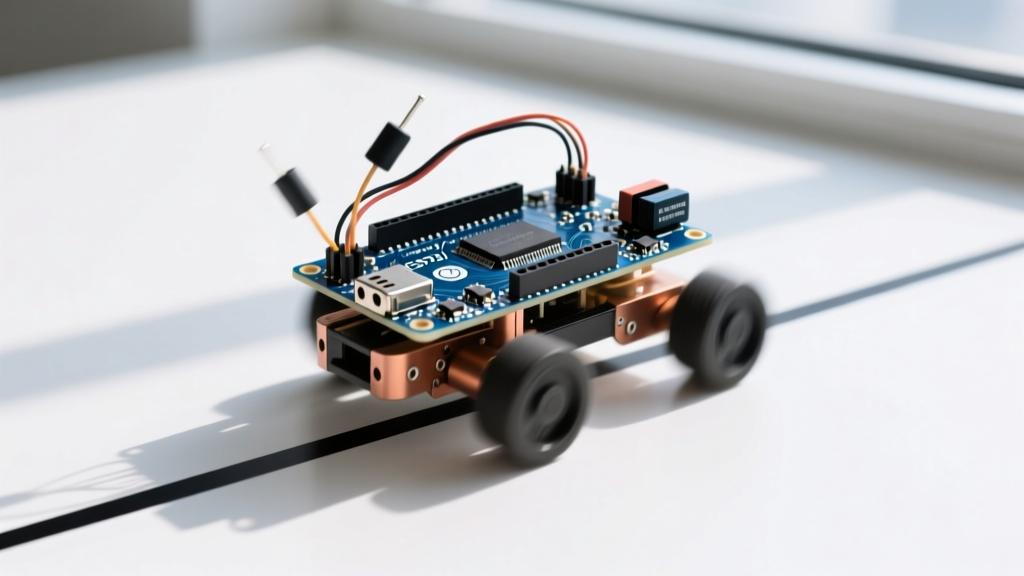
Many outdated 2018-era tutorials recommend the L298N motor driver. In 2026, the L298N is considered obsolete for small robotics due to its massive 1.5V to 2.0V voltage drop across its internal Darlington transistors. This means if you supply 6V, your motors only see 4V.
Instead, use the TB6612FNG. It utilizes MOSFET technology, resulting in a negligible 0.5V drop, a much smaller physical footprint, and support for PWM frequencies up to 100kHz. Wire the STBY pin directly to VCC to keep the driver enabled, and use a 2S LiPo battery (7.4V nominal) for optimal torque.
7. EC11 Rotary Encoder MIDI Macro Pad
With the Uno R4's native USB HID capabilities, building a MIDI controller or PC macro pad is easier than ever. The EC11 rotary encoder provides infinite rotation and a push-button click, perfect for scrolling timelines in video editors or adjusting synth parameters.
Hardware vs. Software Debouncing
Mechanical encoders suffer from contact bounce, which can cause your code to register three 'clicks' when you only turned the knob one detent. While you can use software libraries like Encoder.h to filter this out, hardware debouncing is superior for MIDI latency. Solder a 10kΩ resistor and a 0.1µF ceramic capacitor in parallel across the A and B pins of the encoder to create a low-pass RC filter, eliminating bounce before the signal ever reaches the microcontroller.
Crucial Troubleshooting: 3 Edge Cases Beginners Miss
- Missing Flyback Diodes: Whenever you switch an inductive load (relay coils, solenoids, DC motors) using a transistor or MOSFET, the collapsing magnetic field generates a massive reverse voltage spike. This will instantly destroy your Arduino's output pin. Always wire a 1N4007 flyback diode in reverse bias across the coil terminals.
- Ground Loops in UART: When connecting an Arduino to a PC via a secondary USB-to-TTL serial adapter (like the CP2102) for debugging, you must connect the GND pins of both devices together. Without a common ground reference, the RX/TX data lines will read as floating noise, resulting in garbage characters in your serial monitor.
- Breadboard Parasitic Capacitance: Solderless breadboards introduce roughly 2pF to 5pF of stray capacitance between adjacent rows. While fine for basic LED blinking, this capacitance will corrupt high-speed SPI or I2C signals. If your RFID or OLED displays fail on a breadboard but work when soldered, this parasitic capacitance is the culprit.
By tackling these specific builds and understanding the underlying electrical principles, you will bypass the common frustrations that cause most beginners to abandon embedded electronics. Grab your wire strippers, fire up the IDE, and start building.