
Why Transition to IoT for Your First Builds?
When exploring arduino beginner projects, most tutorials stop at blinking an LED or reading a serial output. However, the true power of modern microcontrollers lies in their connectivity. Transitioning to Internet of Things (IoT) architectures transforms a standalone circuit into a distributed data node capable of remote monitoring, alerting, and automation.
In 2026, the barrier to entry for IoT is lower than ever. The Espressif ESP32 ecosystem has matured, offering dual-core processing, integrated Wi-Fi/Bluetooth, and deep-sleep capabilities for under $10. According to the official Espressif ESP32 documentation, the chip's ultra-low-power co-processor allows it to handle Wi-Fi provisioning while the main cores sleep, making it the undisputed king of entry-level IoT sensor nodes.
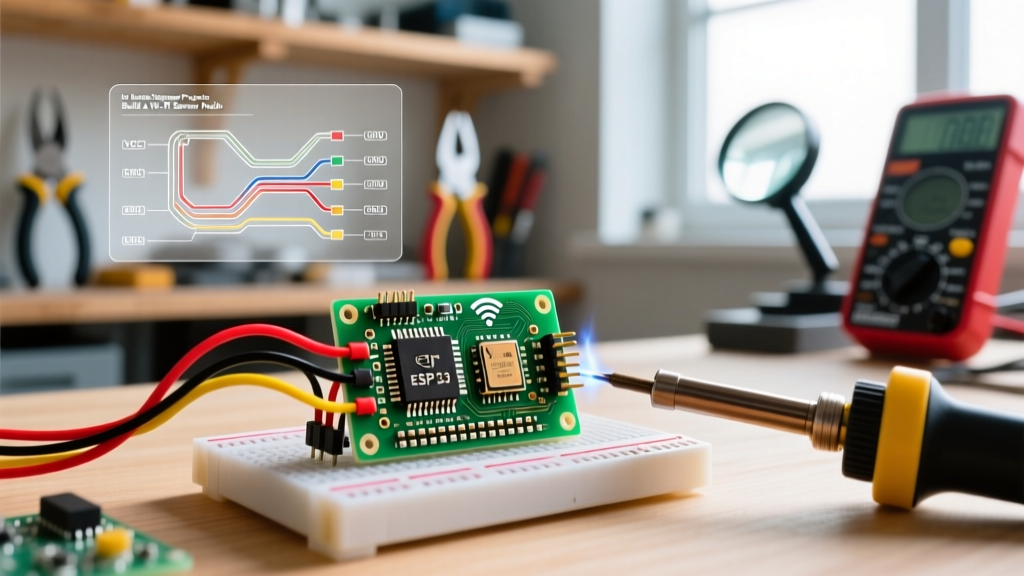
This guide will walk you through building a robust, cloud-connected temperature and humidity monitor. We will bypass the common pitfalls that frustrate beginners, such as Wi-Fi dropouts, sensor read timeouts, and power brownouts.
Hardware Bill of Materials (BOM) & Cost Breakdown
To build a reliable node, you must avoid the cheapest, unbranded clones that suffer from voltage regulator failures. Below is the recommended hardware stack for a production-grade beginner build.
| Component | Specific Model / Part Number | Est. Price (2026) | Engineering Notes |
|---|---|---|---|
| Microcontroller | NodeMCU-32S (ESP32-WROOM-32) | $6.50 | Includes CP2102 USB-UART bridge. Avoid CH340 clones for stability. |
| Environmental Sensor | AM2302 / DHT22 (Wired Module) | $4.20 | Get the 3-pin module version with the onboard 10k pull-up resistor pre-soldered. |
| Power Delivery | High-AWG Micro-USB Data Cable | $5.50 | Must support data. Cheap charge-only cables cause severe voltage drops. |
| Prototyping | 400-Tie Point Breadboard & Jumpers | $3.80 | Use 22 AWG solid core jumper wires for reliable breadboard contact. |
| Decoupling Capacitor | 100µF Electrolytic (16V) | $0.15 | Critical for suppressing Wi-Fi transmission current spikes. |
Wiring the Sensor Node: Avoiding Floating Pins
The DHT22 communicates via a proprietary single-wire protocol. While it is technically a digital signal, it is highly susceptible to electromagnetic interference (EMI) and requires a strict pull-up resistor configuration.
Pinout Configuration
- VCC (Pin 1): Connect to the ESP32
3V3pin. Do not use 5V; the ESP32 GPIO pins are strictly 3.3V tolerant. Feeding 5V into GPIO 4 will permanently damage the silicon. - Data (Pin 2): Connect to ESP32
GPIO 4. If you are using a raw 4-pin DHT22 (not the module), you must solder a 10kΩ resistor between Data and VCC. - Null (Pin 3): Leave disconnected.
- GND (Pin 4): Connect to ESP32
GND.
Hardware Pro-Tip: Place the 100µF electrolytic capacitor directly across the ESP32's3V3andGNDpins on the breadboard. When the ESP32 activates its Wi-Fi radio, it can draw current spikes exceeding 300mA for a few milliseconds. Without local energy storage, the AMS1117 voltage regulator on the dev board will sag, triggering a hardware reset.
Firmware Architecture: Handling Wi-Fi and Sensor Timeouts
Writing IoT firmware requires defensive programming. Network connections fail, and sensors hang. The Arduino IDE 2.3+ environment makes compiling for the ESP32 straightforward, but your C++ logic must account for edge cases.
The 2-Second DHT22 Rule
The DHT22 sensor has a maximum sampling rate of 0.5 Hz. If your code attempts to read the sensor more frequently than once every 2,000 milliseconds, the sensor will return NaN (Not a Number) or stale data. Always implement a non-blocking timer or a strict delay(2000) in your loop.
Resilient Wi-Fi Connection Logic
Beginners often use a simple while (WiFi.status() != WL_CONNECTED) loop in the setup() function. If the router is offline, the ESP32 will hang in this infinite loop forever, becoming a dead brick until manually reset. Instead, implement a timeout counter:
int timeout = 0;
WiFi.begin(ssid, password);
while (WiFi.status() != WL_CONNECTED && timeout < 40) {
    delay(500);
    timeout++;
}
if (WiFi.status() != WL_CONNECTED) {
    ESP.restart(); // Fail-safe: reboot and try again
}
Cloud Telemetry via ThingSpeak
For data visualization, MathWorks' ThingSpeak platform remains the gold standard for academic and hobbyist IoT projects. It offers a generous free tier capable of handling millions of messages annually.
Formatting the HTTP GET Request
To push data to ThingSpeak, the ESP32 must open a TCP socket to api.thingspeak.com on port 80 and send a formatted HTTP GET request.
Your payload string should look exactly like this:
GET /update?api_key=YOUR_WRITE_API_KEY&field1=TEMPERATURE&field2=HUMIDITY HTTP/1.1
Ensure you append the Host: api.thingspeak.com header and a Connection: close directive. Failing to close the connection will leave the socket open on the server side, eventually leading to a socket exhaustion error on the ESP32 after 15-20 successful posts.
Power Optimization: Implementing Deep Sleep
If you plan to power your IoT node via a lithium-ion battery (e.g., an 18650 cell), keeping the Wi-Fi radio active 24/7 will drain the battery in less than 48 hours. The ESP32's Real-Time Clock (RTC) controller allows it to enter Deep Sleep, dropping current consumption from ~80mA down to roughly 10µA.
- Wake up from RTC timer.
- Boot Wi-Fi modem (takes ~1.5 seconds).
- Read DHT22 sensor.
- POST data to ThingSpeak.
- Call
esp_deep_sleep_start().
By sleeping for 15 minutes between readings, a single 3000mAh 18650 battery can power this node for over 6 months in real-world conditions.
Common IoT Troubleshooting Matrix
When your build fails, consult this diagnostic matrix before rewriting your code. 90% of IoT hardware failures stem from power delivery or physical layer issues.
| Symptom / Serial Output | Root Cause Analysis | Hardware / Software Fix |
|---|---|---|
| Brownout detector was triggered | Voltage on the 3V3 rail dropped below 2.4V during Wi-Fi TX burst. | Replace USB cable with a shorter, thicker gauge cable. Add 100µF capacitor to 3V3/GND. |
| DHT22 returns NaN or 0.00 | Missing pull-up resistor, or polling faster than the 2Hz hardware limit. | Verify 10k pull-up. Enforce a delay(2000) between dht.read() calls. |
| WiFi.status() stuck at 1 (NO_SHIELD) | Board manager URL mismatch or incorrect board profile selected in IDE. | Select 'ESP32 Dev Module' in Arduino IDE. Ensure 'Erase All Flash Before Sketch Upload' is set to 'Enabled' for the first flash. |
| ThingSpeak returns HTTP 400 | Malformed URL string or attempting to send data faster than the 15-second free-tier limit. | Check URL encoding. Add a 16-second delay between HTTP POST requests. |
Next Steps for Your IoT Journey
Once your DHT22 ESP32 node is reliably uploading data to the cloud, you have conquered the foundational hurdles of IoT architecture. From here, you can swap the DHT22 for an I2C BME280 sensor (which adds barometric pressure and offers vastly superior accuracy), integrate MQTT protocols via Mosquitto for sub-second local home automation latency, or design a custom PCB to eliminate breadboard parasitic capacitance. The transition from offline microcontrollers to distributed IoT networks is the most rewarding leap you can make in embedded systems engineering.