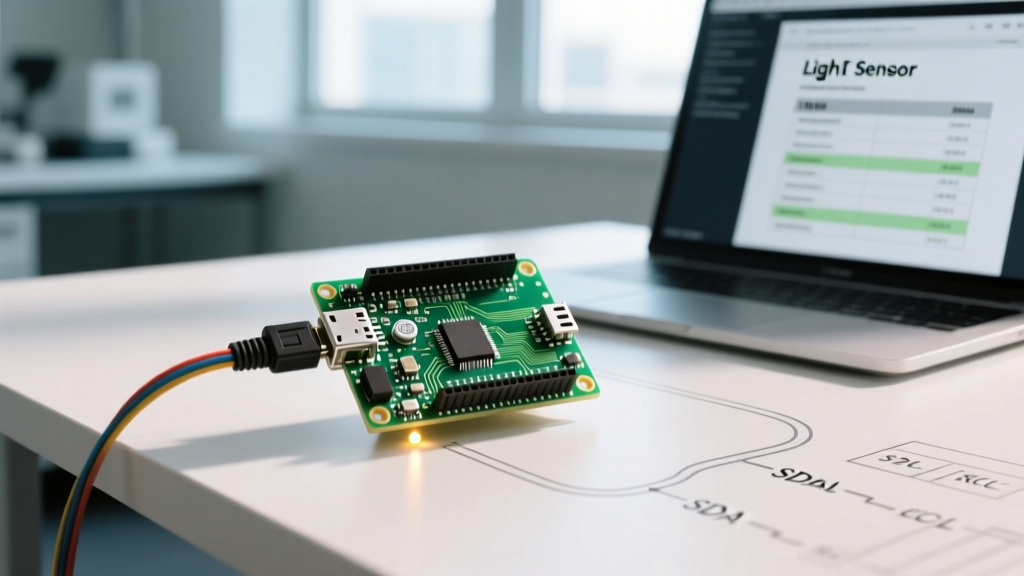

The Gap Between Tutorials and Datasheets
When building a light sensor Arduino project, most makers simply wire up a BH1750FVI breakout board, copy a library example, and move on. While this works for basic hobby projects, it leaves you entirely blind when the sensor behaves unpredictably in edge cases—like failing to trigger under specific LED lighting or returning stale data on high-speed I2C buses. To build robust, commercial-grade, or highly reliable DIY environmental monitors, you must understand what the silicon is actually doing. This datasheet explainer bridges the gap between the Rohm BH1750FVI technical specifications and real-world Arduino Uno R4 and ESP32-S3 integration in 2026.
Core Specs: What the BH1750FVI Datasheet Actually Says
The ROHM BH1750FVI is a digital ambient light sensor IC that communicates via I2C and outputs lux values directly, bypassing the need for complex analog-to-digital conversion and external calibration resistors. However, the datasheet hides critical operational limits that directly impact your microcontroller code.
| Datasheet Parameter | Specified Value | Real-World Arduino Implication |
|---|---|---|
| Supply Voltage (VCC) | 2.4V to 3.6V | Do not power directly from a 5V Arduino Uno pin without a logic level shifter or a 3.3V regulator. Most 2026 breakout boards include an onboard LDO, but bare chips will fry. |
| I2C Logic High (VIH) | 0.7 x VCC | If VCC is 3.3V, the I2C SDA/SCL lines must reach at least 2.31V to register as HIGH. 3.3V MCUs are fine, but 5V MCUs require pull-ups to 3.3V, not 5V. |
| Max I2C Clock Frequency | 400 kHz (Fast Mode) | Standard Arduino Wire library defaults to 100 kHz. You can safely push to 400 kHz for faster polling, but wire capacitance becomes a major factor. |
| Operating Temperature | -40°C to +85°C | Suitable for outdoor weather stations, but condensation on the sensor window will severely refract light and skew lux readings. |
Decoding Measurement Modes: The Hidden Power
The most misunderstood section of the BH1750 datasheet is the measurement mode table. The sensor does not just 'read light'; it integrates photons over a specific time window. The datasheet defines three primary continuous modes, each triggered by sending a specific command byte via the I2C bus.
1. Continuously H-Resolution Mode (Command: 0x10)
This is the default mode in most Arduino libraries. It offers a 1 lx resolution and an integration time of roughly 120ms. The datasheet notes that this mode rejects 50Hz/60Hz AC light flicker by averaging over multiple AC cycles. If you are measuring indoor lighting powered by mains electricity, this mode is mandatory to prevent oscillating lux readings.
2. Continuously H-Resolution Mode2 (Command: 0x11)
This mode provides a 0.5 lx resolution, also with a 120ms integration time. The trade-off? The datasheet specifies that the measurement range is halved. While standard H-Resolution caps at 65,535 lx, Mode2 caps at roughly 32,767 lx. Unless you are measuring direct, concentrated sunlight (which exceeds 100,000 lx anyway), Mode2 is ideal for dimly lit environments like home theaters or automated grow tents where fractional lux changes matter.
3. Continuously L-Resolution Mode (Command: 0x13)
With a 4 lx resolution and a blistering 16ms integration time, this mode is designed for high-speed polling. However, because the integration window is so short, it will capture the flicker of PWM-driven LEDs and AC mains lighting, resulting in noisy data. Use this only for battery-powered applications where you need to wake the MCU, grab a rough ambient reading, and return to sleep immediately.
Datasheet Translation Note: The raw 16-bit data returned by the sensor is not the final lux value. The datasheet explicitly states the formula:
Illuminance (lx) = Raw Data / 1.2. Many outdated 2020-era Arduino libraries skipped this division, resulting in readings that were exactly 20% too high. Always verify your library's math against the official ROHM documentation.
I2C Addressing: The ADDR Pin Dilemma
The BH1750 supports two I2C addresses, allowing you to daisy-chain two sensors (e.g., one facing indoors, one facing outdoors) on the same Arduino I2C bus. The address is dictated by the voltage state of the ADDR pin.
- ADDR tied to GND: I2C Address is
0x23(Hex) / 35 (Decimal). - ADDR tied to VCC: I2C Address is
0x5C(Hex) / 92 (Decimal).
The Edge Case: The datasheet warns against leaving the ADDR pin floating. While some breakout boards include a weak internal pull-down resistor, relying on it in electrically noisy environments (like near stepper motor drivers or relay modules) can cause the pin to drift above the logic threshold, causing the sensor to randomly switch addresses mid-operation. Always use a physical jumper or a 10kΩ external resistor to tie the ADDR pin firmly to GND or VCC.
Spectral Response and the 'LED vs. Sunlight' Trap
A common complaint on maker forums is that the BH1750 reads '0 lux' when pointed at an IR heat lamp or certain remote controls. The datasheet's spectral response graph explains why. The sensor's photodiode is filtered to mimic the human eye's photopic vision curve, peaking sharply at 550nm (green light).
It has virtually zero sensitivity to wavelengths above 750nm (infrared) and below 400nm (ultraviolet). If your light sensor Arduino project involves measuring the output of pure UV sterilization lamps or IR-based proximity illuminators, the BH1750 will fail entirely. For those applications, you need a broadband sensor like the TSL2591 or a dedicated UV-specific IC like the VEML6075.
Real-World Failure Modes & Hardware Troubleshooting
When your Arduino Serial Monitor spits out 'NaN' or hangs on Wire.requestFrom(), the issue is rarely the sensor itself. It is almost always an I2C bus violation. According to the NXP I2C Bus Specification, bus capacitance dictates pull-up resistor sizing.
- The Long-Wire Problem: If you run I2C wires longer than 30cm to place the light sensor outside an enclosure, the parasitic capacitance of the wires exceeds 200pF. The standard 4.7kΩ pull-up resistors on most Arduino breakout boards become too weak to pull the SDA/SCL lines high within the required rise time.
- The Fix: Swap the 4.7kΩ pull-ups for 2.2kΩ or even 1kΩ resistors. Alternatively, use an active I2C bus extender like the PCA9615 if your sensor is meters away from the microcontroller.
- Stale Data Polling: If you use the 120ms H-Resolution mode but your Arduino
loop()requests data every 50ms, the sensor will return the previous measurement or NACK the bus because the internal ADC is still integrating. Always implement a non-blocking timer (usingmillis()) that respects the integration time specified in the datasheet before requesting new bytes.
Frequently Asked Questions
Can I use the BH1750 with a 5V Arduino Uno without a level shifter?
Technically, the I2C spec allows 5V logic to read 3.3V highs if the pull-ups are tied to 3.3V, but it violates the absolute maximum ratings of the BH1750's SDA/SCL pins if they are driven to 5V. In 2026, with level-shifting breakout boards costing under $4.00, risking a $3.50 sensor to save a few cents on a logic level converter is not recommended for permanent installations.
Why does my lux reading max out at 65535?
The sensor outputs a 16-bit unsigned integer. The maximum raw value is 65535. When divided by the 1.2 scaling factor, the absolute maximum measurable illuminance is roughly 54,612 lx. Direct, unfiltered summer sunlight can exceed 100,000 lx. In these conditions, the sensor's internal ADC saturates, and you will need to place a physical neutral density (ND) filter over the sensor window and multiply the result in your Arduino code by the filter's attenuation factor.
How do I calibrate the sensor for my specific environment?
The BH1750 is factory-calibrated to a standard light source. However, if you are measuring light passing through a tinted acrylic enclosure, you must calculate a custom compensation factor. Measure the lux with the enclosure open, then closed, and apply a multiplier in your Arduino Wire library code to offset the acrylic's light absorption.


