
The Anatomy of Optical Heart Rate Failures
Building a reliable heart beat sensor Arduino project is a rite of passage for bio-instrumentation enthusiasts, but it rarely works perfectly on the first upload. Optical heart rate monitoring relies on Photoplethysmography (PPG)—shining light into the skin and measuring the refraction changes caused by pulsatile blood volume. The AC component of this signal (the actual pulse) is often less than 2% of the total DC baseline. When you pair microvolt-level analog signals with the electrically noisy environment of a breadboard, or mismanage I2C bus capacitance on digital sensors, the result is clipped data, 60Hz mains hum, or completely frozen microcontrollers.
This guide bypasses basic wiring tutorials and dives straight into the hardware and software edge cases that cause PPG sensor failures in 2026, covering both analog and digital modules.
Sensor Hardware Matrix: Identifying Your Failure Domain
Before debugging code, you must identify the physical limitations of your specific module. The market is dominated by three distinct architectures, each with unique failure modes.
| Sensor Module | Interface | 2026 Avg. Price | Primary Failure Mode | Logic Level |
|---|---|---|---|---|
| Pulse Sensor Amped | Analog (Op-Amp) | $24.00 - $28.00 | Op-Amp saturation & baseline wander | 5V Tolerant |
| MAX30102 / MAX30105 | Digital (I2C) | $8.00 - $15.00 | I2C bus hanging & ambient light overflow | 3.3V / 1.8V Internal |
| KY-039 (Generic) | Analog (Raw) | $1.50 - $3.00 | Extreme 50/60Hz noise & low SNR | 5V Tolerant |
Analog Sensor Troubleshooting (Pulse Sensor Amped & KY-039)
Analog sensors output a continuous voltage that the Arduino's Analog-to-Digital Converter (ADC) must sample. The ATmega328P (Arduino Uno/Nano) features a 10-bit ADC, yielding 1024 discrete steps across the 5V reference. This equates to roughly 4.88mV per step. Because the PPG pulse wave is often only 10mV to 30mV peak-to-peak, you are capturing the heartbeat in just 2 to 6 ADC steps, resulting in a jagged, quantized signal.
1. Curing 50/60Hz Mains Hum and Ground Loops
If your Serial Plotter shows a thick, fuzzy band of noise rather than a clean line, you are likely picking up electromagnetic interference (EMI) from nearby AC mains wiring. According to Analog Devices Tutorial MT-031 on Grounding Data Converters, high-impedance analog traces act as antennas for ambient electrical noise.
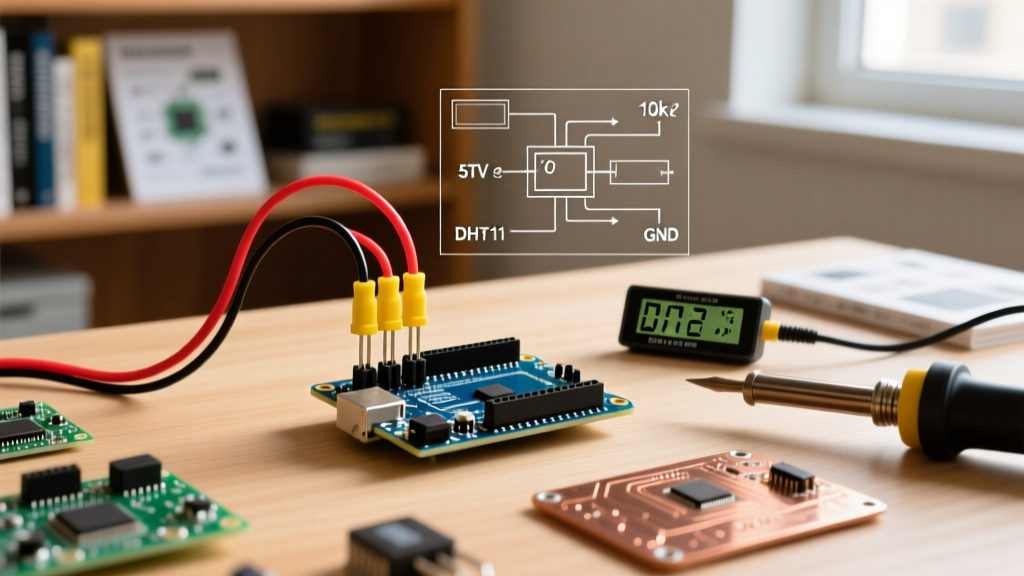
- Hardware Fix: Implement a passive RC low-pass filter between the sensor output and the Arduino analog pin. A 1kΩ series resistor paired with a 100nF ceramic capacitor to ground creates a cutoff frequency of ~1.5kHz, effectively killing high-frequency switching noise without attenuating the 1Hz to 3Hz pulse signal.
- Wiring Fix: Never use standard male-to-female jumper wires longer than 15cm for analog PPG signals. Use twisted-pair shielded cable, connecting the shield to the Arduino GND at the microcontroller end only to prevent ground loops.
2. Overcoming ADC Resolution Starvation
If you are using a raw KY-039 sensor, the signal is often too small for the Uno's 10-bit ADC to resolve cleanly. Instead of trying to amplify the signal with a messy breadboard op-amp circuit, bypass the internal ADC entirely.
Expert Tip: Wire an ADS1115 16-bit external ADC via I2C. It costs under $5 in 2026, offers programmable gain amplification (PGA) up to 16x, and resolves the PPG signal into 32,768 steps, virtually eliminating quantization noise.
Digital I2C Sensor Troubleshooting (MAX30102 / MAX30105)
Digital sensors handle the analog-to-digital conversion and ambient light cancellation (ALC) internally, outputting clean hex data via I2C. However, they introduce bus-level complexities.
1. The 3.3V vs 5V Logic Level Trap
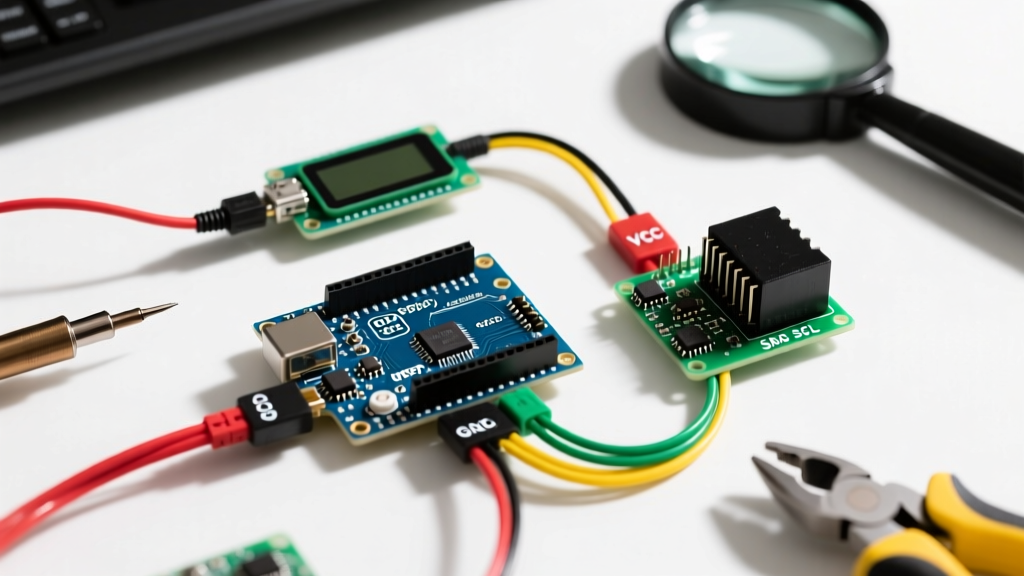
The most common reason a heart beat sensor Arduino project using a MAX30102 fails to initialize (returning 0xFF or hanging indefinitely) is logic level mismatch. The MAX3010x silicon operates at 1.8V internally. Breakout boards include a 3.3V LDO and level-shift the I2C lines to 3.3V. If you connect these directly to an Arduino Uno's 5V SDA/SCL pins, the 5V logic overwhelms the breakout board's pull-up resistors, causing I2C bus contention.
- Diagnostic: Run the standard Arduino
I2C_Scannersketch. If the serial monitor freezes or the sensor address (usually0x57) does not appear, the bus is locked. - Solution: Insert a bidirectional logic level shifter (like the BSS138 MOSFET-based module) between the 5V Arduino and the 3.3V sensor. Alternatively, migrate to a 3.3V microcontroller like the Arduino Nano 33 IoT or ESP32.
2. I2C Bus Capacitance and Pull-Up Resistor Sizing
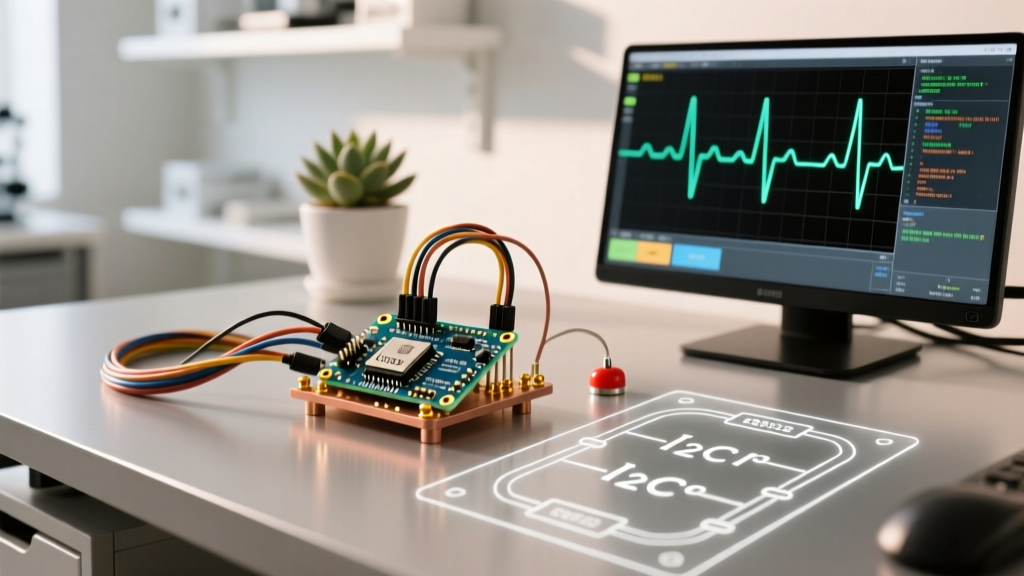
As detailed in the SparkFun MAX30105 Hookup Guide, I2C is an open-drain protocol requiring pull-up resistors. Most breakout boards include 4.7kΩ pull-ups. If your I2C wires exceed 20cm, or if you have multiple devices on the same bus, the parasitic capacitance rises, rounding off the square wave edges and causing bit-errors.
The Fix: Add external 2.2kΩ pull-up resistors to the 3.3V SDA and SCL lines to decrease the RC time constant, ensuring crisp signal edges at 400kHz Fast Mode I2C speeds.
3. Ambient Light Cancellation (ALC) Overflow
The MAX30102 features an ALC circuit that subtracts constant ambient light. However, under direct sunlight or bright LED room lighting, the photodiode saturates, and the internal ALC register overflows, resulting in a flatline output of 0.
- Physical Mitigation: Design an opaque 3D-printed shroud or use black electrical tape to create a light-tight seal between the sensor, the finger, and the external environment.
- Software Mitigation: Use the
setPulseAmplitude()function in the SparkFun library to dynamically lower the LED drive current (e.g., from 0x1F down to 0x0A) if the sensor detects high ambient baseline values.
Software Architecture: Ditching the delay() Function
Even with perfect hardware, your code architecture can destroy the PPG signal. Human heart rates range from 40 BPM (0.66 Hz) to 200 BPM (3.33 Hz). To accurately reconstruct this wave without aliasing, the Nyquist theorem dictates a minimum sampling rate of 6.66 Hz. In practice, you need at least 100 Hz to capture the dicrotic notch (the secondary bump in the arterial wave).
The Problem with Polling
Using delay(10) inside your loop() to sample at roughly 100Hz is a critical mistake. Any other code in the loop (updating an OLED display, sending Serial data, or checking buttons) introduces variable latency. This results in uneven time-steps (dt), which completely breaks digital filtering algorithms and BPM calculation math.
The Solution: Hardware Timer Interrupts
To achieve clinical-grade sampling, you must decouple data acquisition from the main loop using hardware interrupts. The PulseSensor.com Advanced Coding Guide highly recommends using the TimerOne library to trigger an Interrupt Service Routine (ISR) at exactly 250 Hz.
#include <TimerOne.h>

volatile int rawPPG;
volatile bool newData = false;

void setup() {
  Timer1.initialize(4000); // 4000 microseconds = 250 Hz
  Timer1.attachInterrupt(sampleSensor);
}

void sampleSensor() {
  rawPPG = analogRead(A0);
  newData = true;
}
By sampling in the ISR, the data is captured at mathematically perfect intervals, allowing your main loop to process FIR filters, calculate moving averages, and update displays without dropping a single sample.
2026 Diagnostic Checklist for Field Failures
When deploying a heart rate monitor outside the lab, run through this rapid diagnostic matrix:
- Check the Serial Plotter Baseline: If the baseline is pegged at 1023 (Analog) or 262143 (MAX30102), the sensor is saturated. Lower LED brightness or block ambient light.
- Verify Finger Pressure: Pressing too hard restricts capillary blood flow, flattening the AC pulse wave. Pressing too lightly introduces motion artifacts. Use a velcro strap to apply consistent, light pressure (approx. 20 mmHg).
- Inspect I2C Clock Stretching: If using an ESP32 with a MAX30102, ensure you have enabled I2C clock stretching in the Wire library, as the sensor requires time to process internal ALC calculations between bytes.
- Thermal Drift: The green LED on analog sensors heats up the skin over 5 minutes, altering blood perfusion and shifting the DC baseline. Implement a software high-pass filter (0.5Hz cutoff) to strip out this slow thermal drift.
Troubleshooting bio-signals requires a shift from standard digital logic debugging to analog signal integrity management. By stabilizing your power rails, respecting logic level thresholds, and enforcing strict sampling timers, your Arduino heart rate projects will transition from erratic novelties to reliable biometric instruments.