
Why Your Stepper Motor Code for Arduino is Failing
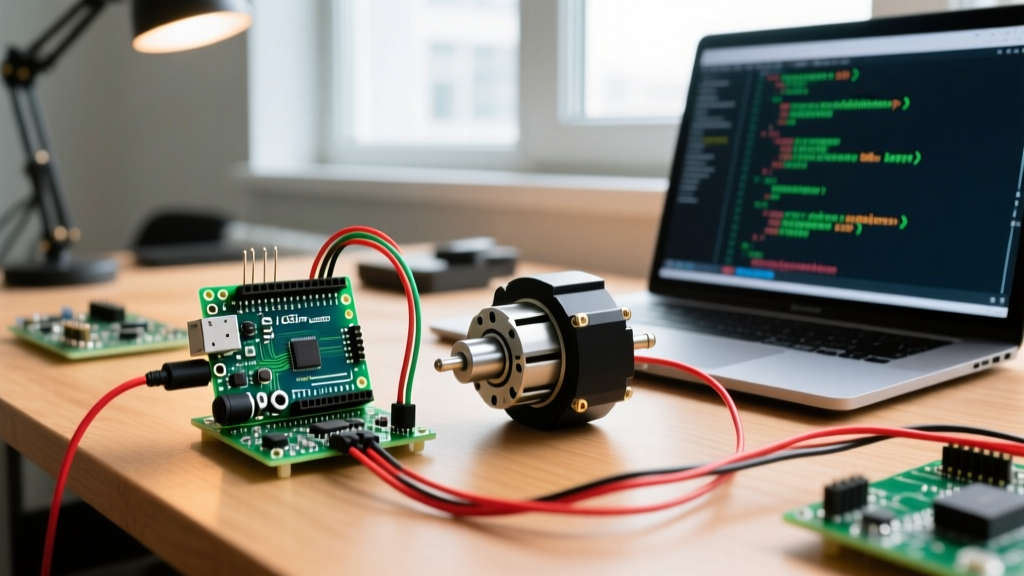
When building precision motion systems with NEMA 17 or NEMA 23 motors, developers frequently hit a wall: the motor vibrates, stalls, or drifts, leading them to endlessly rewrite their stepper motor code for Arduino. However, in 2026, with mature libraries like AccelStepper and FastAccelStepper, pure software bugs are rare. Most "code" issues are actually hardware-software interface mismatches, timing violations, or power delivery sags masquerading as logic errors.
This troubleshooting guide bypasses basic wiring tutorials and dives deep into the edge cases, timing constraints, and library misconfigurations that cause stepper systems to fail in real-world DIY and prototyping environments.
The Diagnostic Matrix: Symptom to Root Cause Mapping
Before rewriting your sketch, cross-reference your motor's physical behavior with this diagnostic matrix. This framework isolates whether you need to adjust your code or reach for a multimeter.
| Physical Symptom | Suspected Code Issue | Actual Root Cause (Hardware/Timing) | Corrective Action |
|---|---|---|---|
| Motor hums/vibrates but does not rotate | Incorrect step sequence or pin mapping | Coil wiring mismatch or VREF set too low to overcome holding torque | Verify coil pairs with multimeter; recalibrate VREF potentiometer |
| Motor moves erratically or skips steps under load | Acceleration ramp too aggressive in code | Power supply voltage sag or insufficient current limit | Lower setAcceleration(); add bulk capacitance (470µF) to VMOT |
| Motor moves at wrong speed or misses microsteps | Wrong microstep multiplier in code | MS1/MS2/MS3 pins floating or pulse width too short | Tie MS pins to GND/VDD explicitly; ensure step pulse > 1.9µs |
| Motor moves smoothly, then freezes randomly | Memory leak or integer overflow in position tracking | Blocking code (e.g., delay()) starving the step state machine |
Refactor to non-blocking run() architecture |
The Non-Blocking Imperative: AccelStepper Misuse
The most common reason developers abandon the Arduino AccelStepper Library Reference is a fundamental misunderstanding of its state machine architecture. The library does not use hardware timers or interrupts by default; it relies on the run() or runSpeed() methods being called continuously in the main loop().
The "Delay" Trap
If your sketch includes a delay(50) to read a sensor or update an LCD, you are starving the stepper motor of step pulses. At 1/16 microstepping, a NEMA 17 motor requires hundreds of pulses per second to maintain smooth rotation. A 50ms delay drops your polling rate to 20Hz, causing immediate stalling and audible grinding.
Expert Rule of Thumb: Your
loop()must execute in under 1 millisecond to reliably sustain step rates above 5,000 steps/second using software polling. If you need to perform heavy computations, offload them to a secondary core (on an ESP32) or use hardware-timer-driven libraries likeFastAccelStepper.
Correct Non-Blocking Implementation
Replace blocking delays with millis() based state checks. Here is the robust pattern for integrating sensor reads with stepper actuation:
#include <AccelStepper.h>

AccelStepper stepper(AccelStepper::DRIVER, 3, 4); // Step pin 3, Dir pin 4
unsigned long lastSensorRead = 0;

void setup() {
  stepper.setMaxSpeed(1000);
  stepper.setAcceleration(500);
  stepper.moveTo(8000); // Move 8000 steps (e.g., 2.5 revs at 1/16 microstep)
}

void loop() {
  // CRITICAL: run() must be called every loop iteration
  stepper.run();

  // Non-blocking sensor read every 100ms
  if (millis() - lastSensorRead >= 100) {
    lastSensorRead = millis();
    // Read sensors, update LCD, check limit switches here
  }
}
Pulse Width Violations and Microstepping Jitter
Modern stepper drivers like the Texas Instruments DRV8825 and Trinamic TMC2209 are incredibly fast, but they have strict minimum timing requirements for the STEP pin. According to the Texas Instruments DRV8825 Product Page, the minimum STEP pulse width is 1.9 microseconds.
If you are using standard digitalWrite() in a custom bit-banged script (bypassing libraries), the execution time of the Arduino Uno's ATmega328P might barely scrape by. However, if you add logic or interrupts, your HIGH pulse might shrink below 1.9µs. The driver will simply ignore the pulse, resulting in "missed steps" that look like calculation errors in your code.
- Fix for standard Arduinos: Use direct port manipulation (
PORTD |= (1 << PD3);) instead ofdigitalWrite()to guarantee sub-microsecond pulse execution. - Fix for ESP32/Teensy: These MCUs execute
digitalWrite()so fast that the pulse may be too short for the driver. You must explicitly adddelayMicroseconds(2);between setting the pin HIGH and LOW.
Electrical Ghosts Masquerading as Code Bugs
You can write flawless stepper motor code for Arduino, but if the physical layer is compromised, the motor will misbehave. The two most frequent electrical culprits are VREF miscalibration and floating microstep pins.
VREF Calibration on A4988 and DRV8825
Current limiting is set by the VREF voltage on the driver's potentiometer. If VREF is too low, the motor lacks the torque to execute the acceleration profile defined in your code. If it is too high, the driver overheats and triggers thermal shutdown, causing the motor to coast to a halt mid-movement.
The Calibration Formula:
For a standard Pololu A4988 Stepper Motor Driver Carrier with 0.1Ω sense resistors:
VREF = I_MAX × 8 × R_SENSE
If your NEMA 17 is rated for 1.5A per phase, and you want to run it at 70% capacity (1.05A) for thermal safety:
VREF = 1.05 × 8 × 0.1 = 0.84V
Measure the voltage between the GND pin and the potentiometer wiper with a multimeter while the system is powered. Adjust the pot until you hit your target VREF.
Floating Microstep Pins
Never leave the MS1, MS2, and MS3 pins unconnected, assuming they will default to full-step mode. Electromagnetic interference (EMI) from the motor coils can induce voltages on floating traces, causing the driver to randomly switch between 1/4, 1/8, and 1/16 microstepping modes mid-print. Your code will command 1600 steps for a 360-degree rotation, but if the pin floats to full-step, the motor will rotate 16 times further than expected. Always use pull-down or pull-up resistors, or wire them directly to VDD/GND.
Advanced Edge Cases: TMC2209 UART Mode vs. Step/Dir
In 2026, the Trinamic TMC2209 is the gold standard for quiet motion, utilizing StealthChop2 technology. However, developers frequently run into issues when transitioning from legacy Step/Dir drivers to the TMC2209's UART configuration mode.
When using UART, the Arduino configures the driver's internal registers (like IRUN current and microstep resolution) via serial commands. A common bug occurs when the Arduino resets or loses power while the TMC2209 retains its last state in non-volatile memory, or when the baud rate mismatches cause silent configuration failures.
Troubleshooting UART Configuration:
- Ensure you are using a 1K resistor between the Arduino TX pin and the TMC2209 PDN_UART pin to prevent bus contention.
- Verify the baud rate in your code (typically 115200) matches the hardware configuration. The TMC2209 defaults to 115200, but if you are daisy-chaining via software serial, timing drift on the Arduino's
SoftwareSeriallibrary can corrupt register writes. - Always read back a register (e.g.,
driver.GCONF) immediately after writing to confirm the UART handshake was successful before commanding motion.
Summary Checklist for the Workbench
Before concluding that your logic is flawed, verify this physical checklist:
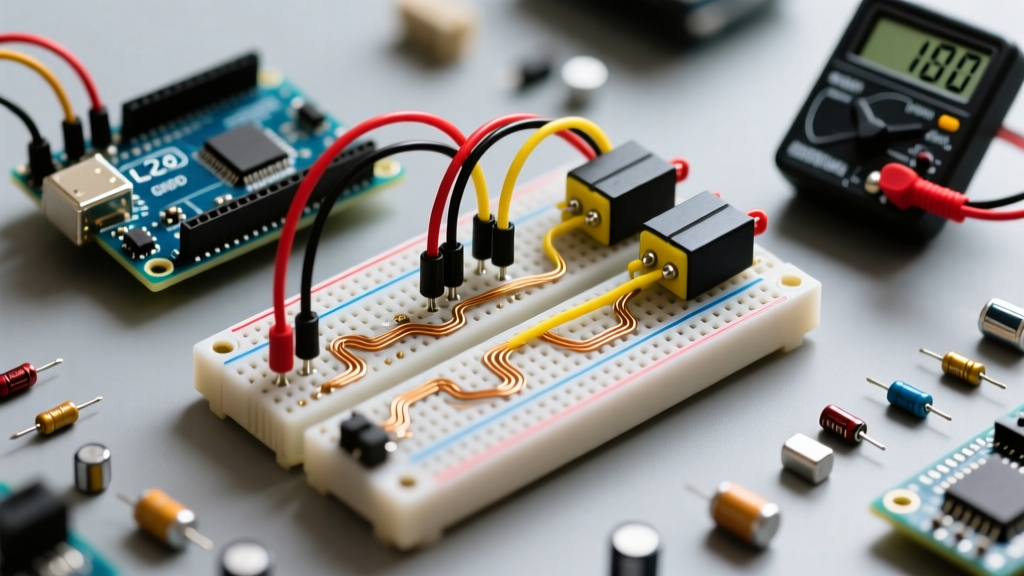
- Bulk Capacitance: Is there a 100µF–470µF electrolytic capacitor soldered directly across VMOT and GND on the breadboard? (Breadboard parasitic inductance causes voltage spikes that reset the driver logic).
- Common Ground: Is the Arduino GND tied directly to the Stepper Driver GND? (Optoisolated drivers still require a shared logic ground reference).
- Thermal Throttling: Touch the driver IC (carefully). If it is burning hot, the code is commanding a step rate that exceeds the thermal dissipation capacity of the PCB copper. Add forced air cooling or lower the RMS current limit.
By systematically eliminating electrical variables and respecting the non-blocking requirements of modern motion libraries, you can transform erratic hardware into a precision instrument governed by clean, reliable Arduino code.