
The Multi-Peripheral Challenge: Why Standard Tutorials Fail
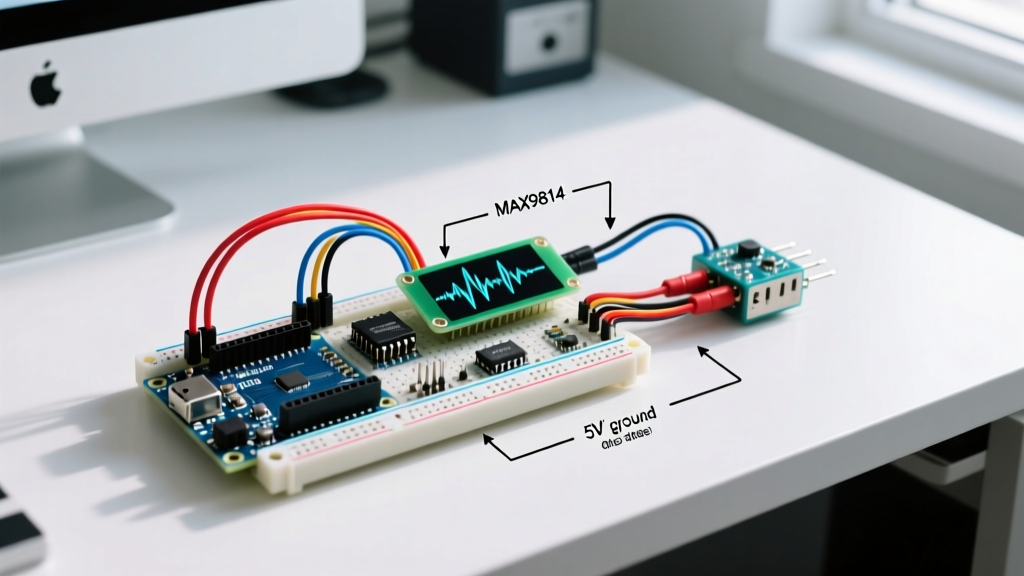
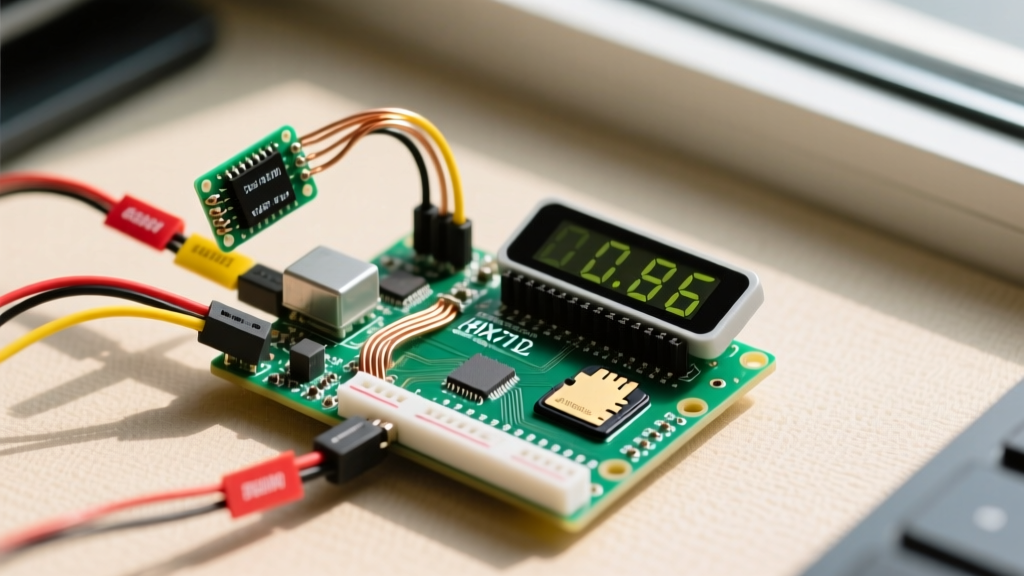
Building a standalone weighing scale is a weekend project; building a robust, multi-peripheral data logging system is an engineering challenge. When you combine a load sensor Arduino setup with an I2C OLED display and an SPI SD card module, you immediately run into the limitations of basic microcontroller timing and bus contention. Most online tutorials treat these components in isolation. However, when the SPI bus initiates a sector write to an SD card, it can block the main loop for several milliseconds. If your HX711 amplifier is waiting for a clock pulse during that exact window, your weight data is corrupted, or worse, the chip resets entirely.
In this 2026 guide, we will architect a professional-grade multi-peripheral logging node using the Arduino Nano ESP32. We will cover the exact Bill of Materials (BOM), resolve pinout conflicts, and dive deep into the hidden timing traps that cause 90% of multi-sensor projects to fail in the field.
2026 Hardware Stack & BOM (Bill of Materials)
Legacy 5V AVR boards like the Uno R3 are no longer the optimal choice for multi-peripheral sensor nodes due to their limited memory and lack of native 3.3V logic. The dual-core Arduino Nano ESP32 provides the processing overhead required to handle non-blocking sensor polling alongside SD logging.
| Component | Specific Model / Part Number | Interface | Est. 2026 Price |
|---|---|---|---|
| Microcontroller | Arduino Nano ESP32 (ABX00092) | N/A | $22.00 |
| Load Cell | SparkFun 50kg Half-Bridge (SEN-10245) | Analog (Wheatstone) | $12.50 |
| Amplifier | SparkFun HX711 Breakout (SEN-13879) | Custom Bit-Bang | $10.95 |
| Display | Adafruit 1.3" 128x64 OLED (SSD1306) | I2C (Qwiic/Stemma) | $19.99 |
| Storage | Adafruit Micro SD Breakout Board | SPI | $9.95 |
| Power | LiPo 3.7V 2000mAh + PowerBoost 1000C | 5V/3.3V Rail | $29.50 |
Total BOM Cost: ~$104.89
Pinout Matrix: Resolving SPI, I2C, and HX711 Conflicts
The Arduino Nano ESP32 has a flexible pin mapping architecture, but sharing buses requires careful planning. The HX711 does not use standard I2C or SPI; it uses a proprietary two-wire serial interface (DOUT and PD_SCK) that is highly sensitive to timing jitter.
| Peripheral | Nano ESP32 Pin Assignment | Notes & Constraints |
|---|---|---|
| OLED SDA / SCL | A4 (SDA) / A5 (SCL) | Default I2C bus. Use 4.7kΩ pull-ups if extending cables >10cm. |
| SD Card MOSI / MISO / SCK | D11 / D12 / D13 | Hardware SPI bus. Do not share with other SPI devices without CS management. |
| SD Card CS (Chip Select) | D10 | Must be pulled HIGH via 10kΩ resistor when idle to prevent bus hogging. |
| HX711 DOUT (Data) | D2 | Must be an interrupt-capable pin to trigger non-blocking reads. |
| HX711 PD_SCK (Clock) | D3 | Keep trace length under 5cm to avoid capacitive ghost-clocking. |
Step 1: The 60-Microsecond Reset Trap (HX711 Timing)
The most critical failure mode in any load sensor Arduino integration involves the HX711 datasheet's hidden power-down specification. According to the SparkFun HX711 Hookup Guide and the Avia Semiconductor datasheet, if the PD_SCK pin is held HIGH for longer than 60 microseconds (μs), the HX711 enters a hard power-down reset state.
⚠️ Expert Warning: Standard Arduino libraries likedelay()or blocking SPI writes (such asSD.open()orfile.println()) routinely pause the main loop for 2 to 15 milliseconds. If your HX711 clock pin is left HIGH or if a bit-bang sequence is interrupted by an SPI write, the 60μs threshold is breached. The HX711 resets, the next weight read returns 0 or garbage data, and your scale requires a full tare recalibration.
The Non-Blocking Solution
To solve this, do not use the legacy Q2HX711 or standard HX711 libraries. Instead, utilize the HX711_ADC library by Olav Kvalheim. This library uses a non-blocking state machine driven by micros(). Furthermore, on the Nano ESP32, you should attach an interrupt to the DOUT pin (D2). When DOUT goes LOW (indicating data is ready), the ISR (Interrupt Service Routine) shifts the bits in under 10μs, completely isolating the HX711 timing from the SD card's SPI bus delays.
Step 2: I2C OLED Integration & Bus Capacitance
Adding an OLED display to a sensor node is standard practice for local debugging. However, when combining the Adafruit SSD1306 OLED with the HX711, you must manage I2C bus capacitance. The Arduino Wire (I2C) library operates at 100kHz or 400kHz. Long wires between the Nano ESP32 and the display act as capacitors, rounding off the square-wave clock signals and causing I2C lockups.
- Trace Routing: Keep I2C traces under 15cm.
- Pull-Up Resistors: The Adafruit OLED has onboard 10kΩ pull-ups. If you add a secondary I2C sensor (like a BME280 for temperature compensation), the parallel resistance drops. Ensure the total pull-up resistance on the SDA/SCL lines remains between 2.2kΩ and 4.7kΩ.
- Display Updates: Only update the OLED every 250ms. Pushing pixels to the SSD1306 buffer takes ~2ms. Doing this on every loop iteration will starve the HX711 of CPU cycles.
Step 3: SD Card Logging & The 3.3V Logic Level Myth
Data logging is the backbone of remote sensor nodes, but SD card integration is notorious for initialization failures. The official Arduino SPI documentation outlines the standard hardware SPI pins, but it rarely addresses the voltage regulator trap found on cheap SD modules.
The Voltage Regulator Trap
The Arduino Nano ESP32 operates strictly at 3.3V logic. Many inexpensive micro SD breakout boards (the blue modules commonly found in starter kits) feature an onboard LDO (Low Dropout Regulator) and MOSFET level shifters designed for 5V Arduinos. If you supply 3.3V to the '5V' pin of these modules, the internal LDO drops the voltage to the SD card down to roughly 2.8V. The SD card will fail to initialize, returning false on SD.begin().
The Fix: Use a native 3.3V breakout board like the Adafruit Micro SD Breakout Board, which bypasses the LDO issue entirely and interfaces safely with the Nano ESP32's 3.3V SPI pins without requiring external logic level shifters.
Code Architecture: Structuring the Main Loop
To ensure your load sensor Arduino code remains robust, your loop() must be entirely free of blocking delays. Below is the architectural flow for a multi-peripheral logging setup:
- Poll HX711 (Non-Blocking): Call
LoadCell.update(). This checks the micros timer and shifts bits only if ready. - Check Data Ready Flag: If
LoadCell.getData(data)returns true, store the value in a volatile float variable. - Handle UI (Time-Sliced): Use a
millis()check to update the OLED display exactly every 200ms. - Handle Logging (Time-Sliced): Use a separate
millis()check to write to the SD card every 1000ms. Open the file, append the CSV string, flush, and close immediately to prevent file corruption on power loss.
Real-World Troubleshooting & Edge Cases
Even with perfect wiring, environmental factors will impact your multi-peripheral setup. Here is how to handle the most common edge cases encountered in 2026 field deployments:
- Thermal Drift in Load Cells: The TAL2242 50kg load cells exhibit a temperature coefficient of zero balance of ±0.05%FS/°C. If your node is deployed outdoors, integrate an I2C temperature sensor (like the TMP117) and apply a software compensation curve to your HX711 calibration factor based on ambient temperature.
- SD Card Fragmentation Latency: As your CSV log file exceeds 32MB, the FAT32 file allocation table takes longer to traverse, causing SPI write spikes up to 45ms. This can still trigger the HX711 60μs reset if your interrupt priorities are misconfigured. Solution: Pre-format SD cards using the official SD Association's SD Memory Card Formatter to ensure optimal cluster alignment, and rotate log files daily.
- WiFi Interference (ESP32 Specific): If you decide to enable the Nano ESP32's WiFi for MQTT transmission, the RF bursts draw up to 240mA instantly. This causes a voltage sag on the 3.3V rail, which introduces noise into the HX711's analog front-end, resulting in weight fluctuations of ±50g. Solution: Place a 470μF low-ESR tantalum capacitor directly across the VCC and GND pins of the HX711 breakout to act as a local energy reservoir during WiFi TX bursts.
Final Calibration Protocol
Never calibrate your multi-peripheral scale immediately after powering it on. The HX711 and the load cell adhesive require thermal equilibrium. Power on the node, let the OLED display 'Warming Up...' for exactly 180 seconds, perform a software tare, and then apply your known calibration weight. By respecting the physics of the Wheatstone bridge and the strict timing requirements of the microcontroller buses, your load sensor Arduino setup will deliver laboratory-grade reliability in the field.