
Writing robust IR sensor Arduino code requires more than just copying a basic sketch from a forum. Infrared communication relies on modulated 38kHz carrier signals, and decoding these signals accurately demands an understanding of both the physical receiver hardware and the software library managing the microcontroller's hardware timers. In this comprehensive driver and library guide, we will explore the modern IRremote v4.x API, compare industry-standard receiver diodes, and provide production-ready, non-blocking code architectures.
Hardware Selection: TSOP38238 vs. Generic VS1838B
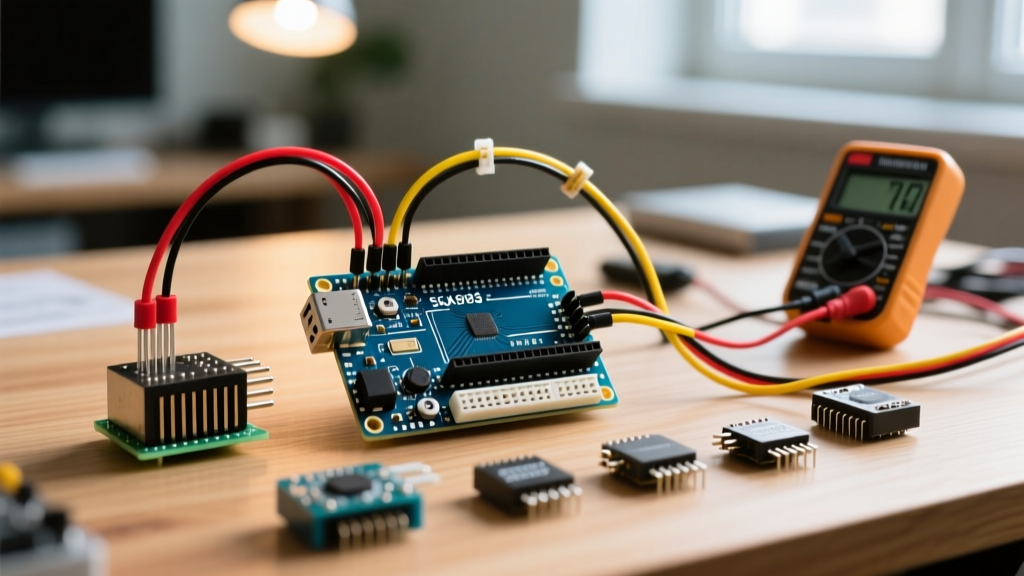
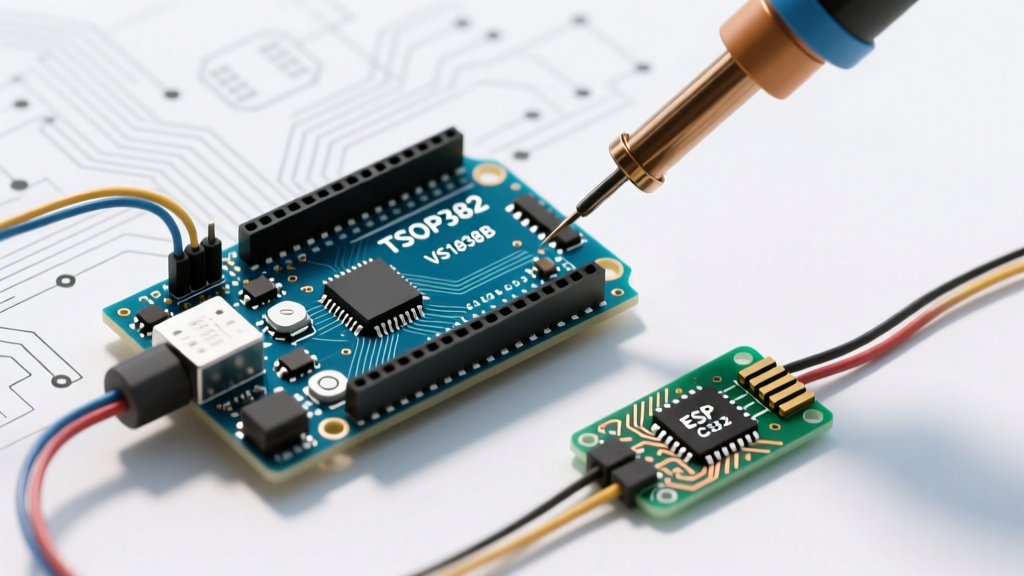
Before writing a single line of code, you must select the right receiver. The 38kHz IR receiver market is dominated by two distinct tiers of hardware: the premium Vishay TSOP38238 and the mass-market generic VS1838B. While both operate at the 38kHz carrier frequency and output a demodulated digital signal, their internal Automatic Gain Control (AGC) and electromagnetic interference (EMI) shielding differ drastically.
| Feature | Vishay TSOP38238 | Generic VS1838B |
|---|---|---|
| Typical Unit Cost | $1.20 - $1.80 | $0.10 - $0.25 (bulk) |
| AGC Version | AGC2 (Optimized for noisy environments) | Basic AGC (Prone to saturation) |
| EMI Shielding | Integrated ground plane & filter | None or minimal |
| False Trigger Rate | Extremely Low | High under CFL/LED lighting |
| Max Range | Up to 45 meters (with high-power IR LED) | 10 - 15 meters |
According to Vishay Semiconductors' application notes, the TSOP382 series utilizes a specialized AGC algorithm designed to suppress continuous noise signals, such as those emitted by modern dimmable LED bulbs and fluorescent ballasts. If your project will be deployed in a living room or industrial setting, the TSOP38238 is mandatory to prevent ghost signals from flooding your serial buffer.
Setting Up the IRremote Library (v4.x Architecture)
The IRremote library on GitHub underwent a massive paradigm shift in version 3.0, which was further refined into the v4.x releases standard in 2026. The legacy IRrecv object and decode_results struct have been deprecated in favor of the global IrReceiver object. This modernized approach reduces memory overhead and standardizes protocol decoding.
To install the correct driver, open the Arduino IDE Library Manager, search for IRremote (by shirriff, z3t0, ArminJo), and install the latest 4.x release. Do not install the outdated 2.x forks, as they will throw compilation errors regarding missing decode_results definitions.
Production-Ready IR Sensor Arduino Code
The most common mistake beginners make is using blocking delay() functions while polling the IR receiver. Because IR protocols like NEC rely on precise microsecond pulse-width measurements, blocking the main loop causes the hardware timer to miss bit transitions, resulting in checksum failures. The code below utilizes a non-blocking polling architecture.
#include <IRremote.hpp>

// Define the hardware pin connected to the IR receiver OUT pin
const uint8_t IR_RECEIVE_PIN = 2;

// Define protocol constants for cleaner switch-case logic
#define CMD_POWER  0x45
#define CMD_VOL_UP 0x18
#define CMD_VOL_DN 0x19

void setup() {
    Serial.begin(115200);
    while (!Serial); // Wait for serial port (optional for native USB boards)

    // Initialize the receiver.
    // ENABLE_LED_FEEDBACK blinks the onboard LED on signal reception.
    IrReceiver.begin(IR_RECEIVE_PIN, ENABLE_LED_FEEDBACK);

    Serial.println(F("IR Receiver Initialized - Awaiting NEC Signals..."));
}

void loop() {
    // Non-blocking check for new IR data
    if (IrReceiver.decode()) {

        // Filter out repeat codes (0xFFFFFFFF) to prevent button-hold spam
        if (IrReceiver.decodedIRData.flags & IRDATA_FLAGS_IS_REPEAT) {
            // Handle repeat logic here if needed, or ignore
        } else {
            processIRCommand(IrReceiver.decodedIRData.command);
        }

        // Print raw data for debugging
        IrReceiver.printIRResultShort(&Serial);

        // CRITICAL: Resume the receiver to listen for the next signal
        IrReceiver.resume();
    }

    // Other non-blocking tasks (e.g., motor control, sensor polling) go here
}

void processIRCommand(uint8_t cmd) {
    switch (cmd) {
        case CMD_POWER:
            Serial.println(F("Action: Toggle Power State"));
            break;
        case CMD_VOL_UP:
            Serial.println(F("Action: Increase Volume"));
            break;
        case CMD_VOL_DN:
            Serial.println(F("Action: Decrease Volume"));
            break;
        default:
            Serial.print(F("Unknown Command: 0x"));
            Serial.println(cmd, HEX);
            break;
    }
}
Key Code Architecture Highlights
- Bitwise Flag Checking: Instead of comparing raw hex values for repeat codes, we use
IrReceiver.decodedIRData.flags & IRDATA_FLAGS_IS_REPEAT. This is protocol-agnostic and works across NEC, Sony, and RC5. - Command Extraction: We isolate the
commandbyte rather than the full 32-bit raw data. This makes theswitchstatement immune to address-byte variations if you buy a replacement remote with a different device ID. - State Resumption: Calling
IrReceiver.resume()immediately after processing is mandatory. Failing to do so leaves the hardware timer halted, permanently deafening the sensor until a hard reset.
Advanced Protocol Decoding Matrix
Not all IR remotes use the NEC protocol. When reverse-engineering an unknown remote, consult this matrix to identify the protocol based on the serial output from IrReceiver.printIRResultShort().
| Protocol | Bit Length | Timing Characteristics | Common Devices |
|---|---|---|---|
| NEC | 32-bit | Pulse Distance Encoding (PDE) | Most generic Chinese electronics, LED strips |
| Sony SIRC | 12, 15, or 20-bit | Pulse Width Encoding (PWE) | Sony Bravia TVs, PlayStation controllers |
| RC5 / RC6 | 14-bit / 20-bit | Manchester Biphase Encoding | Philips, Bose, European audio equipment |
| Samsung | 32-bit | Similar to NEC, distinct header pulse | Samsung TVs and soundbars |
Troubleshooting: Timer Conflicts and Ambient Interference
Even with perfect code, hardware-level conflicts can cause your IR sensor Arduino code to fail silently or break other peripherals.
The PWM Timer 2 Conflict (ATmega328P)
CRITICAL WARNING: On the Arduino Uno and Nano (ATmega328P), the IRremote library defaults to using Hardware Timer 2 to measure the 38kHz microsecond pulses. Timer 2 is also responsible for driving hardware PWM on Digital Pins 3 and 11. If you attempt to use analogWrite() on pins 3 or 11 while the IR receiver is active, the PWM output will be disabled or severely jittery.
The Solution: If your project requires motor speed control or LED dimming via PWM, you must either use pins 5, 6, 9, or 10 (driven by Timers 0 and 1), or reconfigure the IRremote library to use Timer 1. To change the timer, open the src/private/IRTimerUsage.hpp file in the library directory and modify the #define IR_USE_AVR_TIMER macro before compiling.
Mitigating 50Hz/60Hz Fluorescent Flicker
If your serial monitor is flooded with random hash codes (e.g., 0xFFFFFFFF or random 16-bit values) when you are not pressing any buttons, you are experiencing optical noise. According to the Adafruit IR Sensor Guide, older CFL bulbs and cheap LED drivers emit broadband infrared noise that overlaps the 38kHz band.
Hardware Fixes:
- Add an RC Low-Pass Filter: Solder a 100Ω resistor in series with the VCC pin and a 4.7µF ceramic capacitor between VCC and GND, placed as close to the receiver pins as possible. This filters out power supply ripple that exacerbates internal AGC confusion.
- Optical Baffling: Enclose the TSOP38238 in a dark, translucent plastic shroud (like heat-shrink tubing with the tip cut off) to block off-axis ambient light while allowing direct line-of-sight from the remote.
Frequently Asked Questions
Can I use multiple IR receivers on a single Arduino?
Yes, but not simultaneously with a single hardware timer. The IRremote v4 library supports multiplexing multiple receivers by rapidly switching the active pin in the loop(), but this can result in missed packets if a signal arrives while the library is listening to a different pin. For multi-zone IR tracking, consider using dedicated hardware decoders or an ESP32 with multiple RMT (Remote Control Transceiver) peripherals.
Why does my IR code work on an Uno but fail on an ESP32?
The ESP32 uses a completely different hardware architecture. Instead of standard 8-bit AVR timers, the IRremote library leverages the ESP32's dedicated RMT peripheral. Ensure you are passing the correct GPIO number to IrReceiver.begin() and avoid using strapping pins (like GPIO 0, 2, 5, 12, 15) which can cause boot-loop failures if pulled low by the IR receiver's default output state.
How do I send IR signals instead of just receiving them?
To transmit, connect a 940nm IR LED in series with a 100Ω current-limiting resistor and an NPN transistor (like a 2N2222) to handle the 200mA+ pulse currents required for long-range transmission. Use the IrSender.sendNEC(rawData, bits, repeats) function provided by the same library.