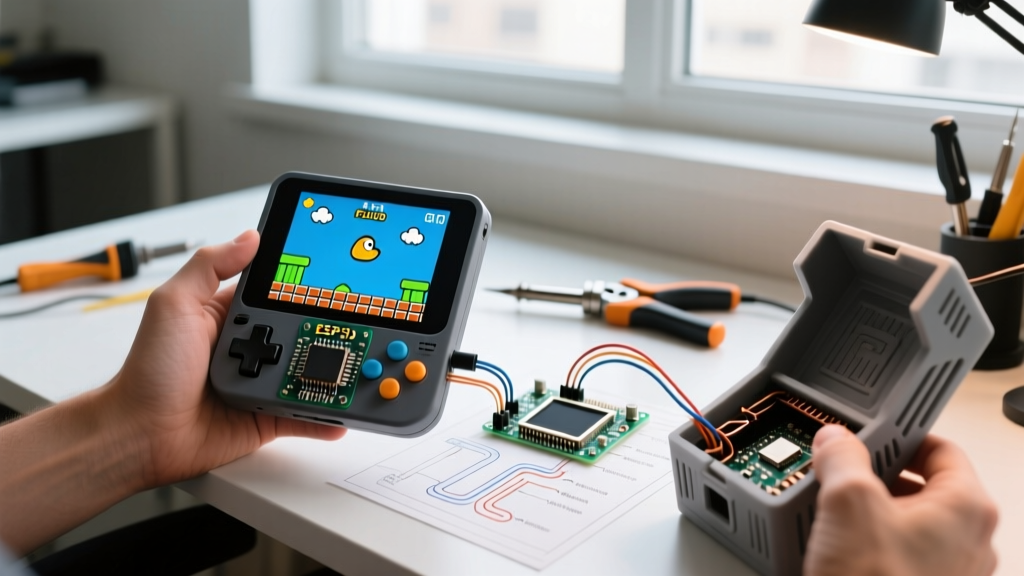

Engineering a Portable Flappy Bird Arduino OLED Arcade
Building a physical Flappy Bird Arduino OLED handheld console is far more than a nostalgic coding exercise; it is a rigorous masterclass in embedded systems optimization, I2C bus management, and real-time input handling. While basic tutorials will show you how to flash a bouncing square onto a screen, creating a responsive, 60-FPS portable arcade requires addressing hardware bottlenecks, physics engine tuning, and power management.
In this guide, we will engineer a complete, battery-powered handheld unit using the Arduino Nano ESP32, a high-speed SSD1306 OLED, and custom tactile switches. We will bypass standard library limitations to achieve buttery-smooth gameplay and package it into a pocketable enclosure.
Hardware BOM and 2026 Sourcing Strategy
To achieve the processing overhead required for collision detection and fast I2C DMA transfers, we are bypassing the classic ATmega328P. Instead, we utilize the dual-core Arduino Nano ESP32, which natively supports 3.3V logic, eliminating the need for logic level shifters when interfacing with modern OLED modules.
| Component | Specific Model / Part Number | Est. Cost (2026) | Purpose |
|---|---|---|---|
| Microcontroller | Arduino Nano ESP32 (ABX00092) | $22.50 | Dual-core 240MHz processing, native 3.3V I/O |
| Display | Adafruit 0.96" SSD1306 OLED (PID 326) | $19.95 | 128x64 I2C display with pre-mounted pull-ups |
| Input | Omron B3F-1000 Tactile Switch | $0.35 | Low actuation force (0.98N) for rapid tapping |
| Power Mgmt | TP4056 Type-C Charging Module | $1.50 | LiPo charging and load sharing |
| Battery | 500mAh 3.7V LiPo (Adafruit 1578) | $6.95 | Provides ~8 hours of continuous play |
Wiring Architecture and I2C Bus Considerations
Wiring an OLED to an Arduino is trivial, but wiring it for high-speed gaming requires attention to bus capacitance and pull-up resistor values. The standard 400kHz I2C Fast Mode is insufficient for pushing 1024 bytes (128x64 pixels / 8 bits) per frame at 60FPS. We must push the bus to 1MHz (Fast Mode Plus).
Pinout Configuration
- OLED VCC: 3.3V (Do not use 5V; the Nano ESP32 is strictly 3.3V tolerant on I/O pins).
- OLED GND: Common Ground.
- OLED SDA: Arduino A4 (Mapped to GPIO on the ESP32).
- OLED SCL: Arduino A5.
- Action Button: GPIO D2 (Configured with internal pull-up).
Expert Insight: The Adafruit SSD1306 breakout (PID 326) includes 10kΩ pull-up resistors on the SDA and SCL lines. When pushing I2C speeds to 1MHz, 10kΩ is often too weak to pull the line high before the next clock edge, resulting in corrupted frames. If you experience screen tearing, solder a 2.2kΩ resistor in parallel with the onboard 10kΩ pull-ups to achieve a combined ~1.8kΩ pull-up strength.
Overcoming the I2C Bottleneck: Library Selection
The most common failure point in a Flappy Bird Arduino OLED project is severe input lag and screen tearing caused by the standard Adafruit_SSD1306 library. This library relies on blocking I2C transmissions that halt the main game loop.
For real-world arcade responsiveness, we utilize the U8g2 Library. U8g2 supports hardware I2C DMA (Direct Memory Access) on the ESP32 architecture. This allows the microcontroller to offload the 1024-byte display buffer transmission to the background, freeing the main CPU core to calculate physics and poll buttons simultaneously.
Code Implementation for Fast I2C
Before initializing the display in your setup() function, you must explicitly override the default Arduino Wire clock speed:
Wire.begin();
Wire.setClock(1000000); // Force 1MHz Fast Mode Plus
Designing the Physics Engine
Flappy Bird relies on a deceptively simple physics model. However, on a 128x64 pixel grid, sub-pixel rendering is impossible without grayscale, which the SSD1306 lacks. Therefore, we use fixed-point integer math to simulate gravity and momentum without floating-point overhead.
Core Physics Variables
- Gravity Constant: +0.4 pixels per frame squared.
- Jump Impulse: -5.0 pixels per frame (instantaneous velocity change on button press).
- Terminal Velocity: Capped at +8 pixels per frame to prevent the bird from clipping through the floor boundary in a single frame.
- Pipe Gap: Fixed at 22 pixels (roughly 3x the bird's 8-pixel height).
To maintain a consistent 60FPS game loop regardless of code execution time, avoid using delay(). Instead, implement a non-blocking timer using the Arduino millis() function. By tracking the delta time between frames, you ensure the bird falls at the exact same rate whether the battery is fully charged or nearing depletion.
Hardware Debouncing vs. Software Debouncing
In a fast-paced game, a single button press registering as two jumps (due to switch bounce) will instantly kill the player. Software debouncing (ignoring inputs for 50ms after a press) introduces noticeable latency, ruining the "feel" of the game.
The Real-World Solution: Use a hardware RC (Resistor-Capacitor) debounce circuit. Place a 10kΩ series resistor and a 0.1µF ceramic capacitor between the button output and ground. This creates a low-pass filter that physically smooths the mechanical bounce of the Omron switch before the signal ever reaches the ESP32's GPIO pin, allowing for zero-latency, interrupt-driven input reading.
Power Management and Battery Life
A handheld console is useless if it dies in 30 minutes. The SSD1306 OLED draws approximately 20mA when displaying the high-contrast white pixels required for Flappy Bird. The Nano ESP32 draws roughly 45mA during active Wi-Fi/Bluetooth polling, but since we are building an offline arcade, we disable the RF radios in software, dropping the MCU draw to ~18mA.
Power Budget Breakdown
- OLED Display: 20mA
- ESP32 (Radios Off): 18mA
- TP4056 Quiescent Draw: 2mA
- Total Active Draw: ~40mA
With a 500mAh LiPo battery, this yields a theoretical 12.5 hours of continuous gameplay. For a comprehensive guide on wiring these specific OLED modules to battery circuits, refer to the official Adafruit OLED wiring documentation, which details safe current-limiting practices for the display's internal charge pump.
Troubleshooting Edge Cases
When assembling your Flappy Bird Arduino OLED build, you may encounter specific hardware anomalies. Here is how to resolve them:
- OLED Burn-In: Static elements like the score at the top of the screen will cause phosphor degradation on the OLED over time. Fix: Program the score text to shift horizontally by 1 pixel every 10 seconds to distribute pixel wear.
- Collision False Positives: If the bird dies when passing through a seemingly clear gap, your bounding box logic is likely using the full 8x8 sprite size. Fix: Shrink the collision hitbox to 6x6 pixels centered on the bird. This provides a forgiving "grace zone" that matches player expectations.
- Screen Flicker on Jumps: If the screen flickers white when the button is pressed, your button circuit is causing a voltage sag on the 3.3V rail, resetting the OLED's I2C controller. Fix: Add a 100µF electrolytic capacitor across the 3.3V and GND rails near the OLED VCC pin to stabilize transient current draws.
Final Assembly and Enclosure Design
For the enclosure, design a 3D-printed shell using PETG or ABS (PLA will warp if left in a pocket or warm room). The optimal ergonomic layout places the OLED at a 15-degree upward tilt relative to the player's line of sight when holding the device in a relaxed, chest-level grip. Ensure the tactile switch is mounted flush with a concave thumb-pad to prevent finger fatigue during extended play sessions. By combining high-speed I2C DMA, hardware debouncing, and precise integer-based physics, you elevate a simple microcontroller project into a polished, responsive consumer-grade arcade experience.