
Why Build a Custom Arduino Servo Tester?
Most hobbyists and field technicians rely on the generic $4 blue "Servo Tester 3CH" modules found on Amazon. While adequate for basic centering, these standalone units lack visual telemetry, cannot diagnose microsecond-level PWM jitter, and offer no insight into the exact pulse width being transmitted. As robotics and RC applications grow more complex in 2026, debugging high-torque servos or continuous-rotation winch actuators requires exact data.
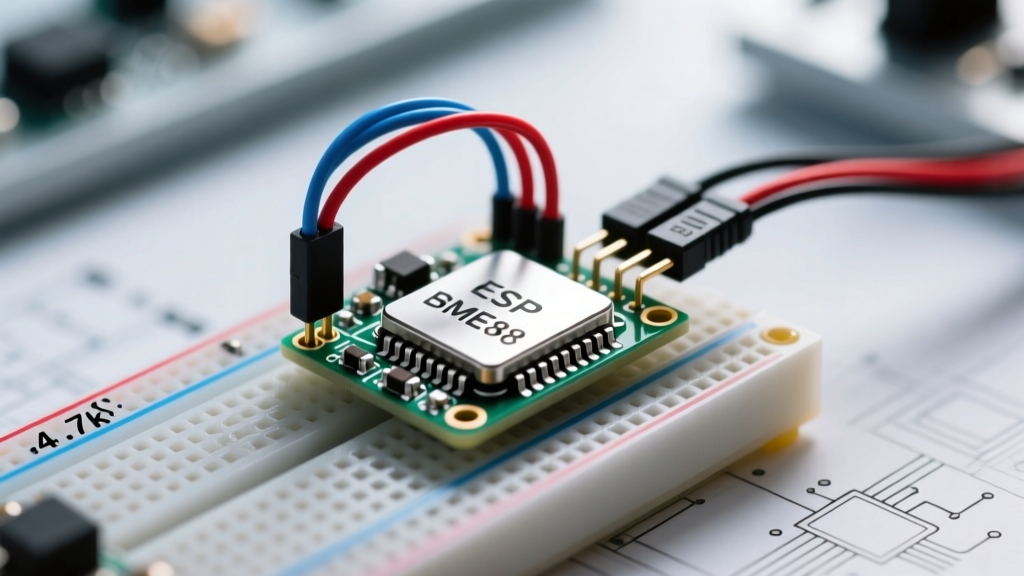
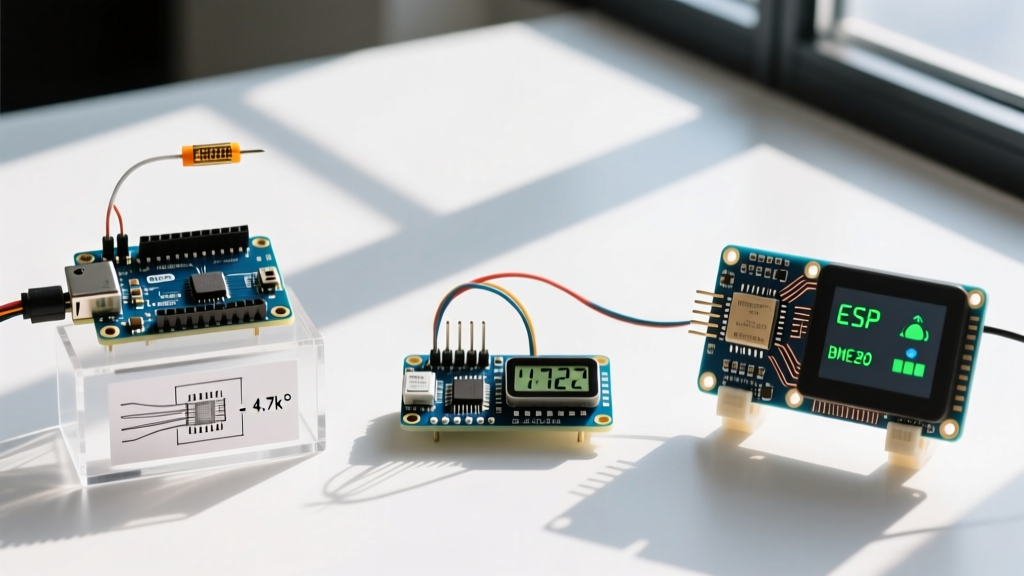
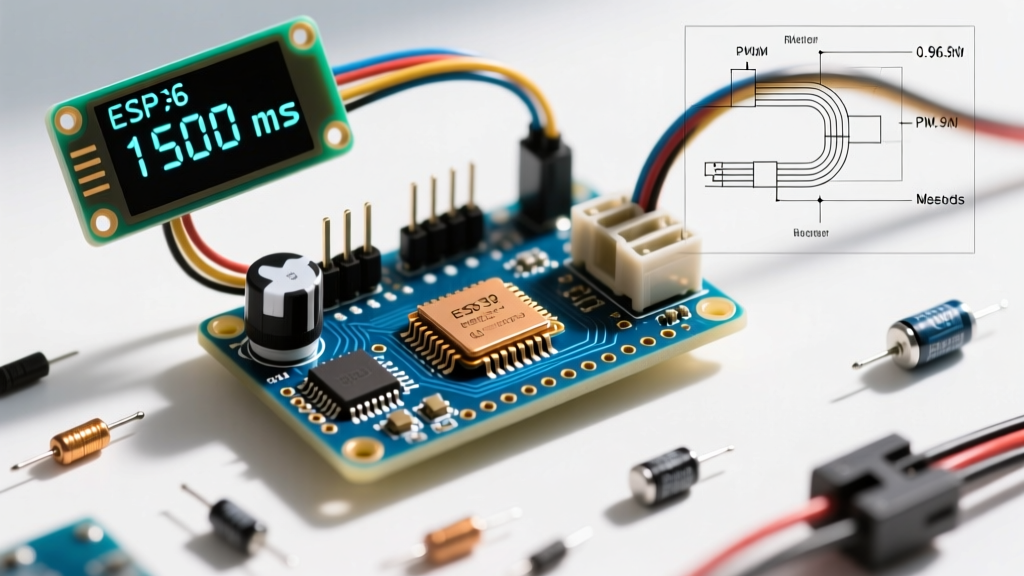
Building a custom Arduino servo tester bridges this gap. By combining an ATmega328P microcontroller, a linear potentiometer, and an I2C OLED display, you create a benchtop diagnostic tool that outputs precise microsecond (µs) pulse widths while displaying real-time telemetry. This guide covers the exact wiring topology, power decoupling requirements, and C++ code needed to build a jitter-free testing rig.
Bill of Materials (BOM) & Component Selection
To ensure signal integrity and avoid the common pitfalls of cheap clone components, select the following parts. Total estimated build cost is under $15.
- Microcontroller: Arduino Nano (ATmega328P, 5V/16MHz) - $5.00. Avoid 3.3V Pro Minis unless you are testing low-voltage micro-servos.
- Potentiometer: Bourns 3852A 10K Ohm Linear Taper - $2.50. Do not use audio (logarithmic) taper pots; they will cause non-linear servo response curves.
- Display: 0.96" SSD1306 I2C OLED (128x64, 4-pin) - $4.00.
- Power Supply: LM2596 5V 3A Buck Converter Module - $2.00. Essential for high-torque servos.
- Decoupling: 470µF Electrolytic Capacitor (Low ESR) + 0.1µF Ceramic Capacitor - $0.50.
Wiring Diagram & Pinout Matrix
Proper grounding is the most critical aspect of servo testing. A shared ground between the microcontroller logic and the servo power rail is mandatory to establish a common reference voltage for the PWM signal.
| Component | Component Pin | Arduino Nano Pin | Engineering Notes |
|---|---|---|---|
| Bourns 10K Pot | VCC / GND / Wiper | 5V / GND / A0 | Solder 0.1µF ceramic cap between Wiper and GND to filter ADC noise. |
| SSD1306 OLED | VCC / GND / SCL / SDA | 5V / GND / A5 / A4 | Use 4.7k pull-up resistors on I2C lines if experiencing display flicker. |
| Servo Signal | PWM (White/Yellow) | D9 | D9 is a hardware PWM-capable pin on the Nano. |
| Buck Converter | VOUT+ | Servo VCC (Red) | Set output to exactly 5.1V to compensate for wire voltage drop. |
| Shared Ground | All GND lines | Nano GND + Buck GND | Use a star-ground topology to prevent ground loops. |
Power Architecture: Avoiding the USB Brownout Trap
CRITICAL WARNING: Never power a standard or high-torque servo (like the MG996R) directly from the Arduino Nano's 5V pin or your PC's USB port. An MG996R can draw up to 2.5 Amps under stall conditions. This will instantly trip your motherboard's USB overcurrent protection or cause the Nano's ATmega328P to brownout and reset, corrupting your test cycle.
Always use the LM2596 buck converter powered by an external 12V or 7V LiPo battery pack. The buck converter steps the voltage down to a stable 5V at up to 3A, providing the transient current spikes required when the servo motor starts moving. Place the 470µF electrolytic capacitor directly across the servo's VCC and GND pins at the connector to act as a local energy reservoir.
The C++ Code: Generating Jitter-Free PWM
The standard Arduino Servo library defaults to mapping degrees (0-180) to pulse widths. However, for a diagnostic tester, we need raw microsecond control. According to Pololu's RC Servo Guide, standard servos respond to pulse widths between 500µs and 2500µs, repeating every 20ms (50Hz).
We will use writeMicroseconds() to bypass the library's internal degree mapping, ensuring 1:1 accuracy from our potentiometer input.
#include <Servo.h>
#include <Wire.h>
#include <Adafruit_GFX.h>
#include <Adafruit_SSD1306.h>

#define SCREEN_WIDTH 128
#define SCREEN_HEIGHT 64
#define OLED_RESET -1
#define SCREEN_ADDRESS 0x3C

Adafruit_SSD1306 display(SCREEN_WIDTH, SCREEN_HEIGHT, &Wire, OLED_RESET);
Servo testServo;

const int potPin = A0;
const int servoPin = 9;
const int MIN_PULSE = 500;  // Absolute minimum µs
const int MAX_PULSE = 2500; // Absolute maximum µs

void setup() {
  testServo.attach(servoPin, MIN_PULSE, MAX_PULSE);

  if(!display.begin(SSD1306_SWITCHCAPVCC, SCREEN_ADDRESS)) {
    for(;;); // Halt if OLED fails to initialize
  }
  display.clearDisplay();
  display.setTextColor(SSD1306_WHITE);
}

void loop() {
  // Read ADC and apply exponential moving average to eliminate jitter
  int rawADC = analogRead(potPin);
  static float smoothedADC = 512;
  smoothedADC = (smoothedADC * 0.8) + (rawADC * 0.2);

  // Map 0-1023 to 500-2500 microseconds
  int pulseWidth = map((int)smoothedADC, 0, 1023, MIN_PULSE, MAX_PULSE);

  testServo.writeMicroseconds(pulseWidth);

  // Update OLED Telemetry
  display.clearDisplay();
  display.setTextSize(2);
  display.setCursor(0, 10);
  display.print("PWM: ");
  display.print(pulseWidth);
  display.println("us");

  display.setTextSize(1);
  display.setCursor(0, 40);
  display.print("ADC Raw: ");
  display.println((int)smoothedADC);
  display.display();

  delay(20); // Match standard 50Hz servo refresh rate
}
Code Deep-Dive: Software Low-Pass Filtering
Notice the smoothedADC variable. Potentiometers, especially carbon-track models, generate electrical noise when the wiper moves. If fed directly into the map() function, this ADC noise translates into ±5µs PWM jitter, causing the servo to "buzz" or hunt. By applying a simple Infinite Impulse Response (IIR) low-pass filter in software (smoothedADC = (smoothedADC * 0.8) + (rawADC * 0.2)), we eliminate high-frequency noise without introducing the severe lag of a standard delay() averaging loop.
Calibration Matrix: Pulse Width vs. Servo Type
Not all servos interpret the 500-2500µs standard identically. Use your new Arduino servo tester to verify the deadband and travel limits of your specific actuator.
| Servo Category | 500µs Command | 1500µs Command | 2500µs Command |
|---|---|---|---|
| Standard 180° (e.g., SG90) | 0° (Hard Stop) | 90° (Center) | 180° (Hard Stop) |
| Wide Angle 270° (e.g., DS3218) | 0° (CCW Limit) | 135° (Center) | 270° (CW Limit) |
| Continuous Rotation (Winch) | Full Speed CCW | Stopped (Deadband) | Full Speed CW |
FAQ: Troubleshooting Real-World Failures
Why is my servo buzzing when the potentiometer is completely still?
This is classic ADC noise combined with poor grounding. First, verify that your breadboard's power rails are not suffering from voltage sag. Second, ensure you have the 0.1µF ceramic capacitor soldered directly between the potentiometer's wiper pin and ground. For I2C OLED displays, long jumper wires can act as antennas for EMI; keep your I2C and analog traces under 4 inches in length.
Can I use this tester for 7.4V (High Voltage) HV Servos?
No. Standard Servo.h library outputs a 5V logic PWM signal. While many modern HV servos are 5V-tolerant on the signal line, powering the servo itself requires adjusting the buck converter to 7.4V or 8.4V. If you are testing HV servos, you must use a logic level shifter or an optocoupler to protect the Nano's D9 pin from high-voltage back-EMF spikes generated by the servo's internal motor driver.
How do I find the exact mechanical center of a continuous rotation servo?
Continuous rotation servos rarely stop perfectly at exactly 1500µs due to manufacturing tolerances in their internal potentiometers. Use the OLED display to sweep the pulse width in 1µs increments around the 1450-1550µs range. The exact microsecond value where the motor completely stops is your true mechanical deadband center. Record this value in your flight controller or robot firmware.