
Why Your Arduino Water Level Sensor Drifts
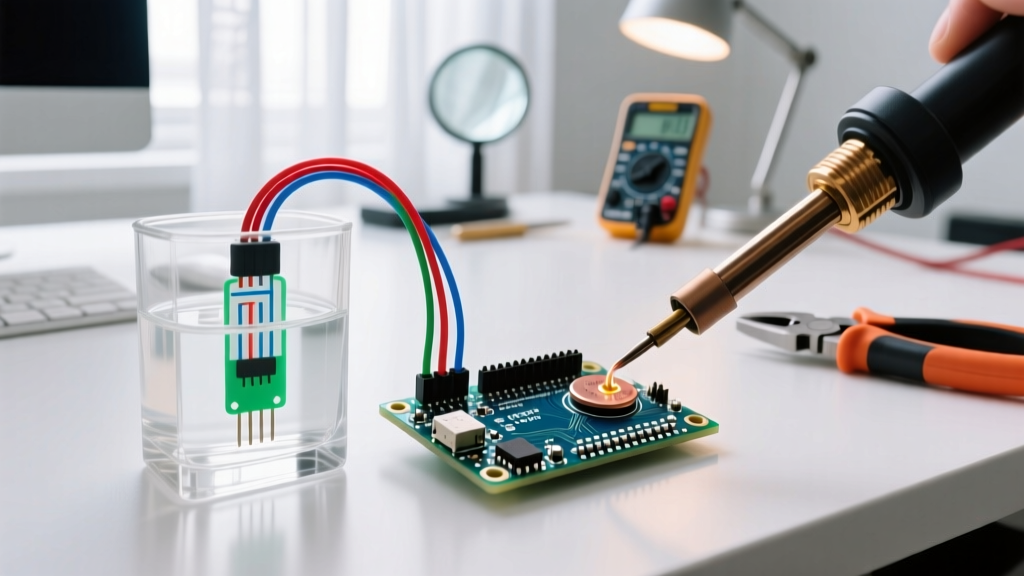
If you have ever deployed a standard resistive Arduino water level sensor in a continuous monitoring project, you likely noticed a frustrating phenomenon: the analog readings drift upward over time, eventually indicating a "full" tank even when dry. This is not a software bug; it is a fundamental electrochemical failure. The generic 52mm rain and water level modules (often labeled FC-37 or similar) rely on exposed copper or nickel traces acting as a variable resistor. When voltage is applied across these traces in the presence of water, electrolysis occurs immediately.
Electrolysis causes the anode to oxidize, releasing metal ions into the fluid and leaving behind a non-conductive oxide layer on the sensor traces. Within 48 to 72 hours of continuous 5V DC power, the sensor's baseline resistance increases dramatically, rendering your calibration curve useless. To achieve long-term accuracy in 2026, we must move beyond simple analogRead() polling and implement both hardware excitation control and software compensation.
The Electrolysis Fix: Pulsed DC Excitation
The most effective way to preserve a resistive sensor and maintain calibration accuracy is to eliminate continuous DC bias. By pulsing the power to the sensor for only a few milliseconds during the actual measurement window, you reduce electrolysis by over 99%, extending the sensor's operational lifespan from a few days to several years.
Circuit Modification: MOSFET Switching
Do not power the sensor directly from the Arduino's 5V pin. Instead, use a logic-level N-channel MOSFET (such as the 2N7000, costing roughly $0.15) to switch the sensor's ground connection, or a P-channel MOSFET (like the BS250) to switch the VCC line.
- Step 1: Connect the sensor's VCC to the Arduino 5V rail.
- Step 2: Connect the sensor's GND to the drain of a 2N7000 MOSFET.
- Step 3: Connect the MOSFET source to the system ground.
- Step 4: Drive the MOSFET gate via a digital output pin (e.g., Pin 8) with a 10kΩ pull-down resistor to prevent floating gate states during MCU boot.
- Step 5: Connect the sensor's analog output to A0 via a 10kΩ pull-down resistor to ensure a clean 0V reading when the MOSFET is off.
Pro-Tip: In your firmware, set the digital pin HIGH, wait exactly 10 milliseconds for the RC circuit to stabilize, take 16 analog samples, average them, and immediately set the pin LOW. This 10ms duty cycle, repeated every 5 minutes, virtually halts galvanic corrosion.
Mapping Analog Values: The Calibration Matrix
Water is not a linear resistor. Its conductivity depends heavily on the dissolved solids (TDS) and the physical geometry of the sensor traces. The standard 10-bit ADC (0-1023) on an ATmega328P or the 12-bit ADC (0-4095) on an ESP32 will return logarithmic, not linear, values relative to fluid depth. Below is a baseline calibration matrix for a standard 52mm sensor in typical municipal tap water (approx. 250 ppm TDS) using a 5V reference and 10-bit resolution.
| Fluid Depth (mm) | Expected Voltage (V) | ADC Value (10-bit) | Fluid State | Margin of Error |
|---|---|---|---|---|
| 0 (Dry) | 0.00 | 0 - 5 | Empty | ± 2 |
| 10 | 1.85 | 375 - 400 | Low | ± 15 |
| 20 | 2.90 | 590 - 620 | Medium | ± 20 |
| 30 | 3.80 | 780 - 810 | High | ± 25 |
| 40+ (Submerged) | 4.65+ | 950 - 1023 | Full | ± 10 |
Notice the compression at higher water levels. As the submerged surface area increases, the parallel resistance of the water paths decreases non-linearly. To map this in C++, avoid simple map() functions. Instead, use a piecewise linear approximation or a logarithmic regression formula derived from your specific water source's conductivity.
Software Filtering for Noise Rejection
Fluid environments are electrically noisy. Stray capacitance from nearby AC water pumps, EMI from switching power supplies, and surface ripples can cause ADC jitter of ±30 points. Relying on a single analogRead() will result in false triggers.
Implement an exponential moving average (EMA) or a rolling median filter. The Arduino Official Smoothing Example provides a solid foundation for a rolling average, but for fluid dynamics, a median filter is superior. A median filter of 5 samples will completely reject the massive spikes caused by a water droplet momentarily bridging the top traces or EMI spikes from a relay switching on a nearby solenoid valve.
Implementation Strategy
- Read 5 rapid sequential samples (spaced 2ms apart).
- Sort the array of 5 values.
- Discard the highest and lowest values.
- Average the remaining 3 values.
- Feed this result into your EMA filter with a smoothing factor (alpha) of 0.15 for a slow, stable output that ignores surface turbulence.
Environmental Variables: Temperature and TDS
A major oversight in DIY fluid monitoring is ignoring the chemical properties of the target liquid. The electrical conductivity of water is highly dependent on temperature and Total Dissolved Solids (TDS). According to the United States Geological Survey (USGS), water conductivity increases by approximately 2% to 3% for every 1°C rise in temperature.
If your Arduino water level sensor is deployed in an outdoor rain barrel or a hydroponic reservoir, a temperature swing from 10°C in the morning to 30°C in the afternoon will alter the sensor's resistance enough to shift your ADC reading by 40 to 60 points. If you require ±5mm accuracy, you must include a DS18B20 waterproof temperature probe in the fluid and apply a temperature compensation coefficient in your firmware:
Compensated_ADC = Raw_ADC / (1 + 0.025 * (Current_Temp_C - 25.0));
Furthermore, if the water evaporates and leaves behind mineral deposits (calcium, magnesium), these salts will coat the sensor traces. When humidity rises, these salts can absorb moisture from the air and create a conductive path, triggering a false "wet" reading. Periodic mechanical cleaning or upgrading to a Teflon-coated probe is mandatory for high-mineral environments.
Resistive vs. Capacitive: When to Upgrade
While pulsed DC and software filtering can push a $1.50 resistive sensor to perform adequately for basic sump-pump alarms, mission-critical applications (like medical fluid dispensing or precision hydroponics) demand non-contact measurement. In 2026, capacitive liquid level sensors have dropped in price to around $4.00 to $6.00, making them a viable upgrade path.
Capacitive sensors measure the change in dielectric constant between the sensor pad and the surrounding environment. Water has a dielectric constant of roughly 80, while air and most plastics are near 1 to 3. As detailed in the Microchip Capacitive Touch Sensing Guidelines, these sensors can read fluid levels directly through the wall of a PVC or acrylic tank, completely eliminating corrosion and contamination risks.
Technology Comparison Matrix
| Feature | Resistive (FC-37 Style) | Stainless Steel Float Switch | Capacitive (Non-Contact) |
|---|---|---|---|
| Avg. Cost (2026) | $1.50 | $8.00 - $12.00 | $4.50 - $6.00 |
| Corrosion Risk | High (Requires Pulsing) | Low (Mechanical wear) | None (Isolated) |
| Analog Depth Reading | Yes (Non-linear) | No (Binary ON/OFF) | Yes (Linear with calibration) |
| Tank Penetration | Required | Required | Not Required |
| Best Use Case | Basic leak detection | Sump pump fail-safes | Chemical/Hydroponic dosing |
Final Calibration Workflow
To finalize your setup, follow this exact calibration sequence:
- Assemble the MOSFET pulsed-power circuit and upload the median-filter firmware.
- Fill your target container with the exact fluid you intend to measure (do not calibrate with tap water if you plan to measure nutrient solution).
- Lower the sensor in 10mm increments, logging the stabilized, temperature-compensated ADC values at each step via the Serial Monitor.
- Plot the data in a spreadsheet and generate a polynomial trendline (Degree 2 or 3) to extract the coefficients for your C++ mapping function.
- Implement a "dry calibration" routine that runs on boot, ensuring the sensor reads below an ADC value of 10 before allowing the system to enter its main monitoring loop.
By treating the Arduino water level sensor not as a simple digital switch, but as a complex electrochemical transducer requiring excitation management, environmental compensation, and statistical filtering, you will achieve industrial-grade reliability on a hobbyist budget.


