
The Core Challenge: Why Your Stepper Shield Choice Matters
In the realm of DIY mechatronics, stepper motors are the undisputed backbone of precision movement. Whether you are automating a macro photography camera slider or milling PCBs on a desktop CNC, the interface between your microcontroller and the motor coils is critical. Selecting the right arduino stepper motor shield is not just about matching pinouts; it dictates your project's torque curve, acoustic noise profile, and high-speed reliability.
Many hobbyists make the mistake of grabbing the cheapest L298N-based shield available, only to face missed steps, overheating H-bridges, and agonizing coil whine. In 2026, the market has matured significantly. Modern chopper drivers and silent-stepping ICs have rendered older linear drivers obsolete for precision tasks. This guide bypasses generic theory and dives straight into two real-world applications, detailing exactly which shields to use, how to wire them, and how to tune them for flawless operation.
Pro-Tip: The Voltage Secret
Stepper motors are current-driven, but coil inductance limits how fast that current can build up. Running a 12V power supply into a modern chopper shield will severely limit your high-RPM torque. Upgrading to a 24V DC power supply (while keeping the current limit identical) allows the shield to push current through the coils faster, effectively flattening your torque curve at higher speeds.
Head-to-Head: Top Shields for Real-World Projects
Before wiring up your NEMA 17 motors, you need to match the shield to the mechanical demands of your build. Here is how the three most common boards stack up for practical applications.
| Shield Model | Driver IC Architecture | Max Current / Phase | Interface | Best Real-World Application | Avg Price (2026) |
|---|---|---|---|---|---|
| Adafruit Motor Shield V2 | NXP PCA9685 + Dual H-Bridge | 1.2A (Continuous) | I2C (Address 0x60) | Camera Sliders, Slow Pan/Tilt | $24.95 |
| Generic CNC Shield V3 | External Socketed (A4988/DRV8825/TMC2209) | 1.5A - 2.5A (Depends on IC) | Direct GPIO / GRBL | Pen Plotters, Desktop CNCs | $9.00 - $12.00 |
| Arduino L298P Motor Shield | Linear Dual H-Bridge (L298P) | 2.0A (Peak, heavy heat) | Direct GPIO | Basic DC Motors (Avoid for Steppers) | $6.00 - $8.00 |
Application 1: Precision Macro Photography Camera Slider
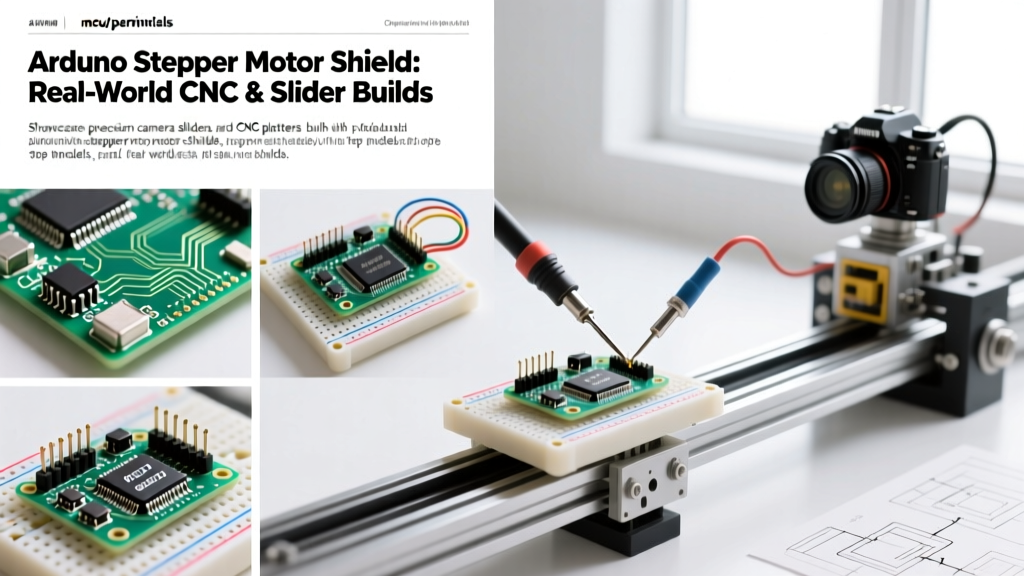
For time-lapse and macro videography, movement must be imperceptibly smooth. Micro-vibrations will ruin a macro shot. The Adafruit Motor Shield V2 is ideal here because its I2C interface frees up the Arduino's hardware interrupt and PWM pins, allowing you to easily wire up limit switches, an intervalometer trigger, and an OLED display without pin conflicts.
Hardware BOM & Cost Breakdown
- Microcontroller: Arduino Uno R3 or R4 Minima ($22 - $28)
- Shield: Adafruit Motor Shield V2 ($24.95)
- Motor: NEMA 17 High-Torque (e.g., 17HS4401, 1.5A, 40mm length) ($14)
- Power Supply: 12V 5A Switching PSU (Barrel jack to screw terminal adapter) ($12)
- Mechanics: 2020 Aluminum Extrusion, GT2 Belt, and 20-tooth Pulleys ($25)
Wiring and Microstepping Configuration
The Adafruit V2 uses an I2C PWM chip to generate the step and direction signals internally. You only need to connect the motor's four coils (usually pairs of Black/Green and Red/Blue) to the M1 or M2 screw terminals. Do not rely on full-step or half-step modes for a camera slider; the detent torque will cause visible jitter in your footage.
Using the official Adafruit Motor Shield V2 library, you must configure the shield for microstepping. For a standard 1.8-degree (200 steps/rev) motor, setting the shield to MICROSTEPS_16 yields 3,200 steps per revolution. When paired with a 40-tooth GT2 pulley (80mm linear travel per rev), you achieve a resolution of 0.025mm per step—more than enough for ultra-smooth macro tracking.
Application 2: Desktop CNC Plotter & Pen Plotter
Unlike camera sliders, CNC plotters require rapid directional changes, high-speed travel, and strict synchronization across multiple axes. The Adafruit shield cannot handle the rapid pulse frequencies required for high-speed GRBL operation. Here, the CNC Shield V3 paired with socketed stepper drivers is the undisputed industry standard for DIY builds.
Why the CNC Shield V3 Dominates
The CNC Shield V3 maps directly to the GRBL firmware pinout. It routes the Arduino Uno's hardware timers directly to the STEP and DIR pins, ensuring zero latency. Furthermore, its socketed design allows you to swap driver ICs based on your acoustic and torque needs.
In 2026, the TMC2209 driver has largely replaced the older A4988 and DRV8825 for consumer desktop plotters. The TMC2209 utilizes Trinamic's StealthChop2 technology, rendering the stepper motors virtually silent—a massive upgrade if your plotter is running in a shared office or living space.
Tuning the Vref: A Critical Calibration Step
The most common cause of failed CNC builds is improper current limiting. If you push too much current, the driver will thermally throttle or destroy your motor windings. If you push too little, the motor will stall during rapid G-code moves.
- Power the Arduino and CNC shield via USB, but do not connect the main 24V PSU yet.
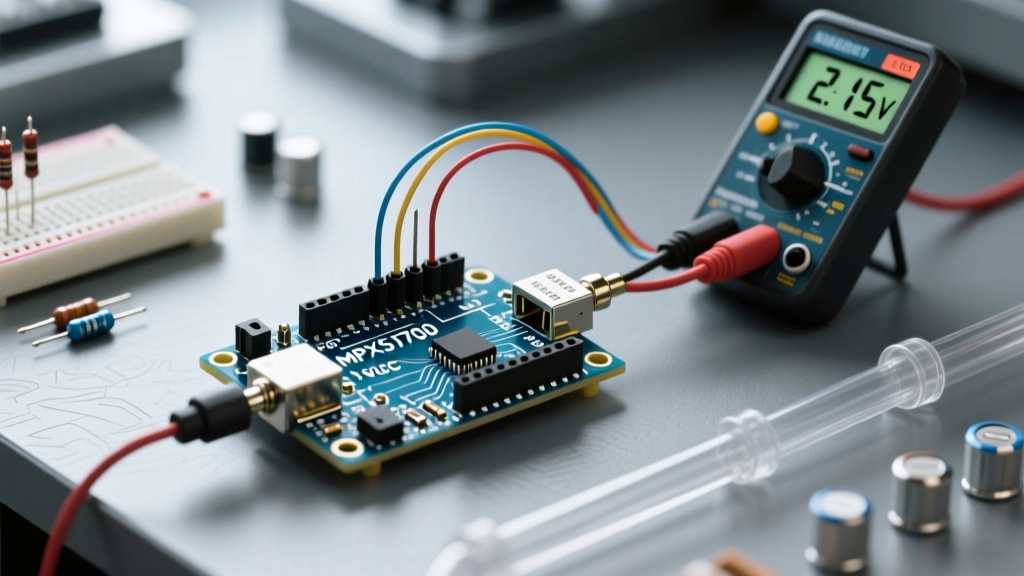
- Set your multimeter to DC Voltage (2V range).
- Place the black probe on the shield's GND pin and the red probe on the tiny metal potentiometer wiper on the TMC2209/DRV8825.
- Using a ceramic screwdriver (never metal, to avoid shorting), turn the pot until you read your target Vref.
- Formula for DRV8825: Vref = (Max Current * 8 * Rsense) / 2. For a 1.5A motor with a 0.100 ohm sense resistor, target 0.60V.
Troubleshooting Real-World Failure Modes
Even with the correct arduino stepper motor shield, real-world physics will test your build. Here is how to diagnose and fix the three most common edge cases encountered in the field.
1. High-Speed Stalling and Missed Steps
Symptom: The motor moves perfectly at 500mm/min, but stalls or grinds when the G-code commands 2000mm/min.
Root Cause: Back-EMF and coil inductance. As RPM increases, the motor generates a reverse voltage that fights the shield's output.
Solution: According to Texas Instruments' motor driver design guidelines, increasing the bus voltage allows the chopper circuit to overcome inductance faster. Upgrade your power supply from 12V to 24V. Ensure your chosen driver IC (like the DRV8825 or TMC2209) is rated for 24V+ operation. Do not increase the current limit (Vref); only increase the voltage.
2. Thermal Throttling Mid-Print
Symptom: The CNC plotter works perfectly for 10 minutes, then one axis drifts or stops entirely. It resumes working after cooling down.
Root Cause: The driver IC has hit its internal thermal shutdown threshold (typically around 120°C to 150°C). The A4988 is notorious for this when pushed past 1.0A without active cooling.
Solution: Stick-on heatsinks are largely ineffective due to the small surface area. You must implement active airflow. Mount a 40mm 5V brushless fan directly to the CNC shield enclosure, blowing laterally across the driver ICs. Alternatively, downgrade the motor current by 15% and compensate by increasing the mechanical gear reduction.
3. Low-Speed Resonance and Vibration
Symptom: The motor shakes violently and loses position when operating in the 2 to 5 RPM range.
Root Cause: Stepper motors suffer from mid-band and low-speed resonance due to the discrete nature of full and half-step magnetic detents.
Solution: This is where shield and driver selection matters. If using a CNC Shield V3, swap your A4988s for TMC2209s and enable 256x microstepping via the MS1/MS2 jumpers. The TMC2209's internal interpolation smooths out the current sine waves, effectively eliminating low-speed resonance. If you are locked into the Adafruit V2 shield, implement a software-based acceleration ramp (using the AccelStepper library) to quickly push the motor past the resonant frequency band.
Expert Verdict & Sourcing Tips
There is no universal "best" arduino stepper motor shield; there is only the right shield for your specific mechanical load. For slow, high-precision, pin-constrained projects like camera sliders and telescope mounts, the Adafruit Motor Shield V2 offers unmatched ease of use and clean I2C wiring. For high-speed, multi-axis, GRBL-driven machines like pen plotters and CNC mills, the CNC Shield V3 with TMC2209 drivers provides the necessary pulse fidelity and thermal headroom.
Sourcing Warning: When purchasing CNC Shield V3 boards from third-party marketplaces, inspect the copper traces near the main power input. Many ultra-cheap clones omit the copper pour and rely solely on thin solder masks to carry 10A+ of current, leading to melted traces. Always solder a layer of 18AWG copper wire directly across the power input terminals on clone boards to reinforce the power path before firing up your machine.