
The Evolution of HMI in DIY Electronics
Building sensor dashboards in 2026 means moving far beyond the limitations of 16x2 character LCDs. Integrating an Arduino and touch screen setup allows for dynamic data visualization, interactive calibration menus, and real-time graphing. However, moving from basic serial monitors to rich Human-Machine Interfaces (HMI) introduces complex hardware challenges. Specifically, managing high-speed SPI data lines for the display while simultaneously polling I2C environmental sensors requires a deep understanding of bus capacitance, logic level translation, and non-blocking software architecture.
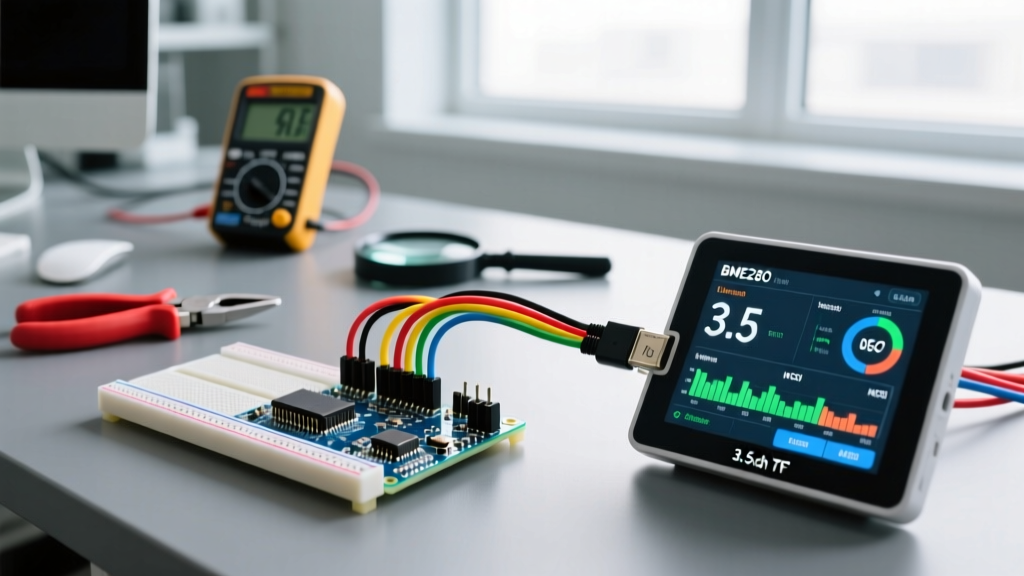
This tutorial provides a masterclass in wiring, coding, and troubleshooting a capacitive touch screen sensor dashboard, utilizing the Adafruit 2.4-inch TFT FeatherWing and the Bosch BME280 environmental sensor.
Architecture Showdown: Direct-Drive vs. UART HMI
Before soldering a single header, you must choose your display architecture. The DIY market currently offers two dominant paradigms for pairing an Arduino and touch screen:
| Feature | Direct-Drive (SPI/I2C) | UART HMI (e.g., Nextion) |
|---|---|---|
| Example Hardware | Adafruit ILI9341 + FT6206 | Nextion NX3224T024 |
| MCU CPU Load | High (MCU renders every pixel) | Low (MCU sends serial string commands) |
| Wiring Complexity | High (6+ SPI pins + I2C pins) | Low (TX, RX, 5V, GND) |
| Custom Graphics | Unlimited (draw any shape via code) | Limited to pre-loaded assets in editor |
| Best Use Case | Real-time oscilloscopes, custom graphs | Static control panels, button arrays |
For this guide, we are utilizing the Direct-Drive SPI/I2C route. While it demands more from the microcontroller, it offers the raw flexibility required for custom sensor data plotting, which is critical for advanced electronics prototyping.
2026 Hardware Bill of Materials & Pricing
Component availability and pricing have stabilized as of 2026. Here is the exact BOM required to replicate this high-reliability dashboard:
- Microcontroller: Arduino Uno R4 Minima ($27.50) - Chosen for its 48MHz ARM Cortex-M4, which pushes SPI pixels 3x faster than the legacy ATmega328P.
- Display: Adafruit 2.4" TFT Touch Screen FeatherWing (Product ID: 3315, $49.95) - Features the ILI9341 display driver and FT6206 capacitive touch controller.
- Sensor: Adafruit BME280 I2C Breakout ($9.95) - Measures temperature, humidity, and barometric pressure.
- Logic Level Shifter: BSS138-based 4-channel bi-directional shifter ($3.99) - Absolute requirement for protecting 3.3V displays from 5V logic.
- Passives: 4.7kΩ pull-up resistors and 100nF decoupling capacitors ($2.00).
Wiring the Arduino and Touch Screen: The 3.3V Logic Trap
The most common point of failure when integrating an Arduino and touch screen is ignoring logic voltage thresholds. The Uno R4 Minima operates at 5V logic. The ILI9341 display and FT6206 touch controller on the FeatherWing are strictly 3.3V tolerant. Feeding 5V directly into the display's SPI or I2C lines will degrade the silicon and eventually fry the touch controller, resulting in a permanent 'dead touch' state.
According to the Adafruit FeatherWing hardware guide, you must level-shift the SPI MOSI, SCK, and CS lines, as well as the I2C SDA and SCL lines.
Pinout Matrix for Uno R4 Minima
| Uno R4 Minima Pin (5V) | Level Shifter HV Side | Level Shifter LV Side | FeatherWing Pin (3.3V) | Function |
|---|---|---|---|---|
| D11 (MOSI) | HV1 | LV1 | MOSI | SPI Data to Display |
| D13 (SCK) | HV2 | LV2 | SCK | SPI Clock |
| D10 | HV3 | LV3 | TFT_CS | Display Chip Select |
| D9 | HV4 | LV4 | STMPE_CS | Touch Chip Select |
| SDA | HV5 (External) | LV5 (External) | SDA | I2C Data (Touch + Sensor) |
| SCL | HV6 (External) | LV6 (External) | SCL | I2C Clock (Touch + Sensor) |
Sensor Integration: Sharing the I2C Bus
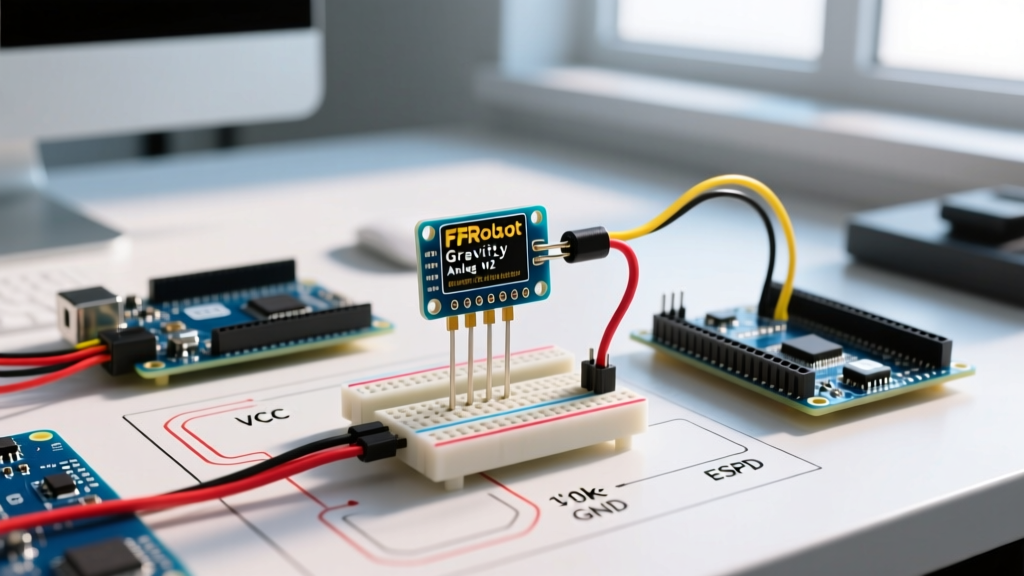
Integrating the BME280 environmental sensor alongside the FT6206 touch controller means both devices must share the same I2C bus. The FT6206 listens on I2C address 0x38, while the BME280 defaults to 0x77. Because the addresses do not collide, the software side is straightforward. The hardware side, however, requires an understanding of I2C bus capacitance.
The I2C specification mandates a maximum bus capacitance of 400pF. Long jumper wires and multiple breakout boards add parasitic capacitance. If capacitance exceeds this threshold, the square wave signals degrade into sawtooth patterns, causing the Arduino to register I2C timeouts. The Adafruit display includes 10kΩ pull-up resistors on the 3.3V line. When adding the BME280, do not use a cheap clone board that lacks its own pull-ups; instead, add 4.7kΩ pull-up resistors directly on the sensor breakout's SDA and SCL lines to strengthen the high-state voltage rise time.
Non-Blocking Software Architecture
When driving an Arduino and touch screen setup, beginners often use delay() to pause between sensor readings. This is catastrophic for touch interfaces. A 500ms delay means the MCU is blind to touch inputs for half a second, resulting in a laggy, unresponsive UI.
You must implement a state-machine approach using millis(). Below is the architectural pattern for polling the BME280 every 2 seconds while checking the touch screen every 20 milliseconds:
unsigned long lastSensorRead = 0;
unsigned long lastTouchPoll = 0;

void loop() {
  unsigned long currentMillis = millis();

  // Poll touch screen at 50Hz (20ms)
  if (currentMillis - lastTouchPoll >= 20) {
    lastTouchPoll = currentMillis;
    handleTouchInput();
  }

  // Poll BME280 at 0.5Hz (2000ms)
  // Note: BME280 requires time between reads to prevent self-heating errors
  if (currentMillis - lastSensorRead >= 2000) {
    lastSensorRead = currentMillis;
    readAndRenderSensorData();
  }
}
For deep insights into optimizing SPI transfers, refer to the Arduino SPI Library Reference, specifically regarding clock dividers. Pushing the SPI clock to 24MHz often causes screen tearing on breadboards due to signal reflection. Dropping the SPI speed to 12MHz via SPI.setClockDivider(SPI_CLOCK_DIV2) ensures rock-solid pixel rendering.
Real-World Failure Modes and Edge Cases
Even with perfect wiring, environmental factors and edge cases can derail your dashboard. Here are the most common failure modes encountered in the field:
- The 'White Screen of Death': If the display backlight turns on but the screen remains pure white, the ILI9341 initialization command failed. This is almost always caused by an SPI clock speed that is too high for the wire length. Reduce SPI speed and ensure the TFT_CS pin is not floating during boot.
- Touch Offset Drift: Capacitive screens (FT6206) do not require manual calibration matrices like older resistive screens. However, if you place a thick acrylic overlay (>4mm) over the screen for a finished enclosure, the capacitive field may fail to penetrate. You must order the display with 'extended field' capacitive glass or thin your overlay to <2mm.
- BME280 Temperature Self-Heating: Polling the BME280 continuously (e.g., every 100ms) causes the internal silicon to heat up, artificially inflating temperature readings by 1.5°C to 2.0°C. Always enforce a minimum 2-second delay between I2C requests, or put the sensor into 'Forced Mode' rather than 'Normal Mode' via the Adafruit BME280 library settings.
- I2C Lockups: If an ESD event or power brownout occurs while the BME280 is pulling the SDA line low, the Arduino's I2C hardware state machine can lock up. Implement a watchdog timer (WDT) or a software I2C bus-clearing routine that toggles the SCK line manually 9 times to release the slave device.
Frequently Asked Questions
Can I use an ESP32 instead of an Arduino for this touch screen setup?
Yes, and it is highly recommended for advanced dashboards. The ESP32 operates at native 3.3V logic, entirely eliminating the need for a bi-directional logic level shifter. Furthermore, the ESP32's dual-core architecture allows you to dedicate Core 0 to Wi-Fi telemetry and Core 1 exclusively to SPI display rendering and I2C sensor polling, preventing network latency from causing UI stutter.
Why does my touch screen register phantom touches when a relay switches?
Capacitive touch controllers are highly susceptible to Electromagnetic Interference (EMI). If you are using the touch screen to control mechanical relays or inductive loads (like stepper motors), the flyback voltage and EMI will couple into the touch sensor's ground plane, registering as phantom taps. To fix this, use opto-isolated relay modules, keep high-current wiring at least 5cm away from the display ribbon cable, and add a 100µF bulk decoupling capacitor across the display's 5V and GND rails.
Is the Nextion UART display better for sensor logging?
If your goal is purely to display text and toggle buttons without custom graphing, a Nextion display is vastly superior for saving MCU resources. As noted in the Nextion HMI Connection FAQ, the UART offloads all graphical rendering to the display's internal ARM processor. However, if you need to draw live, scrolling oscilloscope graphs from high-frequency sensor data, the direct-drive SPI method detailed in this tutorial remains the undisputed champion for flexibility.