
The Hidden Inaccuracies in LED Visual Feedback
When integrating a display LED Arduino system into a precision measurement rig, visual output is often treated as an afterthought. Engineers spend hours calibrating I2C sensors like the BME280 or ADS1115, only to map that high-resolution data to an LED matrix or bar graph using flawed, uncalibrated logic. The result? A display that misrepresents the underlying data due to non-linear human vision, hardware current limitations, or integer truncation errors.
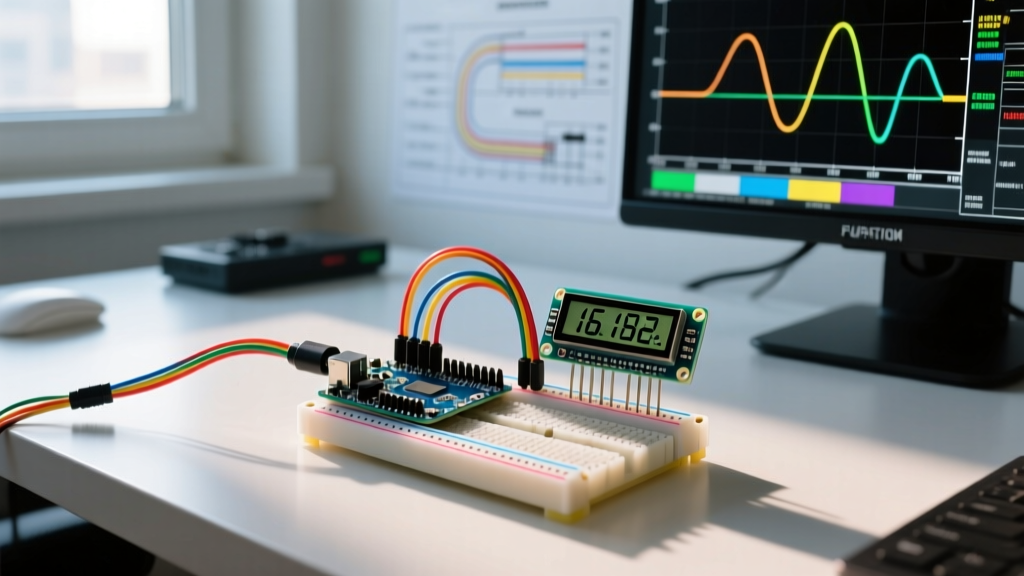
Whether you are building a laboratory-grade temperature monitor using a TM1637 7-segment display or a multi-zone voltage bar graph using WS2812B NeoPixels, calibration is mandatory. This guide details the exact hardware and software procedures required to calibrate your display LED Arduino projects for true photometric and data accuracy in 2026.
Hardware-Level Calibration: Tuning the MAX7219 Current Sink
The MAX7219 is a ubiquitous multiplexed LED driver for 8x8 matrices and 7-segment displays. Out of the box, cheap clone modules often ship with a 10 kΩ resistor on Pin 18 ($R_{SET}$). This pushes the peak segment current to roughly 40 mA. While this makes the display blindingly bright, it introduces severe thermal drift and can exceed the absolute maximum ratings of the IC, leading to premature failure and inaccurate brightness scaling when using the setIntensity() function.
Calculating the Correct $R_{SET}$ Resistor
To achieve accurate, thermally stable brightness that correlates linearly with your software intensity commands, you must match the $R_{SET}$ resistor to your specific LED forward voltage ($V_F$) and desired segment current ($I_{SEG}$). According to the Analog Devices MAX7219 datasheet, the internal current regulator multiplies the current drawn through Pin 18 by a factor of roughly 100 to set the segment current.
| R_SET Resistor Value | Peak Segment Current | Best Application | Resistor Wattage |
|---|---|---|---|
| 10 kΩ (1%) | ~40 mA | Outdoor/Direct Sunlight (High Thermal Load) | 1/2W Minimum |
| 28 kΩ (1%) | ~15 mA | Standard Indoor Instrumentation Panels | 1/4W Standard |
| 50 kΩ (1%) | ~8 mA | Low-Power Battery-Operated Sensor Nodes | 1/4W Standard |
Expert Warning: Never use a standard 5% carbon film resistor for $R_{SET}$. A 5% tolerance on a 28 kΩ resistor can swing your segment current by ±3 mA across different boards, making uniform brightness calibration impossible across a fleet of devices. Always use 1% metal film resistors.
Photometric Calibration: Gamma Correction for WS2812B NeoPixels
Addressable RGB LEDs like the WS2812B (and the newer, more efficient WS2812C variants popular in 2026) are frequently used to build high-resolution sensor bar graphs. However, a critical failure mode in data visualization is the assumption that LED PWM values correlate linearly with human brightness perception. They do not.
The human eye perceives light logarithmically. If you map a 0-1023 analog sensor reading directly to a 0-255 PWM LED value, the lower 20% of your sensor data will appear compressed into a tiny visual sliver, while the upper 80% will look virtually identical to the naked eye.
Implementing a Gamma 2.8 Lookup Table
To calibrate the visual output so it accurately reflects linear sensor data, you must apply a gamma correction factor of 2.8. As detailed in the Adafruit NeoPixel Überguide, calculating this on the fly using the pow() function on an 8-bit AVR microcontroller (like the ATmega328P) is computationally expensive and causes flickering due to slow math execution.
Instead, pre-calculate a 256-byte lookup table (LUT) stored in PROGMEM. This ensures your display LED Arduino setup renders sensor changes with perfect perceptual linearity without blocking the main sensor-reading loop.
- Step 1: Generate the LUT using the formula:
output = 255 * (input / 255)^2.8 - Step 2: Store the array in flash memory using the
PROGMEMmacro to save precious SRAM. - Step 3: Retrieve values using
pgm_read_byte()before sending data to the LED strip.
Algorithmic Precision: Fixing Integer Truncation in Data Mapping
When mapping high-resolution sensor data (e.g., a 16-bit ADS1115 ADC reading) to a physical display (e.g., a 144-LED NeoPixel ring), most developers rely on the default Arduino map() function. This is a critical accuracy error.
The official Arduino map() documentation confirms that the function uses strictly integer math. It will not generate fractions. If you are mapping a 0-5V sensor reading (0-1023 on a 10-bit ADC) to a 60-LED bar graph, the truncation error causes "dead zones" where the physical LED count fails to increment despite measurable changes in the sensor voltage.
The Floating-Point Alternative
For precision instrumentation, abandon the standard map() function. Implement a floating-point scaling algorithm that calculates the exact fractional LED index, and use that fraction to apply anti-aliasing (dimming the "in-between" pixel) to simulate sub-pixel accuracy.
For example, if your sensor math yields an LED index of 42.6, a standard map function lights up LED 42 at 100%. A calibrated setup will light LED 42 at 100% and LED 43 at 60% brightness. This technique, known as sub-pixel rendering, effectively triples the visual resolution of your display LED Arduino hardware, allowing the user to read micro-fluctuations in sensor data that would otherwise be lost to integer rounding.
Environmental & Electrical Edge Cases
Even with perfect software calibration, electrical realities can destroy your display's accuracy. Address these edge cases during the prototyping phase:
1. Voltage Drop in Long LED Chains
WS2812B pixels draw up to 60 mA each at full white. A chain of 60 pixels can pull 3.6 Amps. Because standard 22 AWG copper wire and the PCB traces on LED strips have inherent resistance, you will experience a voltage drop of roughly 0.1V per pixel at peak load. By pixel 40, the supply voltage may drop below 4.0V, causing the internal constant-current drivers to fail. The result is a color shift (whites turn yellow/pink) at the end of the strip, ruining your color-calibrated data visualization. Solution: Inject 5V power at both ends of any strip exceeding 30 pixels, and use minimum 18 AWG wire for power injection lines.
2. Multiplexing Flicker and Camera Sensors
Drivers like the TM1637 use high-frequency multiplexing to drive 7-segment displays. While the default refresh rate is usually sufficient for the human eye, if your display LED Arduino project is being recorded by a machine vision camera or a modern smartphone (which often sample at 120Hz or higher), the display will exhibit severe banding or flickering. To calibrate for optical sensor environments, you must adjust the TM1637 grid scanning frequency via its internal command registers to push the refresh rate above the Nyquist limit of your target camera system.
3. Thermal Drift in Current Sense Resistors
If your display is housed in an enclosed panel alongside heat-generating components (like voltage regulators or motor drivers), the ambient temperature rise will alter the resistance of your $R_{SET}$ and current-limiting resistors. Standard carbon film resistors have a Temperature Coefficient of Resistance (TCR) of ±500 ppm/°C. For high-accuracy indoor displays, specify resistors with a TCR of ±50 ppm/°C to ensure the LED brightness remains perfectly stable regardless of internal chassis thermals.