
The HD44780 Controller: Why the 1602 Endures in 2026
Despite the proliferation of high-resolution OLEDs and TFT touchscreens, the classic 1602 character LCD remains a staple in industrial control panels, DIY telemetry, and retro-computing projects. Driven by the ubiquitous Hitachi HD44780 controller (or modern clones like the SPLC780D), the 1602 LCD Arduino ecosystem offers unmatched 5V logic compatibility, extreme temperature resilience, and a sub-$3 price point. This guide provides a definitive, expert-level breakdown of wiring topologies, C++ library selection, and hardware edge cases for integrating 1602 displays with Arduino UNO R3, Nano, and ESP32 microcontrollers.
Parallel vs. I2C Backpack: Architecture & Cost Breakdown
When sourcing a 1602 display, you will encounter two primary hardware configurations. Choosing the right one dictates your pin budget and software complexity.
| Feature | Standard Parallel (16-Pin) | I2C Backpack (4-Pin) |
|---|---|---|
| MCU Pins Required | 6 (4-bit mode) to 10 (8-bit) | 2 (SDA, SCL) |
| Typical 2026 Cost | $1.80 - $2.50 | $3.20 - $4.50 |
| Expander Chip | None (Direct Shift Registers) | PCF8574T or MCP23008 |
| Best Use Case | High-speed custom text rendering | Pin-constrained boards (ESP8266/ATTiny) |
Wiring the Parallel 1602 LCD (Direct Pinout)
Direct parallel wiring requires careful attention to the contrast and backlight circuits. The most common failure mode for beginners is a completely blank screen caused by an improperly biased V0 (Pin 3) contrast pin.
Critical Pinout & Voltage Requirements
- VSS (Pin 1) & VDD (Pin 2): Ground and 5V power. Warning: While the logic tolerates 5V, some modern 3.3V clones (like certain ESP32 dev boards) require a logic level shifter for the data pins to prevent long-term degradation of the LCD's internal CMOS gates.
- V0 (Pin 3 - Contrast): Requires a negative voltage relative to VDD, or simply a voltage divider to ground. For standard blue transmissive displays, target 0.4V to 0.6V. Use a 10kΩ trimpot, or for a fixed production build, a voltage divider using a 2.2kΩ resistor to VDD and a 1kΩ resistor to Ground.
- RS (Pin 4) & RW (Pin 5): Register Select and Read/Write. Tie RW directly to Ground (Pin 1) to force Write-Only mode. This frees up an MCU pin and prevents the LCD from accidentally driving the data bus high, which can short-circuit your microcontroller's GPIO.
- Backlight (Pins 15 & 16): Anode and Cathode. Crucial: Most 1602 modules lack an internal current-limiting resistor for the LED backlight. You must place a 10Ω to 47Ω resistor on Pin 15 (Anode) when driving from a 5V source to limit current to ~20mA and prevent thermal burnout.
Expert Tip: The HD44780 datasheet specifies a strict initialization sequence requiring delays of 40ms, 100µs, and 100µs after power-on. If your Arduino code initializes the LCD before the 5V rail stabilizes, the display will lock up. Always include adelay(50);in yoursetup()before callinglcd.begin().
Wiring the I2C 1602 LCD Backpack
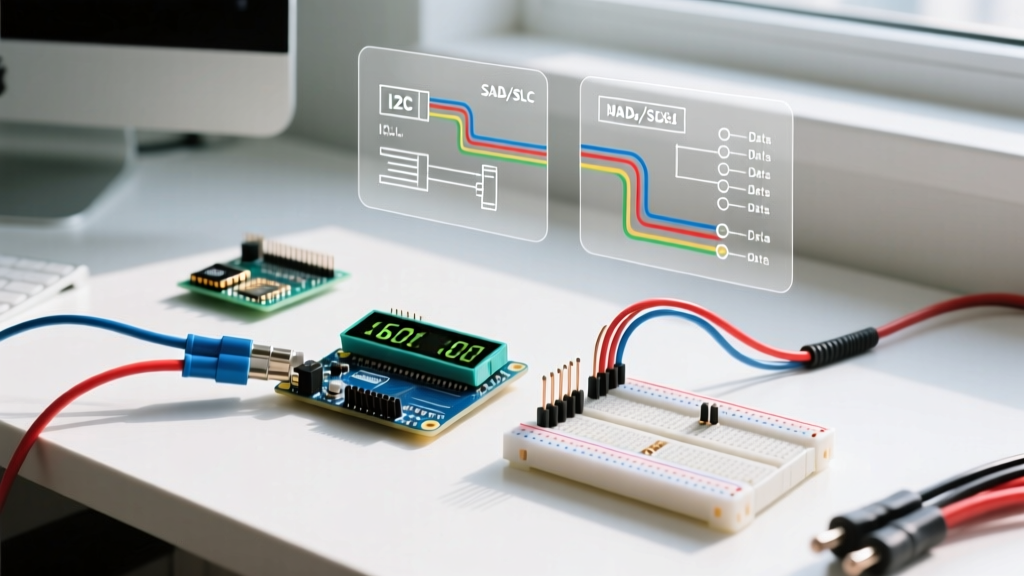
The I2C backpack utilizes an I/O expander—typically the NXP PCF8574—to translate serial I2C commands into parallel signals. This reduces wiring to just four pins: VCC, GND, SDA, and SCL.
The I2C Address Conflict (0x27 vs 0x3F)
A notorious pain point in the 1602 LCD Arduino community is the I2C address mismatch. Backpacks manufactured with the PCF8574T chip default to address 0x27. However, backpacks using the PCF8574AT chip default to 0x3F. If you are daisy-chaining multiple displays or integrating them alongside RTC modules (which often use 0x68), you must configure the A0, A1, and A2 jumper pads on the backpack to shift the address and prevent bus collisions. Always run an I2C scanner sketch before hardcoding addresses in your production firmware.
C++ Code Integration & Library Selection
While the legacy LiquidCrystal library is pre-installed in the Arduino IDE, it is fundamentally outdated for modern I2C backpacks. Hardcoding pin mappings leads to endless troubleshooting when dealing with different backpack manufacturers.
The 2026 Standard: Use Bill Perry’s hd44780 library (available via the Arduino Library Manager). It features an hd44780_I2Cexp class that automatically diagnoses the I2C address and maps the internal expander pins to the LCD, eliminating 90% of setup failures.
Optimized I2C Initialization Code
#include <Wire.h>
#include <hd44780.h>
#include <hd44780ioClass/hd44780_I2Cexp.h>

hd44780_I2Cexp lcd; // Auto-detects address and pin mapping

void setup() {
  Wire.begin();
  // Initialize 16 columns, 2 rows
  lcd.begin(16, 2);
  lcd.setBacklight(HIGH);
  lcd.print("Flux Telemetry");
  lcd.setCursor(0, 1);
  lcd.print("Status: ONLINE");
}

void loop() {
  // Update dynamic sensor data here
}
Advanced Troubleshooting & Edge Cases
1. Solid White Boxes on the Top Row
This indicates the LCD controller has received power but failed to complete the initialization handshake with the MCU. Cause: Insufficient delay after power-on, or an I2C bus capacitance issue. Fix: Ensure your I2C pull-up resistors are 4.7kΩ. If using long wires (>30cm), drop pull-ups to 2.2kΩ to sharpen the signal rise times.
2. Ghosting or Fading Characters
If characters appear faint or leave 'ghost' trails when updated rapidly, your contrast voltage (V0) is drifting due to thermal changes in the trimpot. Replace the mechanical trimpot with a fixed resistor voltage divider, or implement a PWM-driven contrast circuit controlled by the MCU to dynamically adjust for ambient temperature shifts.
3. Backlight Flickering on Data Writes
This is a classic brownout issue. The 1602 backlight can draw up to 50mA. When the MCU toggles multiple data pins simultaneously, the sudden current spike causes a momentary voltage drop on the 5V rail. Fix: Place a 100µF electrolytic decoupling capacitor directly across the VCC and GND pins of the LCD module to stabilize the local power envelope.
Final Verdict: Choosing Your Path
For rapid prototyping and pin-constrained microcontrollers like the ESP8266 or ATtiny85, the I2C backpack paired with the hd44780 library is the undisputed champion. However, for high-speed data logging or custom character generation where I2C bus latency is a bottleneck, direct parallel wiring remains a robust, high-performance alternative. By respecting the HD44780 timing requirements and properly managing the contrast and backlight circuits, your 1602 LCD Arduino integration will deliver reliable, industrial-grade performance for years to come.