
Beyond the Blink: What Can I Do With an Arduino in 2026?
When makers first unbox their microcontroller, the most common question they ask is, "what can i do with an arduino?" While blinking an onboard LED is a rite of passage, the modern Arduino ecosystem has evolved far beyond simple classroom exercises. With the release of the Arduino Uno R4 WiFi and the Nano ESP32, the platform now natively supports high-resolution ADCs, hardware-accelerated cryptography, and seamless IoT connectivity.
In this hands-on tutorial, we will move past basic theory and build three highly practical, real-world systems. We will cover exact wiring pinouts, address common hardware failure modes, and provide the specific code logic required to make these projects work reliably in a 2026 maker environment.
Project 1: High-Fidelity I2C Environmental Monitoring Node
Tracking temperature and humidity is a staple DIY project, but using outdated sensors like the DHT11 yields poor data. We will use the Bosch BME280, which provides temperature, humidity, and barometric pressure with high precision.
Hardware Requirements & Pricing
- Arduino Uno R4 WiFi (~$27.50)
- Adafruit BME280 Breakout (~$19.95) - Includes onboard 3.3V regulation and logic level shifting.
- 4-pin JST-PH cable or breadboard jumper wires.
Wiring and the 3.3V Logic Trap
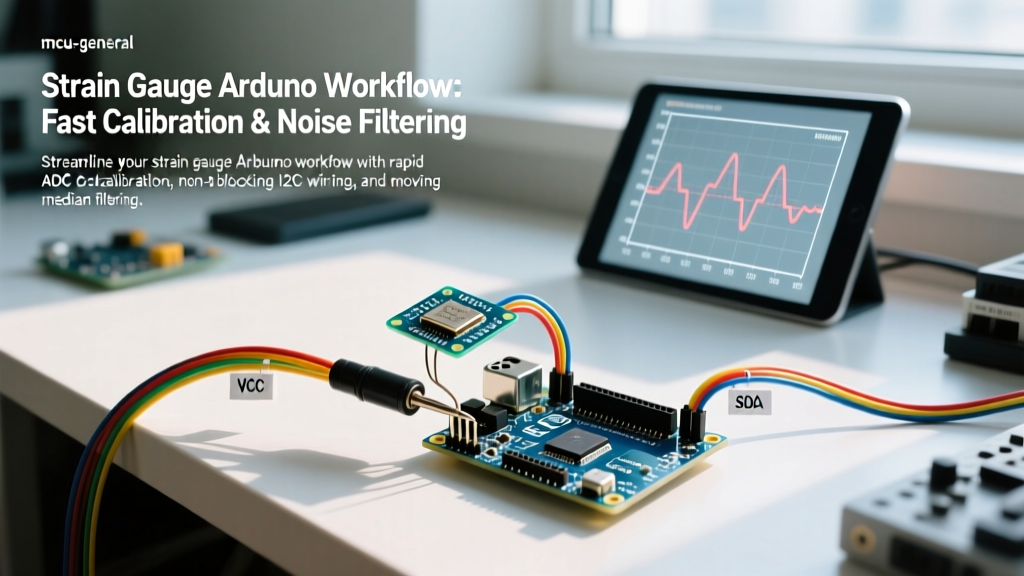
A frequent point of failure for beginners is frying 3.3V I2C sensors by connecting them directly to 5V logic lines. While the Uno R4's Renesas RA4M1 processor is 5V-tolerant on many GPIO pins, the BME280 silicon is strictly 3.3V. If you use a raw BME280 chip without a breakout board, you must use a bidirectional logic level converter (like the BSS138).
- VCC: Connect to the Uno R4's
3.3Vpin (if using a raw sensor) or5Vpin (if using the Adafruit breakout with an onboard regulator). - GND: Connect to
GND. - SCL: Connect to
A5(or the dedicated SCL pin near the AREF). - SDA: Connect to
A4(or the dedicated SDA pin).
Pro-Tip: The BME280 can have an I2C address of either0x76or0x77. If your serial monitor returns "Could not find sensor," run the Adafruit I2C Scanner sketch to verify your specific module's address. See the Adafruit BME280 Guide for exact initialization parameters.
Project 2: Secure RFID Magnetic Door Strike
Upgrading a workshop or cabinet with an RFID lock is a highly practical application. We will use the MFRC522 RFID reader paired with a 12V electromagnetic lock and a 5V relay module.
The SPI Voltage Warning
The MFRC522 communicates via SPI and operates strictly at 3.3V. Connecting its MISO, MOSI, and SCK pins directly to the Uno R4's 5V SPI pins will degrade the RC522's internal silicon over time, leading to read failures. You must route the SPI data lines through a logic level shifter. The 3.3V and 5V power lines can be connected directly to their respective pins, but data lines require stepping down.
Powering the Magnetic Lock
Do not attempt to power a 12V magnetic strike lock from the Arduino's VIN or 5V pin. The lock draws up to 500mA when engaged, which will cause a severe voltage brownout, resetting your microcontroller and potentially damaging the USB-to-Serial bridge.
- Use a dedicated 12V 2A switching power supply for the lock.
- Use a 5V 1-Channel Relay Module with an optocoupler to isolate the 12V lock circuit from the Arduino's 5V logic.
- Wire a flyback diode (1N4007) in reverse parallel across the lock's terminals to suppress inductive voltage spikes when the relay opens.
Project 3: IoT Capacitive Soil Moisture Tracker
Resistive soil moisture sensors are obsolete; they corrode within weeks due to electrolysis. In 2026, the standard is the Capacitive Soil Moisture Sensor v1.2, which measures the dielectric permittivity of the soil without exposing bare metal to the elements.
Leveraging the 14-Bit ADC
Older Arduinos featured a 10-bit Analog-to-Digital Converter (ADC), yielding values from 0-1023. The Arduino Uno R4 features a 14-bit ADC. To get the highest resolution for soil moisture mapping, you must explicitly tell the compiler to use it.
In your setup() function, include:
analogReadResolution(14);This changes your analog read range from 0-1023 to 0-16383. When calibrating your sensor, you will typically see dry air read around 13,500 and submerged water read around 3,200. Use the map() function to convert these raw 14-bit values into a clean 0-100% percentage scale for your dashboard.
Board Selection Matrix: Which Arduino Should You Use?
When deciding what you can do with an Arduino, choosing the right board is half the battle. Here is how the current mainstream boards compare for DIY home automation and robotics.
| Feature | Uno R4 Minima | Uno R4 WiFi | Nano ESP32 |
|---|---|---|---|
| Processor | Renesas RA4M1 (48MHz) | Renesas RA4M1 + ESP32-S3 | ESP32-S3 (Dual-core 240MHz) |
| ADC Resolution | 14-bit | 14-bit | 12-bit |
| Connectivity | None (USB only) | Wi-Fi & Bluetooth (via ESP32) | Wi-Fi & Bluetooth (Native) |
| Best Use Case | Robotics, Motor Control, Offline Data Logging | IoT Dashboards, MQTT Nodes, Cloud Telemetry | Space-constrained IoT, Audio Processing, Camera Interfacing |
| Approx. Price | $20.00 | $27.50 | $21.00 |
Troubleshooting Common Maker Roadblocks
Even with perfect wiring, DIY electronics present unique edge cases. Here is how to solve the three most common issues encountered when building these projects.
1. I2C Bus Timeout and Hanging
If your BME280 or OLED display causes the Arduino to freeze during an endTransmission() call, you are likely experiencing I2C bus capacitance or missing pull-up resistors. The Uno R4 has internal pull-ups, but they are weak (approx. 20kΩ). For wire runs longer than 30cm, add external 4.7kΩ pull-up resistors to both the SDA and SCL lines, tied to 3.3V or 5V (matching your sensor's logic level).
2. Random Microcontroller Resets
If your Arduino resets exactly when a servo motor engages or a relay clicks, you are experiencing a voltage brownout. Servos like the MG996R can draw peak currents of 2.5 Amps during stall. The Arduino's onboard 5V linear regulator can only supply about 500mA safely. Solution: Power high-draw actuators from a separate 5V UBEC (Universal Battery Elimination Circuit) or a dedicated buck converter, ensuring the GND of the external supply is tied to the Arduino's GND to maintain a common reference voltage.
3. Wi-Fi Connection Drops on the Uno R4
The ESP32-S3 module on the Uno R4 WiFi requires a stable power delivery to maintain a connection to your router. If you are powering the board via a cheap, unbranded USB wall charger, voltage ripple will cause the Wi-Fi radio to drop packets. Always use a high-quality, name-brand 5V/2A USB-C power supply when deploying IoT nodes permanently. For deeper network troubleshooting, refer to the official Arduino Uno R4 WiFi networking documentation.
Final Thoughts on Expanding Your Maker Skills
So, what can you do with an Arduino? The limitation is rarely the hardware; it is usually the integration of power management, signal logic, and sensor calibration. By stepping up to modern sensors like the BME280, respecting 3.3V logic boundaries, and leveraging the 14-bit ADC of the R4 generation, you transition from building fragile prototypes to engineering reliable, permanent DIY installations. Pick one of the projects above, order the BOM, and start wiring.