
The Anatomy of a Useless Box Arduino
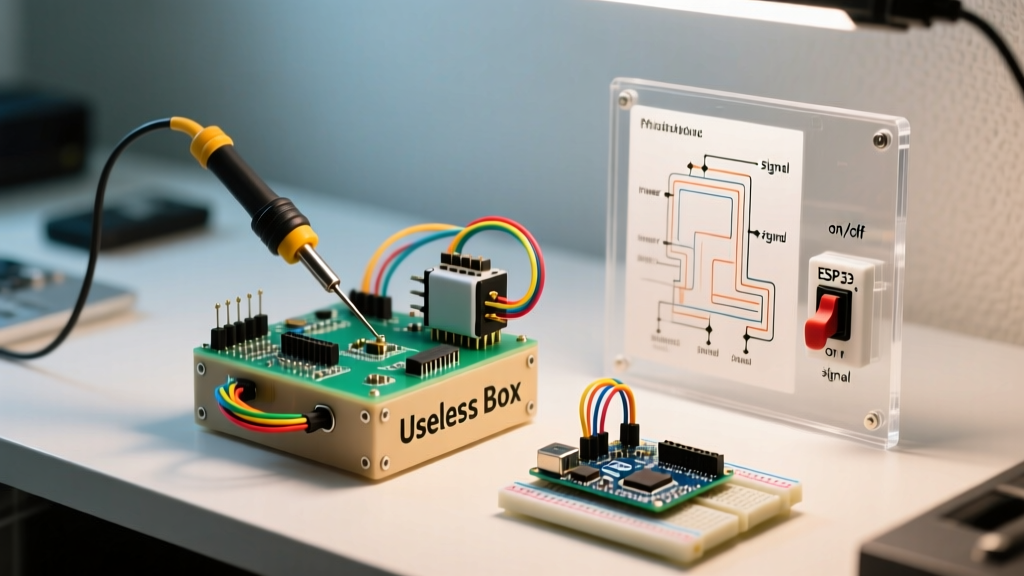
Originally conceptualized by AI pioneer Marvin Minsky in 1952 as the 'Ultimate Machine,' the useless box (or 'leave me alone' box) remains a rite of passage for makers. At its core, a useless box Arduino project is a masterclass in state management, mechanical linkage, and power distribution. When the user flips the SPDT toggle switch, the microcontroller detects the state change, actuates a servo motor to extend an arm, and physically flips the switch back off before retracting.
While the premise is simple, the execution is where most beginners fail. Stalling servos, switch bounce, and blocking code can turn a charming desktop toy into a jittery, resetting mess. This quick reference guide and FAQ will help you engineer a reliable, personality-rich useless box in 2026.
Hardware Selection Matrix: Servos & Power
Choosing the right servo is critical. The arm must generate enough torque to flip a standard toggle switch (which typically requires 1.0 to 1.5 kg-cm of breakaway force) without drawing so much current that it starves the microcontroller.
| Servo Model | Stall Torque (4.8V) | Stall Current | Gear Material | 2026 Avg Price |
|---|---|---|---|---|
| TowerPro SG90 | 1.8 kg-cm | ~250mA | Nylon | $2.50 |
| TowerPro MG90S | 2.2 kg-cm | ~350mA | Brass | $4.00 |
| DS3218 20KG | 20.0 kg-cm | ~1200mA | Steel | $14.00 |
Recommendation: The MG90S is the gold standard for useless box builds. The metal gears prevent the stripping issues common with the SG90's nylon gears when the servo arm violently impacts the toggle switch.
Wiring Quick-Reference Guide
A standard useless box Arduino Nano wiring harness requires three main circuits: the logic input (switch), the actuator output (servo), and the power distribution network.
- Toggle Switch: Connect the common pin to GND. Connect one of the throw pins to Digital Pin 2 (D2). Enable the internal pull-up resistor in your sketch.
- Servo Signal: Connect the PWM signal wire (usually orange or yellow) to Digital Pin 9 (D9).
- Power Rail: Servo VCC (Red) and GND (Brown/Black) should connect directly to your external 5V power source, not the Nano's 5V pin.
- Common Ground: The external power supply GND must be tied to the Arduino Nano GND to establish a common logic reference.
Critical 2026 Maker Tip: Ditch the hot glue for internal mounting. Use double-sided 3M VHB tape to mount your Nano and servo inside the enclosure. It dampens high-frequency servo vibrations (preventing screw back-out) and allows for non-destructive teardowns.
Useless Box Arduino FAQ & Troubleshooting
Why does my Nano reset when the servo engages?
This is the most common failure mode in useless box Arduino builds, caused by a voltage brownout. When a servo starts moving or hits a physical stall (like pushing against the toggle switch), it draws its peak stall current (up to 350mA for an MG90S). If you are powering the servo through the Arduino's onboard 5V linear regulator (NCP1117), the sudden current spike causes the voltage to drop below the ATmega328P's brownout detection threshold (typically 2.7V or 4.3V depending on the fuse settings), triggering an automatic reset.
The Fix: Bypass the Arduino's internal regulator for the servo. Use a 2S LiPo battery (7.4V) paired with a LM2596 buck converter or a dedicated 5V UBEC (Universal Battery Elimination Circuit). Feed the 5V directly to the servo's red wire, and connect the battery's positive terminal to the Nano's Vin pin. This isolates the high-current actuator spikes from the sensitive logic rail.
How do I eliminate 'switch bounce' causing double-activations?
Mechanical SPDT toggle switches suffer from contact bounce. When the internal metal leaf snaps into place, it physically vibrates for 5 to 50 milliseconds, sending a rapid flurry of HIGH/LOW signals to the Arduino. Your code might interpret this as the user flipping the switch on and off multiple times.
Hardware Solution: Solder a 100nF (0.1µF) ceramic capacitor directly across the switch's common and signal terminals. This creates a low-pass RC filter that absorbs the micro-spikes.
Software Solution: Implement a simple debounce state machine. Record the timestamp of the last state change using millis(), and ignore any subsequent state changes that occur within a 50ms window. For a plug-and-play approach, the Bounce2 library handles this elegantly without blocking the main loop.
How do I code 'personality' without using blocking delays?
A basic useless box just uses delay(1000) between actions. This makes the box feel robotic and prevents the Arduino from monitoring the switch state during the delay. To give your box 'personality' (hesitation, shaking, aggressive slamming), you must ditch blocking delays.
Instead, use the VarSpeedServo library, which allows you to set acceleration and deceleration curves, making the servo arm move organically rather than at a harsh, constant velocity. Combine this with a non-blocking state machine driven by millis().
Consider this behavioral logic framework:
- State 0 (Idle): Switch is OFF. Servo is retracted. Poll switch state.
- State 1 (Triggered): Switch turns ON. Generate a random 'personality' integer (1-5).
- State 2 (Acting): Execute the chosen behavior using non-blocking timers. For example, 'Hesitant' moves the arm 20 degrees, pauses for 400ms via
millis(), then moves another 20 degrees. - State 3 (Retracting): Once the switch reads LOW (physically flipped off), smoothly return the servo to 0 degrees.
For deeper insights into non-blocking servo control, refer to the Arduino Servo Sweep Documentation and adapt the sweep logic into a state-based array.
What is the best toggle switch for this build?
Not all toggle switches are created equal. You need a switch with a low actuation force and a short throw distance. Look for an SPDT (Single Pole, Double Throw) miniature toggle switch with a rated actuation force of under 1.5N. The widely available HK4-12 or generic 12mm mounting hole SPDT switches found in 2026 maker kits are ideal. Avoid heavy-duty industrial switches or locking switches, as the micro servo will strip its gears trying to overcome the mechanical detent.
How should I design the servo arm (finger)?
The stock plastic cross-horn included with the SG90 or MG90S is rarely long enough to reach a panel-mounted toggle switch. You have three reliable options:
- The Paperclip Mod: Bend a heavy-duty steel paperclip into an 'L' shape. Secure it to the servo horn using M2 screws and nuts, then slide a piece of 3mm heat shrink tubing over the end that touches the switch. The rubberized grip prevents the arm from slipping off the smooth metal toggle bat.
- 3D Printed TPU: If you have a 3D printer, print a custom press-fit finger using flexible TPU filament. TPU acts as a natural shock absorber when the servo violently hits the end of its travel, protecting the internal brass gears from impact damage.
- Extended Aluminum Horns: Purchase aftermarket 25T aluminum servo horns (often sold for RC crawler steering). They provide precise, rigid reach and look highly professional on an exposed-mechanism build.
Advanced Power Monitoring for Standalone Boxes
If your useless box is battery-operated and left on a desk, it will eventually drain. Because the ATmega328P can run at much lower voltages than the servo, the box will start acting erratically (servo stuttering, failing to reach full rotation) before the Arduino completely dies.
To implement a low-battery 'tired' mode, use a simple voltage divider (e.g., a 100kΩ and 47kΩ resistor pair) to step down your battery voltage to a safe 0-5V range, and feed it into Analog Pin A0. In your code, read A0 every few minutes. If the voltage drops below 6.8V (on a 2S LiPo), program the box to move sluggishly, simulating a 'low energy' state before finally putting the ATmega to sleep using the LowPower library. For comprehensive motor and power management theory, the Adafruit Motor Selection Guide is an invaluable resource.
Summary
Building a flawless useless box Arduino requires looking past the basic tutorial code. By isolating your servo power supply to prevent brownouts, debouncing your hardware inputs, and utilizing non-blocking state machines for organic movement, you elevate a simple novelty toy into a robust piece of kinetic desktop art. Select the MG90S servo, wire your grounds properly, and let your code's personality shine.