
The Ultimate USART Arduino Quick Reference
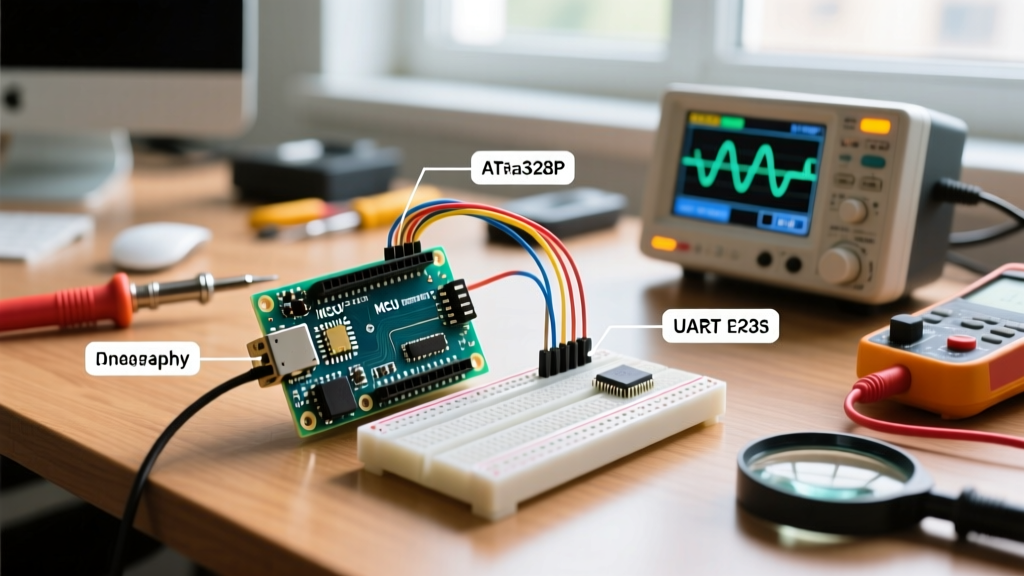
When working with microcontrollers, hardware serial communication remains the backbone of debugging and peripheral interfacing. While the Arduino IDE abstracts this via the Serial object, understanding the underlying USART (Universal Synchronous/Asynchronous Receiver-Transmitter) architecture of the ATmega328P and ATmega2560 is critical for optimizing baud rates, reducing frame errors, and interfacing with industrial protocols like RS-485.
This FAQ and quick reference guide bypasses basic tutorials, diving straight into register-level configurations, baud rate error margins, and advanced hardware serial troubleshooting for 2026 and beyond.
Quick Reference: Baud Rate UBRR Values & Error Margins (16 MHz)
The baud rate on AVR-based Arduino boards is determined by the UBRRn (USART Baud Rate Register). However, standard calculations often yield unacceptable error rates at higher speeds. By enabling the U2Xn (Double Speed) bit in the UCSRnA register, you halve the divisor, drastically reducing synchronization errors.
| Baud Rate | Standard UBRRn | Standard Error | U2Xn Enabled UBRRn | U2Xn Error |
|---|---|---|---|---|
| 9600 | 103 | 0.2% | 207 | 0.2% |
| 19200 | 51 | 0.2% | 103 | 0.2% |
| 57600 | 16 | -3.5% | 34 | 1.4% |
| 115200 | 8 | -3.5% | 16 | 1.4% |
| 250000 | 3 | -3.5% | 7 | 0.0% |
Expert Insight: At 115200 baud, a -3.5% error on the transmitter combined with a receiver's tolerance can cause framing errors. The Arduino core library automatically enables the U2X0 bit for 115200 baud to keep the error at a safer 1.4%. If writing bare-metal C++, you must manually set theU2X0bit inUCSR0A.
Frequently Asked Questions (FAQ)
1. What is the exact difference between UART and USART on Arduino?
UART (Universal Asynchronous Receiver-Transmitter) only supports asynchronous communication. The hardware on the ATmega328P (used in the Arduino Uno R3 and Nano) is actually a USART, meaning it supports both asynchronous and synchronous modes. The Arduino Serial library exclusively configures the peripheral for asynchronous UART mode. To use synchronous mode (where the XCK pin outputs a clock signal), you must bypass the Arduino core and directly manipulate the UCSR0C register, setting the UMSEL01 and UMSEL00 bits to 01 (Master Synchronous mode).
2. Why am I receiving garbage characters at 115200 baud on my Arduino Nano clone?
This is a classic clock drift issue. Genuine Arduino boards use a 16 MHz quartz crystal oscillator with a tight tolerance (typically ±30 ppm). Many budget Nano clones use a ceramic resonator to save costs, which can have a frequency tolerance of ±0.5% to ±1.0%. When you combine the resonator's drift with the USART's inherent baud rate calculation error, the total timing deviation exceeds the receiver's sampling window, resulting in corrupted bytes (garbage characters).
- Fix 1: Drop the baud rate to 38400 or 19200, where the sampling window is wider and more forgiving of clock drift.
- Fix 2: Measure the actual clock frequency of your clone using an oscilloscope or frequency counter, and manually override the
UBRR0register value in your setup code to compensate for the drift.
3. How many hardware USART ports do common Arduino boards feature?
Knowing your hardware limits prevents reliance on the CPU-heavy SoftwareSerial library. Here is the hardware USART breakdown for popular AVR boards:
- Arduino Uno (ATmega328P): 1 Hardware USART (Serial)
- Arduino Mega 2560 (ATmega2560): 4 Hardware USARTs (Serial, Serial1, Serial2, Serial3)
- Arduino Leonardo (ATmega32U4): 1 Hardware USART (Serial1) + 1 USB CDC Virtual Serial (Serial)
- Arduino Nano Every (ATmega4809): 4 Hardware USARTs (mapped differently than the Mega)
For non-AVR boards in the Arduino ecosystem, the ESP32 features 3 hardware UARTs, while the Raspberry Pi Pico (RP2040) features 2 hardware UARTs alongside its Programmable I/O (PIO) state machines which can emulate additional serial ports.
4. How do I reliably use USART for RS-485 half-duplex communication?
Interfacing an Arduino's TX/RX pins with an RS-485 transceiver (like the MAX485) requires managing the Driver Enable (DE) and Receiver Enable (RE) pins. Because RS-485 is half-duplex, you must toggle the DE pin HIGH before transmitting and LOW immediately after.
The most common failure mode is pulling the DE pin LOW before the final byte has physically left the shift register. To solve this, you must use the Serial.flush() command, which blocks execution until the USART transmit buffer is completely empty and the last stop bit has been sent.
digitalWrite(DE_PIN, HIGH); // Enable RS-485 Transmitter
Serial.print('CMD:01');
Serial.flush();         // CRITICAL: Wait for last byte to shift out
digitalWrite(DE_PIN, LOW);  // Release bus to receive mode
According to SparkFun's RS-485 Basics guide, failing to wait for the flush command will result in the last 1-2 bytes being truncated on the receiving end, causing CRC failures in protocols like Modbus RTU.
5. Can I use the USART hardware for DMX512 lighting control?
Yes. DMX512 operates over an RS-485 physical layer at exactly 250,000 baud (250 kbaud) with 8 data bits, 2 stop bits, and no parity (8N2). The standard Arduino Serial.begin(250000) configures the USART correctly for the baud rate. However, the Arduino core defaults to 1 stop bit (8N1).
To configure the USART for 2 stop bits required by DMX512, you must modify the UCSR0C register directly after calling Serial.begin():
Serial.begin(250000);
// Set 2 stop bits by setting the USBS0 bit in UCSR0C
UCSR0C |= (1 << USBS0);
Furthermore, DMX requires a 'break' condition (holding the TX line LOW for at least 88 microseconds) to signal the start of a new frame. This is achieved by temporarily dropping the baud rate to a much slower speed, sending a zero byte to generate the long LOW pulse, and then switching back to 250kbaud. For robust DMX implementation, refer to the Arduino Serial Reference for buffer management, or utilize dedicated DMX shield hardware which handles the break condition via a dedicated timer interrupt.
6. How do USART Interrupts compare to Polling in the Arduino Core?
Many makers assume Serial.print() is a simple blocking function. In reality, the Arduino core implements a sophisticated interrupt-driven ring buffer. When you call Serial.print(), the data is copied into the TX buffer. The USART Data Register Empty interrupt (UDRE0) fires every time the hardware shift register is ready for the next byte, pulling from the buffer in the background.
Edge Case Warning: If your sketch uses noInterrupts() to achieve precise timing for protocols like WS2812B (NeoPixels) or DHT22 sensors, the USART background interrupts are halted. If the TX buffer fills up during this disabled window, Serial.print() will hard-block your sketch until interrupts are re-enabled and the buffer drains, potentially ruining your timing-critical code. Always flush your serial buffers before calling noInterrupts().
Advanced Register Configuration: Multi-Processor Communication Mode (MPCM)
The ATmega USART hardware includes a specialized feature rarely documented in standard Arduino tutorials: Multi-Processor Communication Mode (MPCM). When networking multiple Arduino boards on a single RS-485 bus, polling every node wastes bandwidth. By enabling the MPCM bit in the UCSR0A register, the USART receiver will ignore all incoming frames that do not have the 9th bit (address bit) set. This allows a master controller to broadcast an address frame, waking only the specific slave node's interrupt routine, while all other slaves remain in a low-power or ignoring state. This is highly valuable for industrial sensor networks where dozens of nodes share a single twisted-pair bus.
Troubleshooting Matrix: Hardware Serial Failures
| Symptom | Probable Cause | Register / Code Solution |
|---|---|---|
| Garbage data at high baud rates | Ceramic resonator clock drift | Lower baud rate or manually adjust UBRR0 |
| Missing first byte on RS-485 | DE pin toggled too early | Insert Serial.flush() before DE goes LOW |
| TX works, RX is dead | RX pin pulled high externally or damaged | Check for external pull-ups conflicting with internal USART receiver logic |
| Interrupts delayed during Serial print | TX buffer full, blocking execution | Increase SERIAL_TX_BUFFER_SIZE in HardwareSerial.h or use non-blocking ring buffers |
Further Reading & Official Documentation
For absolute register-level mastery of the AVR USART peripheral, consult the Microchip ATmega328P Product Page to download the full datasheet. Section 19 (USART0) details the exact framing formats, parity generation logic, and multi-processor communication modes that the standard Arduino IDE abstracts away.