
The 'Blink' Trap: Why delay() Fails in Production
Every embedded systems engineer starts in the exact same place: uploading a sketch to blink an LED. Arduino hardware makes this trivial, but the canonical example relies on the delay() function. While perfectly fine for a 5-minute classroom demonstration, delay() is a blocking function that halts the microcontroller's CPU. In 2026, even basic IoT sensor nodes must concurrently read I2C sensors, maintain Wi-Fi handshakes, and handle serial interrupts. If your firmware is stuck in a 1000ms delay, your sensors are blind, and your network stack will drop packets.
Upgrading your basic blink an LED Arduino sketch requires a fundamental migration from blocking, sequential logic to event-driven, non-blocking state machines. This guide walks you through the four phases of migrating a beginner LED sketch into production-grade embedded firmware.
Phase 1: Migrating from Blocking to Event-Driven Logic
The first step in any production migration is eliminating blocking delays. We achieve this by leveraging the microcontroller's internal millisecond counter. According to the official Arduino millis() documentation, this function returns the number of milliseconds passed since the board began running the current program.
The Non-Blocking State Machine
Instead of telling the CPU to sleep, we record a timestamp and continuously check if the required interval has elapsed. Crucially, you must use unsigned long variables to store these timestamps. This ensures that when the 32-bit integer overflows at approximately 49.7 days, the subtraction math (currentMillis - previousMillis) still yields the correct positive delta.
unsigned long previousMillis = 0;
const long interval = 1000;
bool ledState = LOW;

void loop() {
  unsigned long currentMillis = millis();
  if (currentMillis - previousMillis >= interval) {
    previousMillis = currentMillis;
    ledState = !ledState;
    digitalWrite(LED_BUILTIN, ledState);
  }
  // CPU is now free to execute sensor reads and network tasks
}
Phase 2: Hardware Upgrades (Moving Off Pin 13)
Beginners typically drive an LED directly from GPIO Pin 13. This is a critical failure point in production. The classic ATmega328P (Uno R3) has an absolute maximum current limit of 40mA per I/O pin, with a recommended operating condition of 20mA. The newer Renesas RA4M1 chip found on the 2026-standard Uno R4 Minima operates at 3.3V logic and has even stricter per-pin current sourcing limits (typically 8mA to 15mA depending on the port group).
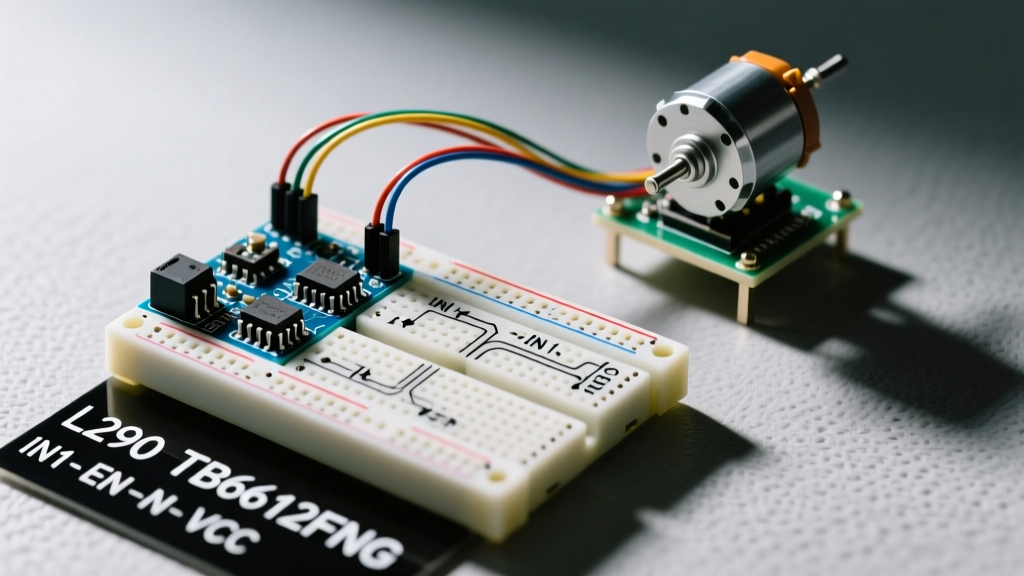
To scale your lighting or indication systems, you must migrate to dedicated LED drivers. Below is a comparison matrix for upgrading your hardware architecture.
| Driver Method | Max Channels | Current per Channel | Approx. Cost (2026) | Best Production Use Case |
|---|---|---|---|---|
| Direct GPIO (No Driver) | 1-2 | 8mA - 20mA | $0.00 | Prototyping, single onboard status indicators |
| ULN2003A (Darlington Array) | 7 | 500mA (Sink only) | $0.45 | High-power 12V LED strips, relays, solenoids |
| TLC5940 (Constant Current) | 16 | 120mA (Adjustable) | $1.85 | Precision LED matrices, uniform brightness control |
| WS2812B (Addressable RGB) | 1000+ | 60mA (per RGB LED) | $0.06 / LED | Complex UI lighting, data visualization arrays |
Power Injection and Decoupling
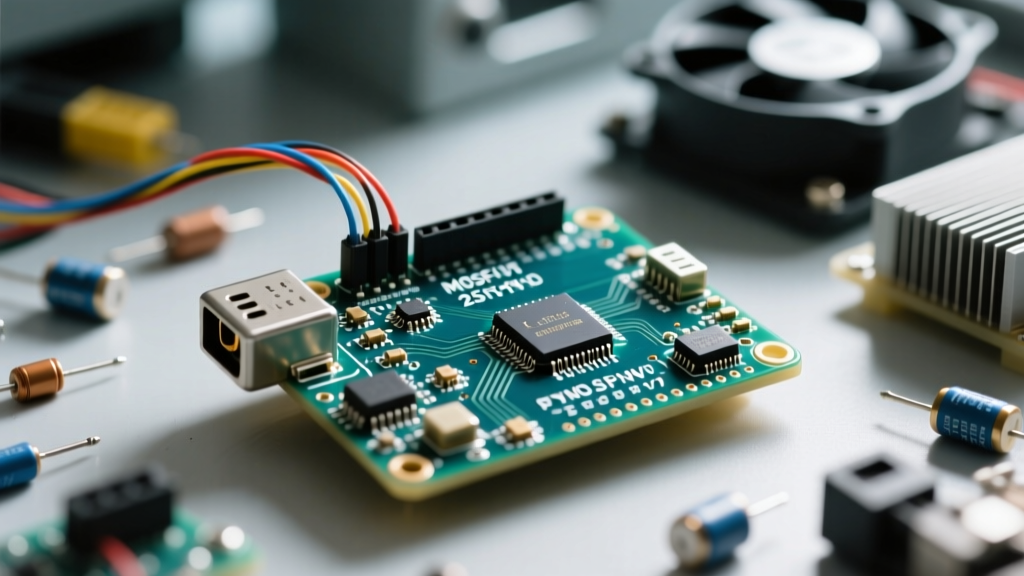
When migrating to high-current drivers like the TLC5940 or WS2812B arrays, you must upgrade your power delivery. Never route high LED current through the Arduino's onboard 5V regulator. Instead, inject power directly from an external buck converter (e.g., an LM2596 module set to 5.0V). Always place a 100µF electrolytic capacitor and a 0.1µF ceramic decoupling capacitor across the VCC and GND rails at the LED array to suppress voltage spikes caused by fast PWM switching.
Phase 3: Scaling with Hardware Timers and 16-Bit PWM
The standard analogWrite() function is convenient but severely limited. On the ATmega328P, it defaults to an 8-bit resolution (0-255 steps) at a frequency of roughly 490Hz. This low frequency can cause visible flickering in high-POV (Persistence of Vision) applications or audible whining in ceramic capacitors.
For production environments requiring ultra-smooth dimming, you must migrate to direct hardware timer manipulation. By configuring Timer1 (pins 9 and 10 on the Uno), you can achieve 16-bit resolution (0-65535 steps) and precise frequency control.
Configuring Timer1 for Phase and Frequency Correct PWM
- Set the Waveform Generation Mode: Use WGM bits 10, 11, and 13 to enable Phase and Frequency Correct PWM using ICR1 as the TOP value.
- Configure the Prescaler: Set CS10 for no prescaling (16MHz clock).
- Define the TOP Value: Set
ICR1 = 65535for maximum 16-bit resolution. - Control the Duty Cycle: Write your desired brightness to
OCR1A(Pin 9) orOCR1B(Pin 10).
This migration eliminates the 'stepping' effect seen in low-end PWM dimming and is mandatory for high-end architectural lighting controllers.
Phase 4: The Final Upgrade - Migrating to FreeRTOS
As your 2026 IoT projects grow to include MQTT telemetry, OTA updates, and local sensor fusion, a simple loop() state machine becomes unmaintainable. The ultimate migration for your LED control is moving to a Real-Time Operating System (RTOS). FreeRTOS allows you to encapsulate the LED blinking logic into an isolated, prioritized task.
Expert Insight: In an RTOS environment, an LED task should never usedelay()or even busy-waitmillis()loops. Instead, usevTaskDelay(), which yields the CPU core to lower-priority tasks, drastically reducing power consumption on battery-operated nodes.
Using the FreeRTOS xTaskCreate API, you can spawn a dedicated LED management task:
#include <Arduino_FreeRTOS.h>

void vLEDTask(void *pvParameters) {
  pinMode(LED_BUILTIN, OUTPUT);
  for (;;) {
    digitalWrite(LED_BUILTIN, HIGH);
    vTaskDelay(pdMS_TO_TICKS(1000)); // Yields CPU, saves power
    digitalWrite(LED_BUILTIN, LOW);
    vTaskDelay(pdMS_TO_TICKS(1000));
  }
}

void setup() {
  xTaskCreate(vLEDTask, 'LED_Status', 128, NULL, 1, NULL);
  vTaskStartScheduler();
}

void loop() {
  // Empty. FreeRTOS handles task scheduling.
}
Notice the stack depth parameter (128). This allocates 128 words (512 bytes on an AVR) of RAM specifically for this task's local variables and context switching. Isolating your UI indicators in an RTOS task guarantees that a heavy sensor polling routine will never cause your status LEDs to jitter or miss a beat.
Troubleshooting Common Migration Failures
When upgrading from basic sketches to production hardware, engineers frequently encounter specific edge cases. Here is how to resolve them:
- Ghosting in LED Matrices: If you are multiplexing LEDs and see faint 'ghost' illumination on adjacent rows, your MOSFETs are switching too slowly, or parasitic capacitance is holding the gate high. Fix: Add 10kΩ pull-down resistors to the gates of your N-channel MOSFETs and use a dedicated gate driver IC like the TC4427.
- Brownout Resets (BOD): When an LED array turns on, the sudden current draw causes a voltage sag, resetting the Arduino. Fix: Lower the ATmega328P's Brown-Out Detection threshold in the bootloader fuses from 4.3V to 2.7V, and ensure your power supply can handle transient peak loads (calculate max current as if all LEDs are at 100% white, even if your software limits it).
- EMI Interference with I2C Sensors: Fast-switching PWM traces act as antennas, corrupting I2C data lines (SDA/SCL). Fix: Route PWM traces away from sensor lines, use 4.7kΩ I2C pull-up resistors instead of the internal weak pull-ups, and add small ferrite beads on the LED power rails.
Conclusion
Migrating from a beginner's blocking sketch to a production-ready LED control system is a rite of passage in embedded engineering. By adopting non-blocking millis() logic, offloading current to dedicated driver ICs, leveraging 16-bit hardware timers, and ultimately embracing FreeRTOS, you transform a simple blink an LED Arduino project into a robust, scalable, and professional firmware architecture.