
Understanding the Arduino with Keyboard Paradigm
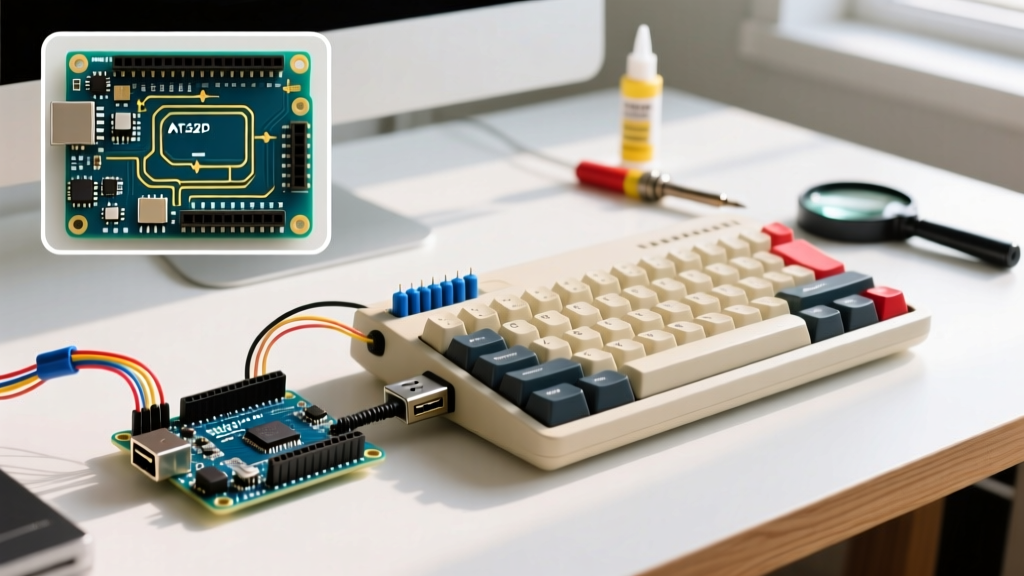
When makers and engineers explore the concept of interfacing an Arduino with keyboard hardware, they are generally trying to solve one of two distinct engineering problems. Either they want the microcontroller to read keystrokes from a standard computer keyboard, or they want the microcontroller to emulate a keyboard to send automated inputs to a host PC. Because the Arduino ecosystem encompasses various architectures, the approach you take depends entirely on the specific microcontroller chip on your board and the protocol of the keyboard itself.
In this comprehensive concept explainer, we will break down the three primary methods for achieving this: utilizing a USB Host Shield for modern USB peripherals, decoding the legacy PS/2 protocol, and leveraging native USB HID (Human Interface Device) capabilities on ATmega32U4-based boards. Whether you are building a custom macro pad, a retro-computing adapter, or an automated testing rig, understanding these underlying protocols is critical for project success in 2026 and beyond.
Concept 1: The Arduino as a USB Host (Reading Inputs)
Standard boards like the Arduino Uno R3 or Nano are wired as USB devices. They rely on a secondary chip (like the ATmega16U2) to handle serial-to-USB conversion so you can upload code. Because they are devices, they cannot natively act as a "Host" to read from another USB device like a standard Logitech or Corsair keyboard.
The MAX3421E USB Host Shield
To bridge this gap, you must introduce a USB Host controller. The most common solution is the USB Host Shield, which is built around the MAX3421E chip. This IC handles the complex USB 2.0 Full-Speed (12 Mbps) enumeration, packet sorting, and HID report parsing, communicating the simplified data back to the Arduino via SPI.
- SPI Wiring: The MAX3421E connects to the Arduino's SPI bus. On an Uno, this means MOSI (Pin 11), MISO (Pin 12), SCK (Pin 13), and SS (Pin 10).
- Interrupts: The shield requires an interrupt pin (usually Pin 9 on an Uno) to signal when a USB packet has been received.
- Software: The industry standard is the USB_Host_Shield_2.0 library maintained by Oleg Mazurov (felis). It includes dedicated classes for HID boot keyboards, abstracting away the raw USB control transfers.
2026 Hardware Note: While most modern keyboards use USB-C connectors, the MAX3421E shield features a standard USB Type-A receptacle. You can easily use a passive USB-C to USB-A adapter cable to connect modern mechanical keyboards without losing HID boot protocol compatibility.
Concept 2: The Legacy PS/2 Protocol
If you are working with retro hardware, industrial equipment, or simply have a drawer full of older peripherals, the PS/2 protocol remains a highly reliable, low-overhead method for interfacing an Arduino with keyboard matrices. Unlike USB, PS/2 does not require complex enumeration or a dedicated host controller IC.
Clock, Data, and Open-Collector Logic
The PS/2 protocol uses a synchronous serial connection consisting of just two active lines: Clock and Data. The keyboard generates the clock signal, typically operating between 10 kHz and 16.7 kHz. When a key is pressed, the keyboard pulls the clock line low and shifts out an 11-bit frame (1 start bit, 8 data bits, 1 parity bit, 1 stop bit).
Critically, PS/2 uses open-collector logic. This means the keyboard can pull the lines to ground (LOW), but it cannot drive them HIGH. Therefore, your Arduino circuit must include pull-up resistors (typically 4.7kΩ to 5V) on both the Clock and Data lines. Without these, you will read floating garbage data.
For a deep dive into the exact scan codes and bit-shifting timing, the OSDev PS/2 Keyboard wiki provides the definitive low-level specification used by operating system developers and embedded engineers alike.
Concept 3: The Arduino as a HID Device (Emulation)
What if your goal is the reverse? If you want your microcontroller to act as the keyboard—perhaps to build a custom stream deck, an automated password injector, or a specialized macro pad—you need a board with native USB HID capabilities.
The ATmega32U4 Advantage
Boards like the Arduino Leonardo, Arduino Micro, and SparkFun Pro Micro are powered by the ATmega32U4 chip. Unlike the ATmega328P found on the Uno, the 32U4 has a built-in USB transceiver. It can natively present itself to a host PC as a generic HID keyboard or mouse without requiring any intermediary chips.
Using the official Arduino Keyboard Library, emulating keystrokes is trivial. A simple Keyboard.press('a') followed by Keyboard.releaseAll() will instantly type the letter 'a' on any connected PC, tablet, or smartphone.
Hardware & Protocol Comparison Matrix
| Method | Primary Hardware | Estimated Cost (2026) | Direction | Best Use Case |
|---|---|---|---|---|
| USB Host Shield | Uno R3 + MAX3421E Shield | $22 - $30 | Arduino reads Keyboard | Retro-gaming adapters, KVM switches, hardware keyloggers |
| PS/2 Direct Wire | Any 5V Arduino + Pull-ups | < $2 (components) | Arduino reads Keyboard | Industrial legacy integrations, low-pin-count projects |
| Native USB HID | Leonardo / Pro Micro (32U4) | $8 - $18 | Arduino emulates Keyboard | Macro pads, stream decks, automated UI testing rigs |
Critical Failure Modes & Edge Cases
Working with HID protocols introduces several hardware and software edge cases that frequently trap beginners. Here is how to avoid the most common pitfalls.
1. The Bootloader Lockout (HID Spam)
When programming an ATmega32U4 board to act as a keyboard, a common mistake is initializing the Keyboard library and sending keystrokes immediately inside the setup() loop without a delay or trigger.
Pro-Tip: If your sketch crashes or spams HID reports the millisecond it powers on, the host PC's USB stack may become overwhelmed, and the Arduino's serial bootloader will fail to handshake during your next upload attempt. You will effectively "brick" the board's ability to receive new code via the IDE.
The Fix: Always implement a physical "safe mode" button. Wire a pushbutton to Pin 2 with an internal pull-up, and add while(digitalRead(2) == HIGH) { delay(10); } at the very top of your setup() function. This forces the Arduino to wait for you to press the button before initializing the USB HID stack, leaving a window for the IDE to upload new firmware.
2. Power Brownouts on Modern Mechanical Keyboards
If you are using a USB Host Shield to read from a modern, enthusiast-grade mechanical keyboard (especially those with per-key RGB lighting and hot-swappable sockets), you will likely encounter power brownouts. A standard 65% or full-size RGB keyboard can draw between 800mA and 1.5A at 5V under peak load.
The Arduino Uno's onboard 5V voltage regulator (typically an NCP1117 or AMS1117) is rated for roughly 800mA to 1A, but it lacks adequate heatsinking. Supplying 1A+ through the Arduino's 5V rail will cause the regulator to thermally shutdown, resetting the microcontroller and dropping the USB Host connection.
The Fix: Do not power high-draw keyboards directly through the Host Shield's 5V trace. Instead, use a powered external USB hub between the Host Shield and the keyboard, or carefully sever the 5V trace on the shield's USB-A port and inject 5V from a dedicated 5V 2A wall adapter.
Summary
Successfully connecting an Arduino with keyboard peripherals requires matching the right hardware architecture to your specific data-flow needs. Use the MAX3421E Host Shield when you need to parse complex USB descriptors from modern peripherals, rely on PS/2 clock/data lines for simple legacy integrations, and utilize ATmega32U4-based boards when your project demands native, low-latency HID emulation. By respecting power limits and safeguarding your bootloader, your keyboard interfaces will remain robust and reliable.