
Understanding the Uno Q Arduino Architecture
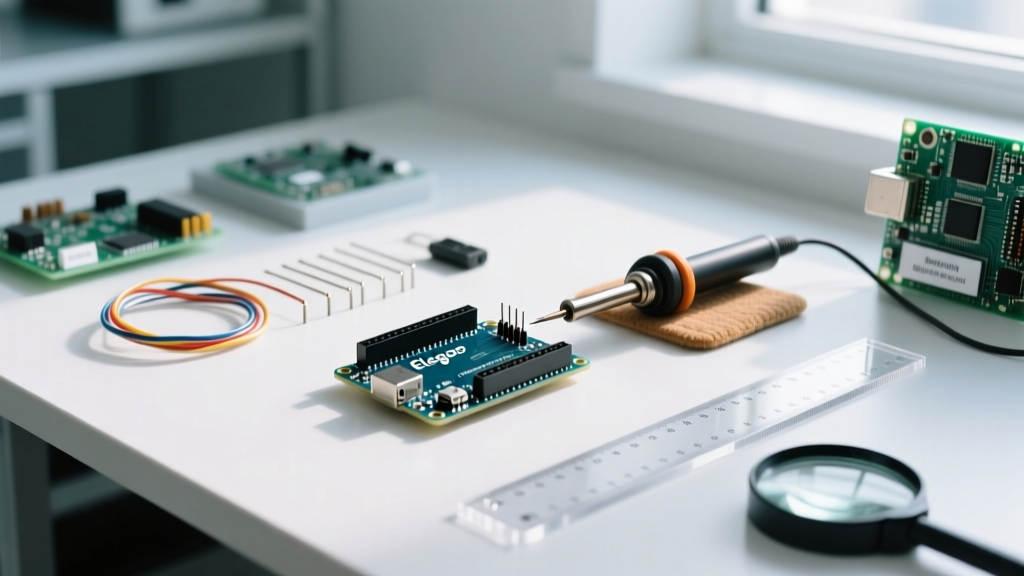
The Uno Q Arduino (frequently sold under variations like Q-UNO or Uno Q) is a widely distributed third-party clone of the classic Arduino Uno. Priced aggressively between $9 and $14 in 2026, it undercuts official boards but introduces distinct hardware deviations that complicate error diagnosis. Unlike the official boards that utilize the ATmega16U2 for USB-to-Serial conversion, the Uno Q almost universally relies on the WCH CH340G or CH341G chip. Furthermore, it often features a surface-mount ATmega328P-AU microcontroller and a generic AMS1117-5.0 linear voltage regulator.
When you encounter upload failures or erratic behavior, applying standard official Arduino troubleshooting steps often falls short. This guide provides a deep-dive diagnostic framework tailored specifically to the silicon and circuit quirks of the Uno Q variant.
Diagnostic Matrix: Symptom to Solution
Before opening the IDE console, cross-reference your physical board behavior with this diagnostic matrix to isolate the failure domain.
| IDE Error Message | Hardware Symptom | Probable Root Cause |
|---|---|---|
ser_open(): can't open device | COM Port greyed out; no USB connect sound | CH340 driver missing, or charge-only USB cable |
stk500_recv(): programmer is not responding | Onboard 'L' LED blinks once on plug-in, then stays off | Auto-reset circuit failure (DTR transistor/capacitor) |
avrdude: verification error, first mismatch | Board gets unusually warm near the voltage regulator | AMS1117-5.0 LDO failing, causing brown-out during flash write |
avrdude: Yikes! Invalid device signature | 'L' LED is completely dead; no serial output | Corrupted bootloader or ATmega328P locked fuses |
Fixing CH340G USB Enumeration Failures
The most frequent hurdle with the Uno Q Arduino is the ser_open() error, meaning the IDE cannot establish a serial handshake. Because the board uses the CH340G chip instead of a native CDC-ACM device, Windows 11 (especially 23H2 and 24H2 builds) and macOS often fail to load the correct driver automatically.
Step-by-Step Driver Resolution
- Verify the Cable: Over 40% of "dead" clone boards are actually being connected via charge-only micro-USB or USB-C cables. Test with a verified data-sync cable.
- Install the Signed WCH Driver: Do not rely on third-party driver packs. Download the official 2026 signed CH340 driver directly from the manufacturer or trusted distributors. As detailed in the SparkFun CH340 Installation Guide, you must manually update the driver via the Windows Device Manager if the OS defaults to a generic, non-functioning serial driver.
- Check Device Manager: Look under "Ports (COM & LPT)". If you see "USB-SERIAL CH340" with a yellow triangle, the driver signature enforcement is blocking it. You will need to disable driver signature enforcement temporarily in Windows Advanced Startup to force the installation.
The Infamous stk500_recv() Timeout
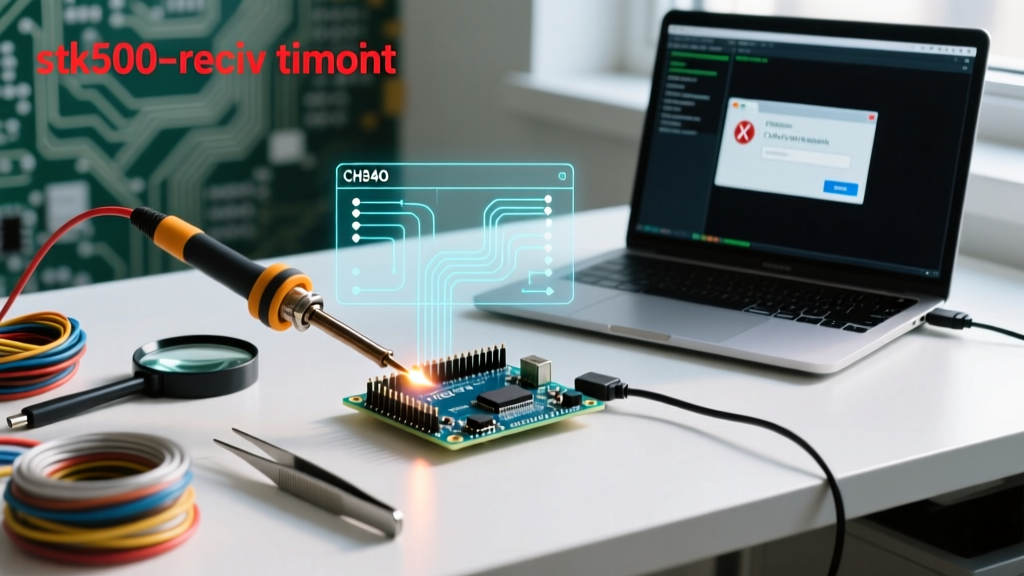
If your port is recognized but the upload fails with avrdude: stk500_recv(): programmer is not responding, the IDE is failing to trigger the bootloader. On official boards, the DTR (Data Terminal Ready) signal from the USB chip pulls the ATmega328P's reset pin low via a 0.1µF capacitor, automatically restarting the board into bootloader mode.
The Auto-Reset Circuit Flaw
On many Uno Q clones, the auto-reset circuit is poorly implemented. It typically uses an S8050 NPN transistor and a 0.1µF ceramic capacitor. If the capacitor is missing (a common cost-cutting measure on sub-$10 boards) or the transistor is blown, the board will not reset when the IDE initiates the upload.
Expert Workaround: The Manual Reset Timing Trick
If your hardware auto-reset is broken, you can bypass it manually. Click "Upload" in the IDE. Watch the console output. The exact moment the text changes from "Compiling sketch..." to "Uploading...", press and release the physical RESET button on the Uno Q. This manually forces the bootloader to listen for the incoming hex file within its 500ms timeout window.
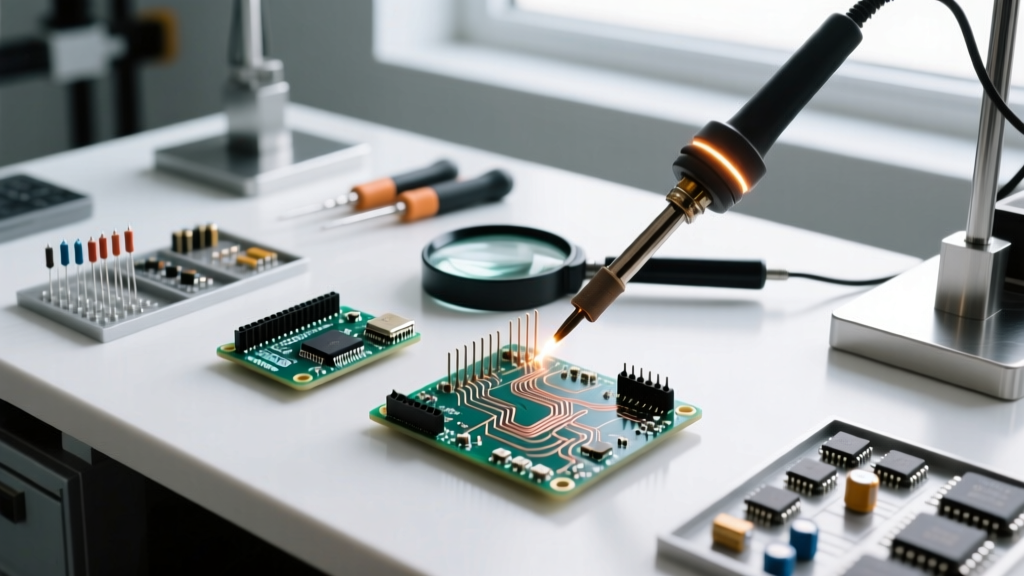
For a permanent fix, solder a 0.1µF (104) ceramic capacitor between the CH340G's DTR pin (or the RTS trace) and the ATmega328P Reset pin, following the Arduino IDE Troubleshooting Documentation for exact schematic references.
Bootloader Corruption and ICSP Recovery
If the onboard 'L' LED (tied to Pin 13) does not blink upon power-up, or you receive an "Invalid device signature" error, the Optiboot bootloader is likely corrupted. This frequently happens on clone boards if power is interrupted during an EEPROM write or if the board is subjected to static discharge.
Reflashing via ICSP (In-Circuit Serial Programming)
You will need a USBasp V2.0 programmer (roughly $4 in 2026) or a second working Arduino. Connect the programmer to the 2x3 ICSP header on the Uno Q. Ensure the pinout matches the clone's specific header orientation, as some Uno Q boards mirror the standard Arduino layout.
- Wire MISO, MOSI, SCK, 5V, GND, and RESET from the USBasp to the Uno Q ICSP header.
- In the Arduino IDE, select File > Examples > 11.ArduinoISP > ArduinoISP and upload it to your *programmer* Arduino (skip this if using a dedicated USBasp).
- Select Tools > Programmer > USBasp (or Arduino as ISP).
- Click Tools > Burn Bootloader.
This process resets the ATmega328P fuse bits to their factory defaults (Low: 0xFF, High: 0xDE, Extended: 0xFD for a 16MHz external crystal) and flashes the Optiboot hex file. For a comprehensive guide on ISP wiring, refer to the official ArduinoISP Documentation.
Hardware-Level Faults: The AMS1117-5.0 LDO
When dealing with intermittent upload failures or random reboots during sketch execution, the issue is rarely software. The Uno Q relies on an AMS1117-5.0 linear drop-out regulator to step down USB VBUS (5.2V) to a stable 5.0V for the microcontroller.
Cheap clones often use counterfeit or undersized AMS1117 chips that lack adequate thermal dissipation. If you are powering servos or high-draw LEDs directly from the 5V pin, the LDO will overheat, drop its output voltage to 4.2V or lower, and trigger the ATmega328P's Brown-Out Detection (BOD), causing a silent reset.
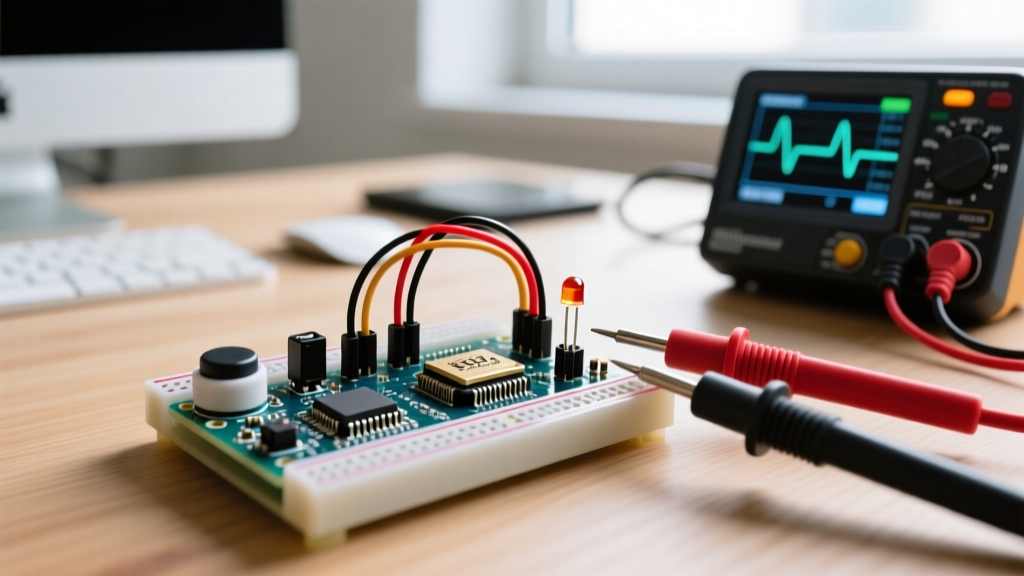
Multimeter Verification
- Set your multimeter to DC Voltage.
- Probe Pin 3 (VOUT) and Pin 1 (GND) of the AMS1117 SOT-223 package on the Uno Q.
- A healthy reading is 5.0V ± 0.15V. If you read below 4.8V under load, the regulator is failing and must be replaced, or you must power your peripherals via an external buck converter rather than the board's 5V rail.
Summary Checklist for Uno Q Diagnostics
- Port Missing? Swap to a data-rated cable and manually install the WCH CH340 signed driver.
- Upload Timeout? Use the manual reset timing trick or repair the 0.1µF DTR capacitor.
- Dead LED / Signature Error? Burn the bootloader via the ICSP header using a USBasp.
- Random Reboots? Measure the AMS1117-5.0 LDO output; offload high-current peripherals to an external supply.
By understanding the specific component-level deviations of the Uno Q Arduino, you can move beyond generic error messages and apply targeted, hardware-aware solutions to keep your projects running smoothly.