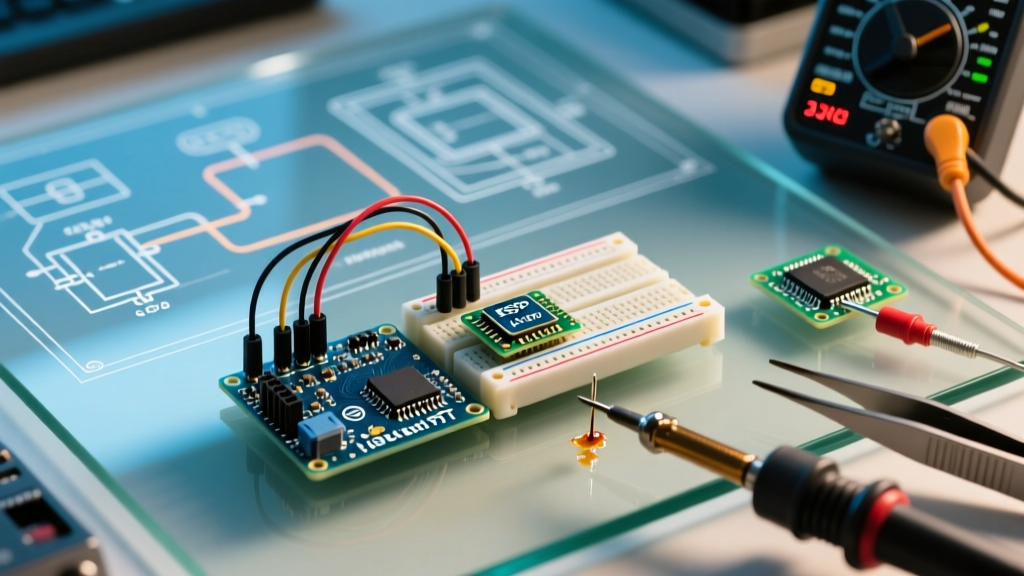

Why Your Arduino BT Control Setup Fails
Wireless microcontroller communication is a cornerstone of modern DIY robotics and home automation. However, implementing reliable Arduino BT control remains a frequent point of failure for makers. Whether you are using a classic HC-05 module, a BLE HM-10, or an ESP32's native radio, connection drops, garbled serial data, and outright pairing refusals are incredibly common. This guide bypasses basic tutorials and dives straight into the electrical and firmware-level bottlenecks that disrupt Bluetooth serial links in 2026.
Hardware Module Identification & Voltage Tolerances
Before troubleshooting code, you must verify your hardware's electrical limits. The market is flooded with mislabeled modules. Below is a diagnostic matrix of the most common Bluetooth modules used for Arduino BT control, including their actual logic tolerances and current market pricing.
| Module | Chipset | VCC Input | Logic Level (RX/TX) | iOS Compatible? | Avg Price (2026) |
|---|---|---|---|---|---|
| HC-05 (Master/Slave) | CSR BC417 | 3.6V - 6V | 3.3V (5V Tolerant on some, risky) | No | $3.50 - $5.00 |
| HC-06 (Slave Only) | CSR BC417 | 3.6V - 6V | 3.3V Strict | No | $3.00 - $4.50 |
| HM-10 (BLE 4.0) | TI CC2541 | 3.3V Strict | 3.3V Strict | Yes | $7.50 - $9.00 |
| ESP32-WROOM-32 | ESP32-D0WD | 5V (via USB/VIN) | 3.3V Native | Yes (BLE) | $6.00 - $8.00 |
Step-by-Step Fix: The 5V Logic Level Trap
The single most common cause of permanent Arduino BT control failure is feeding 5V logic into a 3.3V Bluetooth RX pin. While the HC-05 VCC pin can accept 5V from the Arduino's 5V rail, its data pins (RX/TX) operate at 3.3V. Over time, 5V serial pulses degrade the internal ESD protection diodes on the module's RX pin, leading to intermittent pairing drops and eventual total failure.
Building a Reliable Voltage Divider
To protect your module, you must step down the Arduino TX (5V) to the Bluetooth RX (3.3V). Do not rely on internal pull-up resistors; use a physical voltage divider.
- R1 (Series Resistor): 1kΩ connected to Arduino TX.
- R2 (Ground Resistor): 2kΩ connected between Bluetooth RX and GND.
- Junction: The connection point between R1 and R2 goes to the Bluetooth module's RX pin.
Calculation: Vout = 5V × (2000 / (1000 + 2000)) = 3.33V. This is perfectly within the 3.3V logic high threshold for the HC-05 and HM-10.
Critical Warning for HM-10 Users: The HM-10 module has an onboard 3.3V LDO regulator that is notoriously weak. If you supply 5V to the HM-10 VCC pin while simultaneously transmitting heavy serial data, the LDO will overheat and throttle, causing random reboots. Always power the HM-10 directly from the Arduino's 3.3V pin, and ensure your total draw does not exceed 50mA.
SoftwareSerial Bottlenecks & Interrupt Conflicts
When implementing Arduino BT control on an ATmega328P (Arduino Uno/Nano), makers default to the SoftwareSerial library. However, SoftwareSerial is highly inefficient and relies on pin-change interrupts that conflict with other libraries like Servo.h or Adafruit_NeoPixel.
Baud Rate Limitations
According to the official Arduino SoftwareSerial documentation, the library cannot reliably sustain 115200 baud on a 16MHz ATmega328P. Attempting to push 115200 baud via software serial results in dropped packets and corrupted ASCII characters.
- Cap your Baud Rate: Force both the Arduino and the Bluetooth module to communicate at 9600 or 19200 baud.
- Use Hardware Serial for Debugging: If you must use 115200 baud for high-speed telemetry, wire the Bluetooth module to pins 0 and 1 (Hardware Serial) and use an external USB-to-TTL adapter (like an FTDI FT232RL) for debugging.
- Listen State Management:
SoftwareSerialcan only 'listen' to one port at a time. If you have multiple serial devices, you must explicitly callmySerial.listen()before reading BT data.
Troubleshooting AT Command Mode Failures (HC-05)
To change the baud rate or master/slave roles, you must enter AT Command Mode. A frequent error is receiving no response or 'ERROR:(0)' when typing commands.
The Correct HC-05 AT Mode Sequence
- Disconnect Power: Remove the VCC wire from the HC-05.
- Hold the Button: Press and hold the tiny tactile switch on the HC-05 breakout board.
- Apply Power: Reconnect VCC while keeping the button depressed.
- Release Button: The LED should now blink slowly (once every 2 seconds). If it blinks rapidly, you failed to enter AT mode.
- Configure IDE: Open the Arduino Serial Monitor. Set the baud rate to 38400 (the default AT mode speed for HC-05) and set line endings to Both NL & CR.
Essential AT Commands:
AT+UART=9600,0,0(Sets data baud rate to 9600, 1 stop bit, no parity).AT+ROLE=0(Sets to Slave mode; use 1 for Master).AT+PSWD="1234"(Changes pairing PIN).
iOS Connection Refusals & BLE UUID Mapping
Apple's iOS ecosystem strictly prohibits classic Bluetooth (SPP profile) connections to non-MFi certified devices. This means an HC-05 or HC-06 will never appear in your iPhone's Bluetooth settings. For iOS Arduino BT control, you must use a BLE module like the HM-10 or an ESP32.
HM-10 BLE Service Discovery
Unlike classic Bluetooth, BLE does not use standard serial ports. It uses Services and Characteristics. As detailed in the SparkFun HM-10 Hookup Guide, iOS apps must scan for specific UUIDs to establish a UART-like bridge.
- Service UUID:
0000FFE0-0000-1000-8000-00805F9B34FB - Characteristic UUID:
0000FFE1-0000-1000-8000-00805F9B34FB
If your custom iOS app or third-party terminal app (like LightBlue) fails to connect, verify that the HM-10 firmware hasn't been accidentally flashed with a custom CC2541 firmware that alters these default TI base UUIDs. You can verify the module's internal TI CC2541 chipset configuration by sending the AT+VERR? command via a Windows/Android serial terminal before attempting iOS pairing.
Diagnostic Quick-Reference Matrix
| Symptom | Probable Cause | Hardware/Software Fix |
|---|---|---|
| Module LED blinks rapidly, won't pair | Stuck in data mode or corrupted baud | Enter AT mode, send AT+ORGL to restore factory defaults. |
| Garbage characters in Serial Monitor | Baud rate mismatch | Verify SoftwareSerial.begin() matches module's AT+UART setting. |
| Connects, but drops after 5 seconds | Insufficient current / Brownout | Add a 100µF electrolytic capacitor across module VCC and GND. |
| TX works, RX receives nothing | Missing voltage divider on RX | Install 1k/2k resistor divider; check for cold solder joints. |
Final Verification Steps
Before deploying your Arduino BT control system into a final enclosure, run a 10-minute continuous ping test. Write a simple sketch that increments an integer and transmits it every 100ms. Monitor the receiving terminal for dropped sequence numbers. If you observe drops exceeding 1%, revisit your power delivery and ensure your voltage divider resistors are within 5% tolerance. Reliable wireless control demands rigorous electrical discipline, not just functional code.