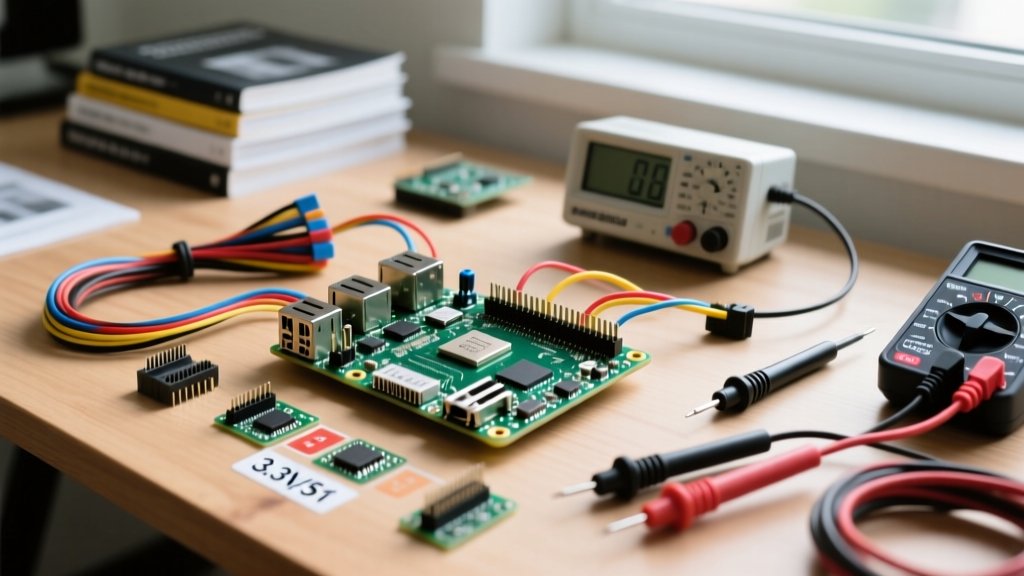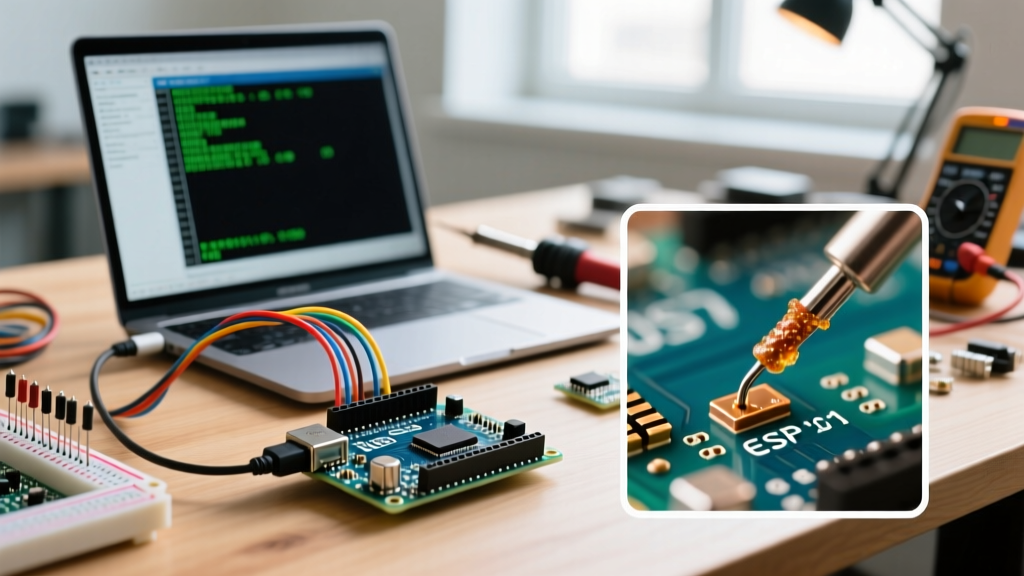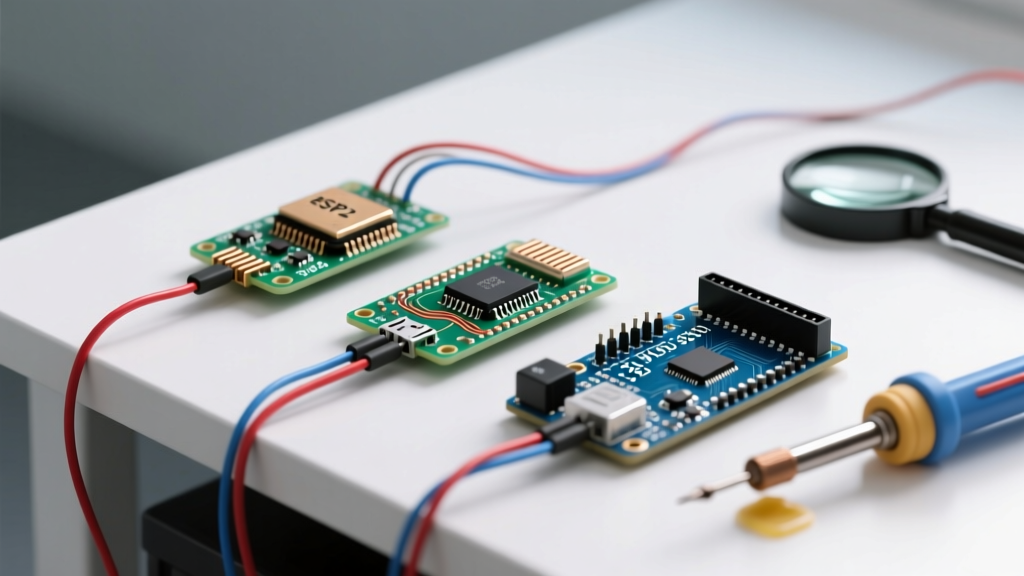

The HX711 Compatibility Challenge: Beyond the Arduino Uno
When makers first explore force measurement, the Arduino HX711 combination is the undisputed starting point. The Avia Semiconductor HX711 is a precision 24-bit analog-to-digital converter (ADC) designed specifically for weigh scales and industrial control applications. However, as projects evolve from basic 5V Arduino Uno prototypes to IoT-enabled ESP32 scales or high-speed Raspberry Pi Pico data loggers, hardware compatibility becomes a major stumbling block.
The HX711 does not use standard I2C or SPI protocols. Instead, it relies on a proprietary, strictly timed serial interface using just two pins: PD_SCK (Power Down and Serial Clock) and DOUT (Data Output). This non-standard protocol, combined with varying logic levels across modern microcontrollers, creates unique compatibility hurdles. This guide dissects the hardware and software requirements for integrating the HX711 with AVR, ESP8266, ESP32, and RP2040 architectures in 2026.
Microcontroller Compatibility Matrix
Not all microcontrollers handle the HX711's strict timing requirements equally. Below is a compatibility matrix detailing how different MCU families interact with the HX711 breakout boards.
| MCU Family | Logic Level | Recommended Library | Timing Sensitivity | Known Quirks & Edge Cases |
|---|---|---|---|---|
| AVR (Uno/Nano/Mega) | 5V | HX711.h (Bogde) |
Low | Native 5V logic matches most red breakout boards. Blocking delays are acceptable. |
| ESP8266 (NodeMCU) | 3.3V | HX711_ADC (Kallhovd) |
Critical | WiFi MAC interrupts cause missed clock cycles, resulting in garbage data or WDT resets. |
| ESP32 (DevKit V1) | 3.3V | HX711_ADC (Kallhovd) |
Moderate | Multi-core OS can preempt reading tasks. Must pin task to Core 1 or use interrupts. |
| RP2040 (Pi Pico) | 3.3V | hx711_pio |
Low (via PIO) | Standard GPIO bit-banging blocks CPU. Must use Programmable I/O (PIO) for reliable reads. |
| STM32 (Blue Pill) | 3.3V | STM32duino HX711 |
Moderate | Hardware timers required for microsecond precision if RTOS is active. |
Voltage Logic and Hardware Wiring: The 3.3V vs 5V Trap
The most common point of failure when migrating an Arduino HX711 project to a 3.3V microcontroller (like the ESP32 or Pi Pico) is frying the MCU's GPIO pin. The ubiquitous "red board" HX711 modules found on Amazon and AliExpress (typically priced between $1.50 and $3.00 per unit in 5-packs) feature an onboard Low Dropout Regulator (LDO), usually an AMS1117 or XC6206.
How the Onboard LDO Dictates Logic Levels
The DOUT pin outputs logic HIGH at the exact voltage supplied to the VCC pin of the module, not the regulated voltage. If you power the red HX711 board with 5V from an Arduino Uno, the DOUT pin will output 5V. If you connect this directly to the DOUT input of an ESP32, you will force 5V into a 3.3V-tolerant GPIO, potentially destroying the pin or the entire ESP32 silicon die.
- For 5V AVRs (Uno/Mega): Wire
VCCto 5V.DOUTwill safely output 5V. - For 3.3V MCUs (ESP32/Pico): Wire
VCCto 3.3V. The onboard LDO will step this down to ~2.8V for the HX711 chip itself, andDOUTwill safely output 3.3V.
Expert Tip: If your 3.3V MCU only has a 5V output pin available (like the
VINpin on some ESP32 dev boards), you must either use a bidirectional logic level converter or power the HX711 module from the 3.3V output pin, ensuring your total current draw remains under the onboard regulator's limit (typically 300mA for the AMS1117).
Architecture-Specific Quirks and Software Fixes
Because the HX711 lacks a hardware SPI or I2C peripheral interface, the microcontroller must "bit-bang" the clock signal. The HX711 datasheet specifies that the PD_SCK high and low periods must be strictly greater than 0.1µs, and the total cycle time must be managed carefully to avoid triggering the chip's power-down mode (which activates if PD_SCK stays HIGH for >60µs).
The ESP8266 Timing Nightmare
The ESP8266 is notorious for HX711 compatibility issues. The chip's WiFi stack operates via hardware interrupts that can pause the main loop for over 100µs. If a WiFi interrupt fires while the Arduino IDE is bit-banging the PD_SCK clock, the HX711 interprets the extended HIGH signal as a power-down command. The result is erratic readings, continuous zeros, or Watchdog Timer (WDT) resets.
The Fix: Do not use the standard blocking HX711.h library. Instead, use Olav Kallhovd's non-blocking HX711_ADC library. This library samples the data in the background and utilizes yield() calls to keep the ESP8266 WiFi stack alive without violating the HX711's 60µs power-down threshold. Furthermore, disable WiFi during the initial tare() calibration sequence to ensure a stable baseline.
ESP32 Multi-Core Preemption
The ESP32 runs FreeRTOS on dual cores. If your HX711 reading function is preempted by a high-priority Bluetooth or WiFi task on the same core, the clock signal will stutter. To resolve this, pin your weigh-scale task to Core 1 (leaving Core 0 for wireless operations) using xTaskCreatePinnedToCore(). Alternatively, the HX711_ADC library handles this gracefully by using hardware timers to trigger pin toggles independent of the main RTOS scheduler.
Raspberry Pi Pico and Programmable I/O (PIO)
The RP2040 chip inside the Raspberry Pi Pico offers a massive advantage for Arduino HX711 projects: Programmable I/O (PIO). PIO state machines can handle the strict microsecond bit-banging requirements of the HX711 entirely in hardware, completely freeing up the main ARM Cortex-M0+ cores for complex filtering, display rendering, or network transmission. When developing for the Pico in the Arduino IDE, seek out PIO-specific HX711 wrappers rather than standard GPIO delay-based libraries to achieve jitter-free 80 SPS (Samples Per Second) data streams.
Load Cell Wiring Edge Cases: The Color Code Trap
Hardware compatibility extends beyond the microcontroller to the load cell itself. The HX711 amplifies the microvolt-level differential signal from a Wheatstone bridge. Standard 4-wire load cells connect to the HX711's E+, E-, A+, and A- terminals.
While the international standard for load cell wiring dictates:
- Red: Excitation+ (E+)
- Black: Excitation- (E-)
- White: Signal+ (A+)
- Green: Signal- (A-)
Critical Edge Case: Many budget 1kg to 50kg aluminum parallel-beam load cells sourced from Asian marketplaces swap the White and Green signal wires. If your Arduino HX711 setup yields negative values when weight is applied, or if the tare() function fails to zero out, do not immediately assume the HX711 chip is defective. Swap the A+ and A- wires on the screw terminals. Always verify the excitation voltage across the Red and Black wires with a multimeter; it should read exactly the voltage supplied to the HX711 VCC pin (e.g., 4.2V to 5V).
Gain Settings and Channel Selection
The HX711 features two analog input channels, but compatibility with your software library dictates how you access them. According to the SparkFun HX711 Hookup Guide, the gain is hardcoded based on the number of clock pulses sent during a read cycle:
- 25 Pulses: Channel A, Gain 128 (Default for most load cells)
- 26 Pulses: Channel B, Gain 32 (Useful for secondary sensors, but lacks programmable gain)
- 27 Pulses: Channel A, Gain 64 (Used for high-output sensors to prevent ADC saturation)
When using the ESP32 or RP2040, ensure your library of choice explicitly supports the 27-pulse command if you are working with high-capacity industrial load cells that output >2.0mV/V, otherwise the 24-bit ADC will clip at the maximum positive rail.
Advanced Troubleshooting: Thermal Drift and Noise
If your Arduino HX711 scale passes initial compatibility checks but drifts by 5-10 grams over 30 minutes, you are likely experiencing thermal drift caused by the breakout board's LDO. The AMS1117 regulator on cheap red boards dissipates excess voltage as heat. If powered by 5V, the regulator drops ~2V, generating enough localized heat to alter the resistance of the nearby precision feedback resistors on the HX711 PCB.
Actionable Fix: Power the red HX711 board with a regulated 4.2V or 4.5V source (such as a 1S LiPo battery or a buck converter) rather than 5V. This minimizes the voltage drop across the LDO, drastically reducing thermal output and stabilizing long-term weight measurements. For commercial-grade stability, bypass the red boards entirely and upgrade to a board featuring an I2C interface or a high-precision external voltage reference, such as the SparkFun Qwiic Scale (priced around $15.95), which handles the ADC conversion and logic shifting onboard.
Summary
Achieving flawless Arduino HX711 compatibility requires looking past basic pinout diagrams. By respecting 3.3V logic thresholds, utilizing non-blocking or PIO-driven libraries for WiFi-enabled MCUs like the ESP32 and RP2040, and verifying Wheatstone bridge wire color codes, you can transform a notoriously finicky sensor into a highly reliable, precision measurement tool for any microcontroller ecosystem.