
Phase 1: Executing the Core Arduino Install
Performing a clean Arduino install in 2026 requires moving past legacy 1.8.x paradigms and embracing the modern IDE 2.x architecture, which is built on the Eclipse Theia framework. Whether you are deploying a fleet of Raspberry Pi build servers or configuring a daily-driver Windows workstation, the installation method dictates your long-term environment stability. The Arduino Official Software Page provides the primary binaries, but understanding the OS-level nuances is critical for avoiding permission errors and compilation bottlenecks.
OS-Specific Installation Matrix
| Operating System | Recommended Method | Architecture | Critical Post-Install Step |
|---|---|---|---|
| Windows 11 | Winget CLI / MSI | x64 / ARM64 | Whitelist IDE in Windows Defender Exclusions to speed up compilation |
| macOS 14+ | Homebrew Cask / DMG | Apple Silicon (ARM64) | Remove quarantine attribute via xattr if Gatekeeper blocks execution |
| Ubuntu/Debian | AppImage / Flatpak | x64 | Configure udev rules and add user to dialout group |
For Windows users, utilizing the Winget package manager ensures seamless background updates. Simply open PowerShell and execute winget install ArduinoSA.IDE.stable. For Linux users, avoid the Snap package if possible; the AppImage version provides significantly faster file I/O operations during the sketch verification phase, which is crucial when compiling large ESP32 frameworks.
Phase 2: Core IDE Configuration & Preferences
Once the baseline Arduino install is complete, the default configuration is rarely optimal for serious firmware development. The IDE 2.x stores its configuration in a JSON-based settings.json file, alongside the legacy preferences.txt for backward compatibility with older CLI tools.
Locating Your Configuration Files
- Windows:
%APPDATA%\arduino-ide\(TypicallyC:\Users\[User]\AppData\Roaming\arduino-ide\) - macOS:
~/.arduinoIDE/ - Linux:
~/.arduinoIDE/
Essential Preference Tweaks
Navigate to File > Preferences and apply the following configurations to maximize your development efficiency:
- Verbose Output: Check both 'Show verbose output during: compilation' and 'upload'. This is non-negotiable for debugging bootloader timeouts and memory overflow errors.
- Compiler Warnings: Change the dropdown from 'Default' to 'All'. This forces the GCC compiler to flag implicit type conversions and unused variables, preventing erratic behavior in production firmware.
- Sketchbook Location: Move this directory outside of your default Documents folder. Point it to a dedicated Git-tracked directory (e.g.,
D:\Firmware\Sketchbook) to enable version control across your custom libraries and hardware definitions.
Expert Insight: If you are experiencing sluggish auto-complete features in IDE 2.3.x, disable the 'Enable Code Completion' toggle in the settings JSON, restart the IDE, and re-enable it. This forces the clangd language server to rebuild its index database, resolving 90% of IntelliSense lag issues.
Phase 3: Board Manager & Core Configurations
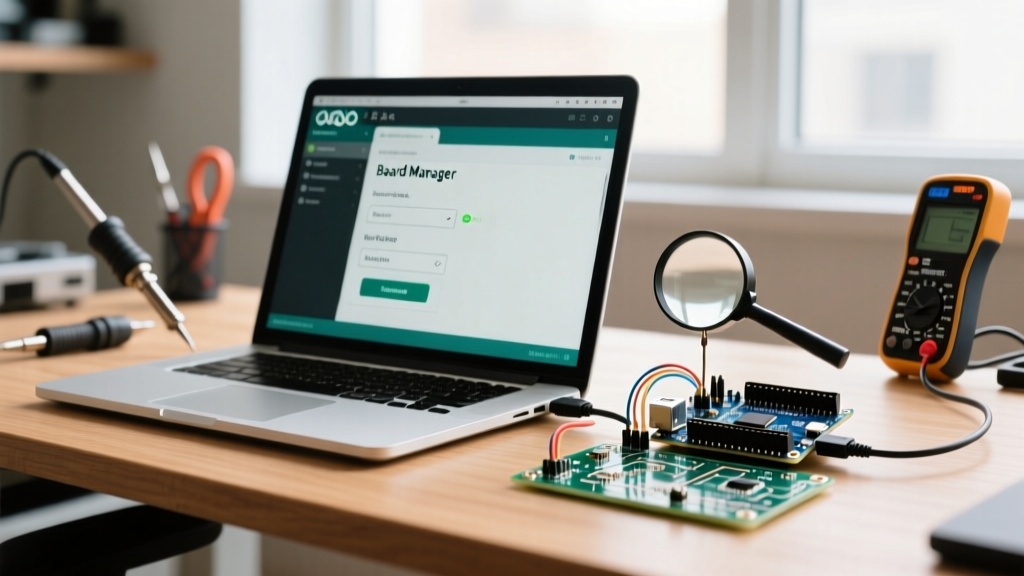
The true power of the modern Arduino ecosystem lies in third-party cores. By default, your Arduino install only includes AVR and basic ARM architectures. To program modern IoT and high-performance microcontrollers, you must configure the Board Manager URLs.
Essential 2026 Board Manager URLs
Navigate to File > Preferences > Additional Boards Manager URLs and append the following comma-separated endpoints:
| Target Architecture | Maintainer | JSON Endpoint URL |
|---|---|---|
| ESP32 (C3, S3, C6) | Espressif Systems | https://raw.githubusercontent.com/espressif/arduino-esp32/gh-pages/package_esp32_index.json |
| STM32 (Cortex-M) | STMicroelectronics | https://github.com/stm32duino/BoardManagerFiles/raw/main/package_stmicroelectronics_index.json |
| ATTinyCore (0/1/2 Series) | SpenceKonde | http://drazzy.com/package_drazzy.com_index.json |
After adding these URLs, open the Boards Manager (Tools > Board > Boards Manager) and install the latest stable cores. For ESP32 development, always refer to the Espressif Arduino Core Documentation to verify compatibility between the selected core version and your specific ESP-IDF framework requirements.
Phase 4: Driver Installation & Edge Cases (The 'Gotchas')
A successful Arduino install is useless if your operating system cannot communicate with the microcontroller's USB-to-UART bridge. Driver conflicts remain the number one cause of 'Port not found' or 'Upload timeout' errors.
The Windows 11 Core Isolation Conflict
If you are using clone boards equipped with the WCH CH340C or CH341A chips, Windows 11's 'Core Isolation / Memory Integrity' security feature will actively block older, unsigned drivers. The Fix: Do not disable Core Isolation. Instead, download the latest WHQL-certified CH341SER.EXE (version 3.8 or higher) directly from the WCH manufacturer site, or use boards featuring the Silicon Labs CP2102N or native ATmega16U2, which utilize Microsoft-certified CDC drivers.
Linux udev Rules and Permissions
On Linux, serial ports (/dev/ttyUSB0 or /dev/ttyACM0) are restricted to the root user and the dialout group by default. If you skip this step, you will be forced to run the IDE as sudo, which breaks file permissions in your sketchbook.
Step 1: Add your user to the dialout group:
sudo usermod -a -G dialout $USERStep 2: Create a custom udev rule for persistent permissions. Create a file at /etc/udev/rules.d/99-arduino.rules and insert:
SUBSYSTEMS=='usb', ATTRS{idVendor}=='2341', MODE:='0666'
SUBSYSTEMS=='usb', ATTRS{idVendor}=='1a86', MODE:='0666'
SUBSYSTEMS=='usb', ATTRS{idVendor}=='303a', MODE:='0666'
Reload the rules with sudo udevadm control --reload-rules && sudo udevadm trigger, then reboot your machine.
Phase 5: Headless Installs via arduino-cli
For advanced users setting up CI/CD pipelines, Docker containers, or headless Raspberry Pi testing rigs, the graphical IDE is unnecessary overhead. The Arduino CLI GitHub Repository provides a lightweight, single-binary alternative that perfectly mirrors the IDE's compilation engine.
To perform a headless Arduino install and configure your environment via terminal:
- Download the CLI binary and add it to your system PATH.
- Initialize the configuration:
arduino-cli config init - Update the core index:
arduino-cli core update-index - Install a specific core:
arduino-cli core install arduino:avr - Compile and upload in a single chain:
arduino-cli compile -b arduino:avr:uno -u -p /dev/ttyACM0 ~/Sketchbook/Blink
Summary
A proper Arduino install extends far beyond clicking 'Next' on an installer wizard. By meticulously configuring your IDE preferences, managing third-party board cores, resolving OS-level USB driver permissions, and leveraging the CLI for automated workflows, you transform a basic hobbyist environment into a robust, professional firmware development suite. Take the time to configure your environment correctly today, and you will save hours of debugging obscure compilation and upload errors tomorrow.