
The Reality of Analog Reads in Maker Projects
When integrating sensors like thermistors, current shunts, or potentiometers into your projects, the Analog-to-Digital Converter (ADC) is your bridge between the physical and digital worlds. However, a common frustration among both beginners and seasoned engineers is erratic, noisy, or drifting analog readings. Whether you are using the classic 10-bit ATmega328P found on the Arduino Uno and Nano, or the 12-bit SAMD21 on the Arduino Zero, the underlying physics of sampling analog voltages remain unforgiving of poor circuit design.
If your analogRead() values are jumping by 10-20 points when they should be static, or if your sensor calibration drifts when a motor turns on, you are experiencing classic ADC implementation failures. This guide provides a deep-dive diagnostic approach to troubleshooting an Arduino with ADC circuits, focusing on hardware impedance, reference voltage stability, and software-level oversampling.
Diagnostic Matrix: Symptoms vs. Root Causes
Before ripping up your breadboard, match your specific symptom to the most likely root cause using the matrix below.
| Symptom | Probable Root Cause | Primary Fix Strategy |
|---|---|---|
| Random ±15 LSB jitter on static input | VCC ripple / USB power noise | Implement external AREF with LDO & decoupling |
| Readings are consistently lower than multimeter | Source impedance > 10kΩ | Add op-amp buffer or RC low-pass filter |
| Massive spikes when relays/motors activate | Shared ground return paths (Ground Bounce) | Star grounding topology & opto-isolation |
| Readings cap out at ~600-700 (not 1023) | Sensor output not rail-to-rail | Use rail-to-rail op-amp or adjust voltage divider |
Deep Dive 1: The 10kΩ Source Impedance Rule
The most frequent cause of inaccurate reads when troubleshooting an Arduino with ADC setups is ignoring the source impedance of the sensor network. According to the Microchip ATmega328P datasheet, the ADC is optimized for analog signals with an output impedance of approximately 10kΩ or less.
The Physics of the Sample-and-Hold Capacitor
Internally, the microcontroller uses a multiplexer to connect your analog pin to a tiny 14pF sample-and-hold (S/H) capacitor. When analogRead() is called, the ADC clock gives the S/H capacitor exactly 1.5 clock cycles to charge to the voltage of your external circuit.
If you are using a high-impedance voltage divider (e.g., two 100kΩ resistors to step down a 12V battery to 5V), the Thevenin equivalent resistance is 50kΩ. The RC time constant with the 14pF internal capacitor means the S/H cap simply cannot charge to the true voltage before the ADC takes its measurement. The result? A reading that is artificially low and highly susceptible to the previous pin's voltage (crosstalk).
The Hardware Fix
To resolve high-impedance issues without sacrificing battery life, you have two reliable options:
- RC Low-Pass Filter: Place a 100Ω series resistor directly at the analog pin, followed by a 100nF (0.1µF) MLCC ceramic capacitor to ground. This creates an external charge reservoir that easily supplies the 14pF internal capacitor. It also acts as an anti-aliasing filter with a cutoff frequency of ~16kHz.
- Op-Amp Buffer: For precision sensor networks, buffer the signal using a rail-to-rail operational amplifier like the MCP6001 (typically $0.85 per unit in 2026). Warning: Avoid the LM358 for 5V ADC buffering, as its output cannot swing fully to the 5V rail, causing premature clipping around 3.8V.
Expert Insight: As noted in Analog Devices' technical literature on ADC input impedance, driving an ADC directly from a high-impedance source doesn't just cause DC errors; it introduces severe harmonic distortion in AC signal sampling due to the non-linear charging current spikes drawn by the S/H capacitor.
Deep Dive 2: Power Supply Rejection & VREF Noise
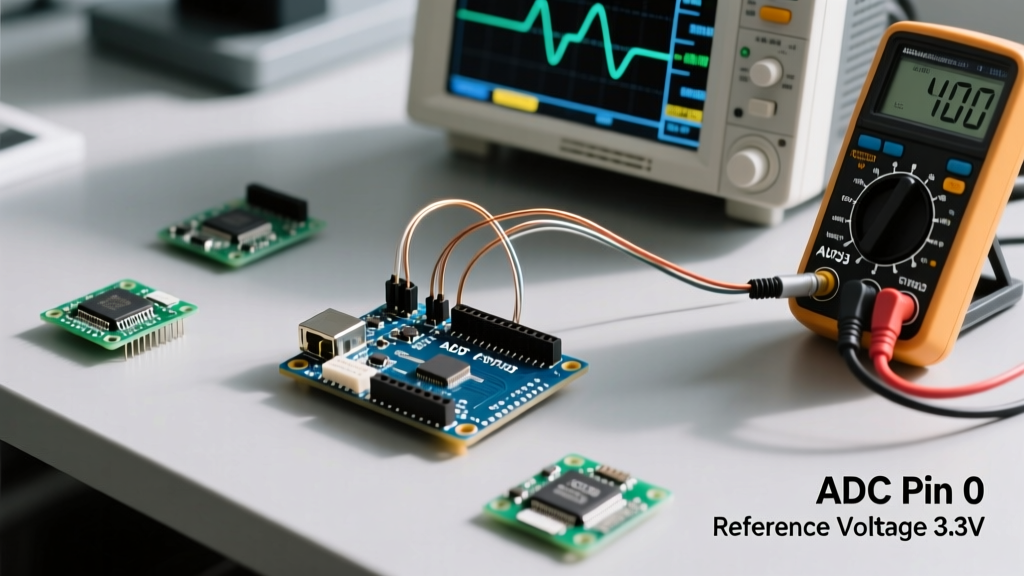
By default, the Arduino Uno uses the 5V USB rail as its Analog Reference (VREF). If you measure the 5V pin on an Arduino plugged into a standard PC USB port with a decent oscilloscope or a true-RMS multimeter like the Fluke 117, you will often see 30mV to 80mV of high-frequency switching ripple.
On a 10-bit ADC with a 5V reference, 1 Least Significant Bit (LSB) equals 4.88mV. A mere 50mV of USB ripple translates to 10 LSBs of noise on every single read. This is why your sensor values jitter randomly even when the physical input is perfectly stable.
Implementing a Clean External Reference
To fix this, bypass the noisy USB VCC and use the AREF pin. The official Arduino analogRead() documentation outlines how to switch references via software, but the hardware implementation is critical:
- Use a dedicated low-dropout regulator (LDO) like the AMS1117-3.3 ($0.40) to generate a clean 3.3V reference from the 5V rail.
- Connect the 3.3V output directly to the
AREFpin. - Place a 10µF tantalum capacitor and a 100nF MLCC capacitor in parallel directly across the AREF pin and GND to filter high-frequency thermal noise.
- In your setup function, explicitly call
analogReference(EXTERNAL);.
Note: Never apply a voltage higher than 5V to the AREF pin, and never use analogReference(EXTERNAL) if nothing is connected to the AREF pin, as this will short the internal reference and damage the ATmega328P.
Deep Dive 3: Software Oversampling for Extra Resolution
Sometimes hardware filtering isn't enough, or you need 12-bit resolution from a 10-bit ATmega328P. You can achieve this mathematically through oversampling. According to Nyquist and Shannon principles, oversampling by a factor of 4^n yields n additional bits of resolution.
To gain 2 extra bits (going from 10-bit to 12-bit, yielding a 0-4095 range), you must take 16 samples, sum them, and divide by 4.
unsigned int readADC12Bit(uint8_t pin) {
  unsigned long sum = 0;
  for (uint8_t i = 0; i < 16; i++) {
    sum += analogRead(pin);
    // Small delay to allow S/H cap to settle if multiplexing pins
    delayMicroseconds(50);
  }
  return (unsigned int)(sum / 4);
}
Trade-off: This technique increases your sampling time. A standard analogRead() takes roughly 112µs. Sixteen reads will take ~1.8ms. This is perfectly fine for slow-moving signals like temperature or battery voltage, but will cause phase lag in fast PID control loops.
Grounding Topologies: Avoiding Ground Bounce
If your analog readings spike wildly the moment a relay clicks or a DC motor spins, you are experiencing ground bounce. High-current loads share the same ground trace as your sensitive ADC sensors. Because copper traces have finite resistance, a 1A motor startup across a 0.1Ω ground trace creates a 100mV differential. The ADC reads this ground shift as a signal spike.
The Fix: Implement a Star Ground Topology. Route the ground from your power supply to a single central point (like a heavy copper busbar or a dedicated ground plane). From that single star point, run separate ground wires to your high-current motor drivers and your low-current sensor networks. They should never share a daisy-chained ground return path.
Frequently Asked Questions
Why do my analog reads change when I read a different pin right before it?
This is ADC crosstalk, caused by the internal multiplexer and S/H capacitor retaining a 'memory' of the previous pin's voltage. If Pin A0 is reading 5V and Pin A1 is reading 0V, reading A0 then A1 in rapid succession will yield an artificially high value for A1. Fix: Perform a 'dummy read' on the target pin and discard it, or add a 50µs delay between reading different analog pins to allow the internal circuitry to settle.
Can I increase the ADC sampling rate on the Arduino Uno?
Yes. The default ADC prescaler is 128, resulting in a 125kHz ADC clock (16MHz / 128). You can lower the prescaler to 64 or 32 via direct register manipulation (ADCSRA), pushing the sampling rate up to 76kHz. However, be aware that exceeding the recommended 50-200kHz range degrades the Signal-to-Noise Ratio (SNR) and effective number of bits (ENOB), reducing your actual resolution below 10 bits.