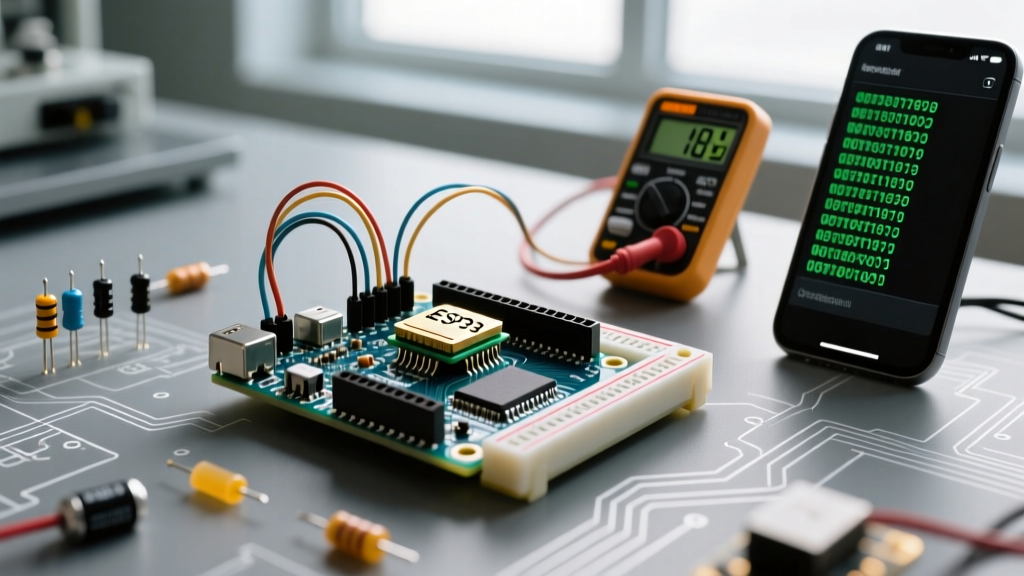

Why Your Random Seed Arduino Sketch Generates Predictable Data
You uploaded the sketch, opened the Serial Monitor, and saw the exact same sequence of numbers as yesterday. Your random seed Arduino implementation has failed, turning what should be a chaotic output into a deterministic loop. In the maker community, generating true randomness is a notorious stumbling block. Microcontrollers are inherently deterministic machines; they do exactly what they are told, when they are told. Without a dedicated hardware entropy source, an Arduino relies on a Pseudo-Random Number Generator (PRNG), which requires a highly variable starting point—a seed—to simulate chaos.
When your project relies on randomized behaviors—whether for cryptographic nonces, randomized LED patterns, or unbiased game mechanics—a failing seed compromises the entire system. This diagnostic guide will walk you through the exact failure modes of the randomSeed() function, why your hardware might be sabotaging your entropy, and how to engineer robust randomness across AVR, ARM, and Xtensa architectures in 2026.
The Anatomy of an Arduino Randomness Failure
Before diagnosing the error, we must understand the underlying math. The classic Arduino Uno R3 (based on the ATmega328P) uses the random() function defined in the avr-libc stdlib.h library. This function utilizes a Linear Congruential Generator (LCG). The algorithm calculates the next number using the formula: X(n+1) = (a * X(n) + c) mod m.
If the initial state X(0)—the seed—is identical across reboots, the resulting sequence will be mathematically identical. The official Arduino randomSeed() reference suggests reading an unconnected analog pin to generate this seed. However, this advice is a massive oversimplification that leads directly to the most common errors we diagnose in the field.
Diagnosing the 4 Most Common Random Seed Errors
Error 1: The Floating Pin Illusion (Parasitic Capacitance)
The Symptom: You are using randomSeed(analogRead(A0)) with pin A0 left unconnected. The serial monitor shows a different sequence occasionally, but often repeats the exact same 10-number string upon hard resets.
The Diagnosis: An unconnected pin on a breadboard does not read pure white noise. The ATmega328P's internal ADC sample-and-hold capacitor retains residual charge. Furthermore, breadboards introduce parasitic capacitance (typically 2pF to 5pF per contact point). If your board boots at the exact same millisecond relative to the 50Hz/60Hz electromagnetic hum of your room's AC wiring, the floating pin will sample the exact same voltage phase every time. You are not seeding with noise; you are seeding with the mains frequency phase.
The Fix: Never rely on a single floating pin for critical entropy. If you must use analog noise, wire a 10kΩ resistor between the analog pin and GND, and attach a short wire as an antenna to pick up broader RF interference, or use a dedicated hardware noise circuit (detailed below).
Error 2: The Loop Reseeding Catastrophe
The Symptom: The random numbers appear stuck on a single value, or they cycle through a tiny subset of numbers (e.g., 42, 45, 41, 43) repeatedly.
The Diagnosis: The randomSeed() function was placed inside the loop() instead of setup(). By calling the seed function every few milliseconds, you are constantly resetting the LCG state to the same narrow band of analog values before the algorithm has time to diverge.
The Fix: Audit your code structure. randomSeed() must be called exactly once during the boot sequence inside setup(). The PRNG state must be allowed to iterate freely during the main loop.
Error 3: Hardware Bias and VCC/GND Tied Pins
The Symptom: The seed is always 0, or always 1023. The output sequence is 100% predictable.
The Diagnosis: The pin designated for analog reading is accidentally tied to GND (reading 0) or VCC (reading 1023) via a stray jumper wire, a solder bridge, or a misconfigured internal pull-up resistor. If the seed is static, the LCG output is static.
The Fix: Run a diagnostic sketch that prints the raw analogRead() value to the serial monitor 50 times before passing it to randomSeed(). Verify the variance. If the variance is less than 50 ADC steps, your entropy source is compromised.
Error 4: Architecture Misalignment (AVR vs ARM vs Xtensa)
The Symptom: Code that worked perfectly on an Arduino Uno R3 produces terrible randomness when ported to an ESP32 or Arduino Nano 33 IoT.
The Diagnosis: Modern boards handle entropy differently. The ESP32-WROOM-32 features a dedicated hardware True Random Number Generator (TRNG) based on SAR ADC noise and thermal jitter. Using the legacy AVR randomSeed(analogRead()) method on an ESP32 bypasses the hardware TRNG and forces the system to use software PRNGs seeded by poorly routed ADC pins, actually degrading the randomness compared to native functions.
The Fix: Use architecture-specific APIs. For ESP32 boards, utilize the Espressif esp_random() API, which pulls directly from the hardware RNG peripheral. For the Arduino Uno R4 Minima (Renesas RA4M1), utilize the onboard hardware RNG registers rather than analog noise.
Diagnostic Matrix: Symptom to Root Cause Mapping
Use this matrix to quickly isolate your random seed Arduino failure based on serial output behavior.
| Observed Symptom | Probable Root Cause | Diagnostic Action | Hardware / Software Fix |
|---|---|---|---|
| Exact same sequence on every cold boot | Static seed (Pin tied to GND/VCC or floating pin capacitance) | Print raw seed value before randomSeed() call |
Add external noise circuit or use hardware TRNG |
| Sequence changes daily, but repeats within the same hour | Seeding with RTC time without millisecond jitter | Check RTC resolution (DS3231 vs DS1307) | Combine RTC seconds with floating analog read |
| Rapidly repeating micro-sequences (e.g., 3 numbers) | randomSeed() called inside loop() |
Search codebase for multiple randomSeed instances |
Move seed initialization strictly to setup() |
| Numbers are random, but fail statistical distribution tests | LCG lower-bit bias (avr-libc limitation) | Run Dieharder test suite on serial byte stream | Discard lower 8 bits; use bitwise shift random() >> 8 |
Advanced Entropy Injection Techniques
If your project requires high-quality randomness (e.g., generating secure API tokens or unbiased lottery selections), software PRNGs seeded by analog noise are insufficient. You must inject true physical entropy.
Technique 1: The Zener Diode Avalanche Circuit
For under $1.50 in components, you can build a hardware noise generator. By reverse-biasing a 5.1V Zener diode (like the 1N4733A) just at its avalanche breakdown voltage, it generates a chaotic stream of electron tunneling noise. Amplify this signal using a standard LM358 dual op-amp, and feed it into an Arduino analog pin. This provides high-variance, truly random ADC readings that guarantee a unique seed on every single boot, regardless of environmental RF conditions.
Technique 2: RTC Clock Jitter Seeding
If your project already includes a Real Time Clock (RTC) module like the DS3231 (typically $3 to $5 on breakout boards), you can use microsecond timing jitter as a seed. Human interaction (pressing a button) or sensor polling introduces microsecond-level variations in when the I2C bus is queried. By reading the exact microsecond timestamp of the first user button press and XORing it with the RTC's temperature register (which fluctuates slightly based on thermal noise), you create a highly robust composite seed.
Expert Warning on Cryptographic Randomness: Never use the standard Arduino random() function for cryptographic keys, password generation, or security tokens. The LCG algorithm is easily reversible. If an attacker observes a few dozen outputs, they can mathematically deduce the internal state and predict all future numbers. For security applications on MCUs, you must use hardware-backed TRNGs or dedicated cryptographic libraries like BearSSL.
Testing Your Entropy Quality
Do not trust your eyes; human brains are notoriously bad at recognizing true randomness. To verify your random seed Arduino fix, write a sketch that outputs raw bytes over the Serial port at 115200 baud. Capture this stream on your PC and run it through a statistical test suite like Dieharder or ENT. These tools will measure the Chi-Square distribution, entropy bits per byte, and arithmetic mean. A healthy hardware-seeded PRNG should yield an entropy value approaching 7.99 bits per byte, confirming your diagnostic repairs were successful.