
The 'Think Cad' Arduino Phenomenon: Understanding Your Simulation Environment
If you have landed on this guide searching for think cad arduino, you are part of a massive community of makers, students, and engineers who have phonetically misspelled one of the most powerful web-based circuit simulators available: Autodesk Tinkercad. While 'Think CAD' is not an official software product, the search intent is crystal clear. You are looking for ways to troubleshoot, fix, and optimize your virtual Arduino Uno R3 circuits within the Tinkercad Circuits environment.
Simulating microcontrollers in a browser relies heavily on WebAssembly (Wasm) to compile C++ code and emulate the ATmega328P processor in real-time. This introduces unique failure modes that do not exist when flashing a physical board via a local USB connection. In this comprehensive 2026 troubleshooting guide, we will dissect the most common simulation errors, wiring paradoxes, and code-breaking bugs specific to the Tinkercad Arduino environment, providing actionable fixes to get your virtual prototype running flawlessly.
Common Compilation & WebAssembly Errors
Unlike the local Arduino IDE, which uses a local avr-gcc compiler, Tinkercad compiles your sketch in the cloud or via local browser-based Wasm containers. When a sketch fails to start, the error messages can be cryptic.
1. The 'Simulation Failed to Start' Timeout
This is the most frequent error encountered by beginners. It rarely means your code is fundamentally wrong; rather, it indicates that the simulation engine exceeded its initialization time limit.
- The Cause: Your
setup()function contains a blocking loop or a hardware initialization routine that never resolves. For example, waiting for a serial connection usingwhile (!Serial) { ; }will freeze the Tinkercad simulator because the virtual serial port does not assert the DTR (Data Terminal Ready) line the way a physical USB-to-Serial chip does. - The Fix: Remove blocking serial waits. If you must pause for serial initialization, use a non-blocking timeout:
unsigned long start = millis(); while (!Serial && millis() - start < 2000) { }.
2. Exit Status 1 & Hidden Character Injections
When copying code from external forums or AI generators into the Tinkercad text editor, invisible Unicode characters (like non-breaking spaces or smart quotes) often hitch a ride. The strict avr-gcc compiler will throw an exit status 1 or stray '\' in program error.
Pro-Tip: Always paste copied code into a plain-text intermediary like Notepad (Windows) or TextEdit (Mac in plain-text mode) before moving it into the Tinkercad editor to strip hidden formatting.
Component Wiring & Simulation Physics Limits
Tinkercad attempts to model real-world physics, but it enforces strict safety limits to prevent virtual 'fires' and to maintain browser performance. Understanding the delta between Tinkercad's simulation engine and a physical Arduino Uno R3 is critical for troubleshooting.
| Component / Parameter | Tinkercad Simulation Limit | Real-World Arduino Uno R3 | Troubleshooting Fix / Workaround |
|---|---|---|---|
| GPIO Pin Current | Hard capped at 20mA | 20mA recommended (40mA absolute max) | Always use a minimum 220Ω resistor for standard 5V LEDs. Tinkercad will flag or blow the virtual pin if exceeded. |
| 5V Rail Total Current | ~200mA virtual limit | ~500mA (via USB) / ~1A (via Barrel Jack) | Do not chain more than 3 standard micro-servos on the virtual 5V rail. Use an external virtual battery pack. |
| Breadboard Power Rails | Continuous across the entire board | Often split in the middle on full-size boards | Beware of 'ghost' connections. Tinkercad does not simulate the physical center-rail break found on real 830-point breadboards. |
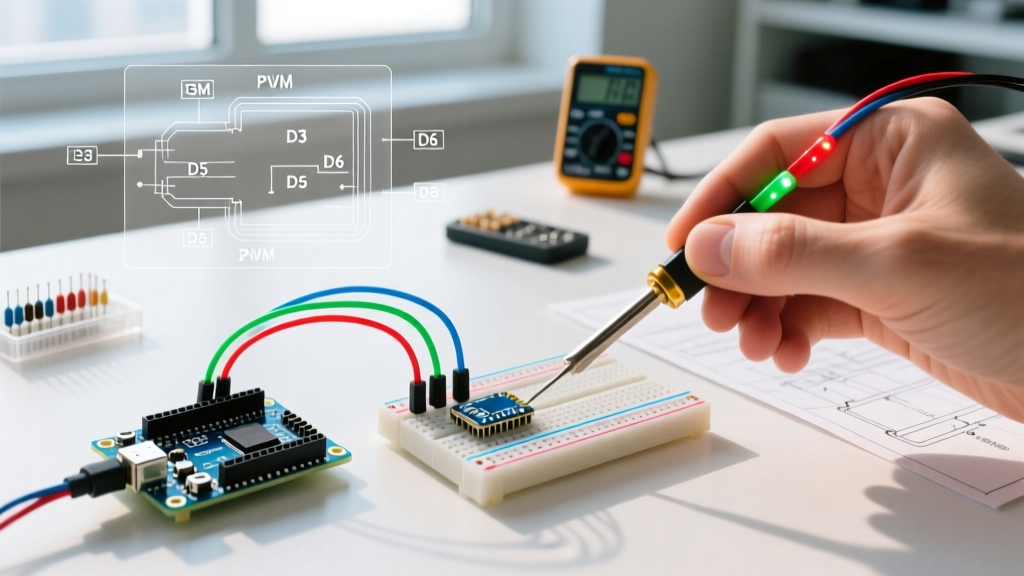
| PWM Frequency | Fixed at ~490Hz (Pins 5,6: ~980Hz) | Matches ATmega328P hardware timers | Do not attempt to manually reconfigure Timer1 registers for high-frequency PWM; the simulator may desync. |
Step-by-Step Fix: The 'Frozen Simulation' Bug
Occasionally, the Tinkercad interface will allow you to click 'Start Simulation', but the virtual Arduino will not execute code, the LEDs will not light up, and the Serial Monitor will remain blank. According to the Autodesk Tinkercad Circuits Hub, this is usually a browser-level resource exhaustion issue.
- Check for Infinite Loops Without Delays: A
while(1)orfor(;;)loop without adelay()ordelayMicroseconds()will consume 100% of the Wasm thread, causing the browser tab to throttle the simulation. Always include a microsecond yield in tight polling loops. - Reduce Component Count: The Tinkercad physics engine struggles with circuits exceeding 60-80 interactive components. If you have multiple virtual oscilloscopes, multimeters, and dozens of LEDs, delete unused diagnostic tools.
- Clear the Wasm Cache: Hard refresh your browser (Ctrl+F5 or Cmd+Shift+R). Tinkercad caches compiled Wasm binaries; a corrupted cache will result in a silent failure to boot the virtual ATmega328P.
- Verify Power Source Connections: Ensure your virtual multimeter or oscilloscope isn't accidentally creating a short circuit. A common mistake is wiring a virtual multimeter in 'Current' (Ammeter) mode in parallel with a component, which creates a zero-resistance path and instantly crashes the simulation engine.
Serial Monitor & Baud Rate Mismatches
The virtual Serial Monitor is your primary debugging tool, but it is highly sensitive to baud rate mismatches and buffer overflows.
If your Serial Monitor outputs garbled text (e.g., ÿÿÿ), your Serial.begin() baud rate does not match the dropdown menu in the Tinkercad Serial Monitor UI. While 9600 is the standard, modern sketches often use 115200. Always verify both sides.
The Buffer Overflow Bug: If your sketch uses Serial.print() inside a fast loop without a delay, the Tinkercad browser-to-cloud serial buffer (typically limited to 256 bytes) will overflow. Unlike a physical Arduino, which simply drops bytes when the TX buffer fills, Tinkercad's UI thread may lock up trying to render thousands of DOM text nodes per second. Fix: Throttle your serial output using a millis() based timer, printing debug data only every 100ms to 500ms.
Advanced Debugging: Floating Pins & Virtual Noise
In the physical world, an unconnected (floating) digital input pin on an Arduino will pick up electromagnetic interference, rapidly toggling between HIGH and LOW. In Tinkercad, a floating pin usually defaults to a stable LOW or HIGH state, which can mask logic errors in your code.
However, if you are using virtual pushbuttons or switches, Tinkercad does simulate contact bounce and floating states when the switch is open. If your virtual interrupt is triggering hundreds of times per button press, you are experiencing virtual switch bounce.
- Hardware Fix: Wire a virtual 10kΩ pull-down (or pull-up) resistor to the switch pin, and enable the internal pull-up in code via
pinMode(pin, INPUT_PULLUP);. - Software Fix: Implement a software debounce delay of 50ms, or use a state-change detection algorithm. For deeper insights on handling hardware inputs, refer to the Arduino Official Troubleshooting Guide regarding digital pin states.
Frequently Asked Questions (FAQ)
Can I export my Tinkercad Arduino code to the local Arduino IDE?
Yes. Tinkercad features a 'Download Code' button that exports your sketch as a standard .ino file. However, be aware that Tinkercad sometimes includes proprietary simulation-specific libraries (like certain virtual LCD drivers) that may require mapping to standard libraries like LiquidCrystal_I2C when compiling locally.
Why does my virtual Arduino keep resetting randomly?
Random resets in Tinkercad are almost always caused by a virtual 'Brownout'. If you are powering high-draw components like the standard virtual DC motor or multiple servos directly from the Arduino's 5V pin, the simulated voltage regulator will drop below the ATmega328P's brownout detection threshold (usually 2.7V), triggering an automatic hardware reset. Always use a separate virtual battery and a motor driver IC (like the L293D) for inductive loads.
Does Tinkercad support the newer Arduino Uno R4 WiFi?
As of early 2026, Tinkercad's core simulation engine remains heavily optimized for the classic Arduino Uno R3 (ATmega328P). While Autodesk has introduced micro:bit and newer generic components, full native simulation of the Uno R4's Renesas RA4M1 processor and ESP32-S3 WiFi co-processor is not yet fully supported in the standard Circuits workspace. Stick to the Uno R3 for reliable code compilation and physics simulation.
Final Thoughts on Virtual Prototyping
Mastering the 'think cad' (Tinkercad) Arduino environment requires understanding that it is a sandbox with specific physical and computational boundaries. By respecting current limits, managing serial buffers, and avoiding blocking code in your setup routines, you can transform the simulator from a frustrating black box into a highly accurate, rapid-prototyping powerhouse. Always validate your virtual wiring against real-world datasheets before moving your design to a physical breadboard.