
The Reality of Shaft Encoder Integration
Integrating a rotary shaft encoder with a microcontroller seems trivial until you encounter missed steps, erratic RPM readings, or system lockups at high rotational speeds. A shaft encoder Arduino configuration requires more than just copying a basic polling sketch; it demands a rigorous approach to signal integrity, interrupt latency, and hardware debouncing. Whether you are building a CNC jog dial, a robotic odometry system, or an industrial conveyor tracker, the principles of quadrature decoding remain the same.
In this comprehensive configuration guide, we will bypass the beginner fluff and dive deep into the electrical and programmatic requirements for reliably reading shaft encoders in 2026, covering everything from open-collector pull-up networks to state-table interrupt handling.
Hardware Selection Matrix: Mechanical vs. Optical
The first point of failure in any encoder project is selecting the wrong sensor for the mechanical environment. Below is a comparison of three common encoder classes, reflecting current market availability and pricing.
| Model / Series | Technology | Resolution | Approx. Price (2026) | Bounce Profile & Use Case |
|---|---|---|---|---|
| Generic KY-040 | Mechanical (Carbon) | 20 PPR | $2 - $4 | Severe bounce. Strictly for low-speed manual UI dials. |
| Bourns PEC11R | Mechanical (Quadrature) | 24 PPR | $3 - $6 | Moderate bounce. Good for audio equipment and volume knobs. |
| Omron E6B2-CWZ6C | Optical (Incremental) | 1000 PPR | $85 - $115 | Zero bounce. Mandatory for motor feedback, CNC, and robotics. |
Expert Insight: Never use a mechanical encoder for continuous motor shaft feedback. The physical contacts will degrade within weeks under continuous rotation, and the mechanical bounce will overwhelm standard microcontroller interrupts at speeds above 60 RPM.
Wiring Topologies: Push-Pull vs. Open-Collector
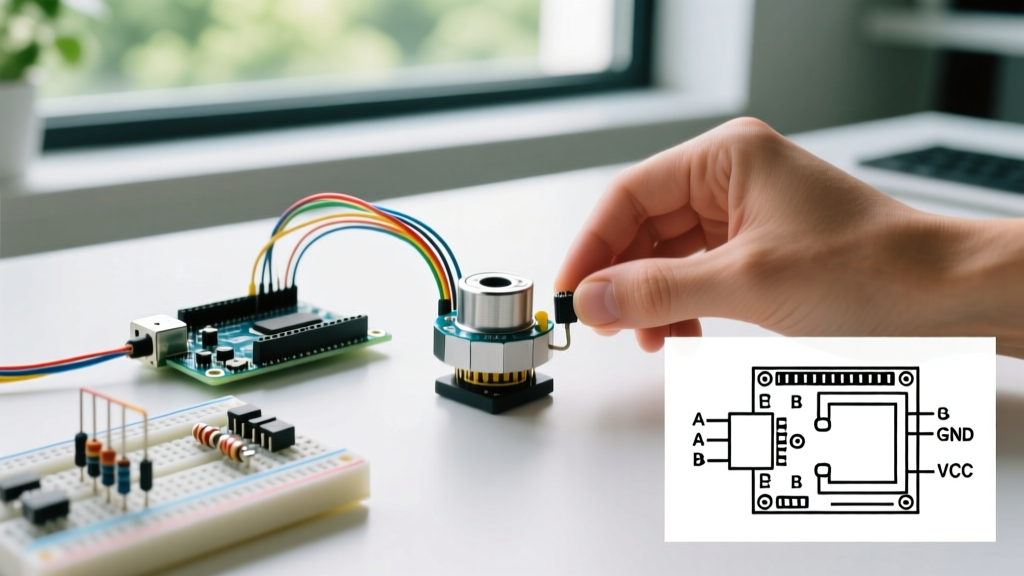
The most common wiring mistake occurs when makers treat all encoders as push-pull outputs. Understanding your encoder's output stage is critical for proper voltage logic and signal stability.
1. Push-Pull Outputs (e.g., KY-040, Bourns PEC11R)
These encoders actively drive the signal line HIGH (to VCC) and LOW (to GND). They can be wired directly to Arduino digital pins. However, if the module lacks onboard pull-up resistors, you must enable the microcontroller's internal pull-ups using pinMode(pin, INPUT_PULLUP); to prevent floating states when the contacts are open.
2. Open-Collector / NPN Outputs (e.g., Omron E6B2-CWZ6C)
Industrial optical encoders frequently use open-collector NPN transistor outputs. These can pull the signal line to GND but cannot drive it HIGH. If you wire this directly to an Arduino Uno, the pin will float, resulting in chaotic noise.
- Solution: You must install external pull-up resistors between the signal lines (A, B, and Z) and your logic voltage (5V for Uno/Mega, 3.3V for ESP32/Due).
- Resistor Value: Use 4.7kΩ resistors. A standard 10kΩ resistor may result in an RC time constant that is too slow for high-resolution encoders spinning at high RPMs, rounding off the sharp digital edges.
Signal Conditioning and Hardware Debouncing
While software debouncing works for a $2 KY-040 dial turned by hand, it introduces unacceptable latency for high-speed applications. For mechanical encoders, or environments with heavy electromagnetic interference (EMI), a hardware RC (Resistor-Capacitor) low-pass filter is mandatory.
Calculating the RC Filter
The goal is to filter out high-frequency contact bounce (typically 1kHz to 5kHz) without attenuating the actual quadrature signal. The cutoff frequency ($f_c$) is calculated as:
f_c = 1 / (2 * π * R * C)
Recommended Configuration for Manual Dials (Max 5 RPS):
- Resistor (R): 10kΩ (Series resistor on the signal line)
- Capacitor (C): 0.1µF (Ceramic, from signal line to GND)
- Resulting Cutoff: ~159 Hz. This perfectly eliminates bounce while preserving the signal for human-speed rotation.
Warning for High-Speed Optical Encoders: If you are using a 1000 PPR encoder spinning at 3000 RPM (50 revolutions per second), the signal frequency is 50,000 Hz (50 kHz). Do not use a 0.1µF capacitor here; it will completely filter out your data. Rely on the optical encoder's clean digital edges and use Schmitt-trigger buffers (like the 74HC14) if signal degradation occurs over long cable runs.
Interrupt Configuration and Sketch Implementation
Polling encoder pins inside the loop() function using digitalRead() is a guaranteed path to failure. At 1000 PPR and 60 RPM, the encoder generates 1,000 pulses per second. If your main loop takes 5ms to execute (perhaps due to LCD updates or serial printing), you will miss 5 pulses per loop iteration, destroying your positional accuracy.
You must use hardware interrupts. For a comprehensive guide on microcontroller interrupt vectors, refer to the Arduino Official attachInterrupt() Reference.
The Superiority of State-Table Decoding
Basic interrupt tutorials often suggest triggering an interrupt on the RISING edge of Pin A, then reading Pin B to determine direction. This is fundamentally flawed. If contact bounce occurs, or if the motor vibrates back and forth across a single edge, the system will register false steps.
Instead, use a state-table lookup method that tracks the previous and current states of both pins. The gold standard for this in the Arduino ecosystem is the Encoder Library by Paul Stoffregen. It utilizes pin-change interrupts and a highly optimized state machine to decode quadrature signals without missing steps, even in the presence of minor signal noise.
Implementation Code
Below is the optimal configuration for an Arduino Uno using the Stoffregen library. Ensure you install the library via the Arduino IDE Library Manager before compiling.
#include <Encoder.h>

// Initialize encoder on hardware interrupt pins (Uno: 2 and 3)
// If using a Mega, use pins 2, 3, 18, 19, 20, or 21.
Encoder myEnc(2, 3);

long oldPosition  = -999;

void setup() {
  Serial.begin(115200);
  // Note: The Encoder library handles pinMode internally.
  // If using an open-collector encoder, you must manually
  // set pull-ups BEFORE initializing the Encoder object.
  pinMode(2, INPUT_PULLUP);
  pinMode(3, INPUT_PULLUP);
}

void loop() {
  long newPosition = myEnc.read();
  if (newPosition != oldPosition) {
    oldPosition = newPosition;
    Serial.print("Position: ");
    Serial.println(newPosition);
  }

  // Keep loop() fast. Avoid delay() or blocking serial prints.
}
Advanced Troubleshooting: EMI and Missed Steps
If your configuration is still dropping steps or jumping erratically, you are likely a victim of Electromagnetic Interference (EMI), especially if your encoder is mounted near stepper motors, VFDs (Variable Frequency Drives), or high-current relays.
Defeating EMI in Industrial Setups
- Twisted Pair Cabling: Never use loose ribbon cables for encoder signals. Use twisted-pair cable (e.g., Belden 8760 or standard CAT5e). Twist the A, B, and Z signals with their respective ground returns. This ensures that induced noise is common-mode and gets rejected by the receiver.
- Shielding: Use a shielded cable and connect the drain wire to the Arduino's GND at one end only to prevent ground loops.
- Differential Line Drivers (RS-422): For cable runs exceeding 2 meters, single-ended 5V signals will degrade. Upgrade to an encoder with differential outputs (A, A-not, B, B-not) and use an RS-422 receiver IC (like the MAX3490) to translate the differential signal back to 5V single-ended logic for the Arduino. For a deeper dive into hardware hookup strategies, review SparkFun's Rotary Encoder Hookup Guide.
Summary Checklist for 2026 Builds
- UI Dials: Use mechanical encoders, enable
INPUT_PULLUP, and add 10kΩ/0.1µF hardware RC filters. - Motor Feedback: Use optical encoders, verify open-collector vs. push-pull outputs, add 4.7kΩ pull-ups if necessary, and route cables using twisted pairs.
- Software: Abandon
digitalRead()polling. Use hardware interrupts via the Paul Stoffregen Encoder library to guarantee zero missed steps.
By respecting the electrical characteristics of your specific encoder model and leveraging hardware-level interrupt decoding, your Arduino projects will achieve industrial-grade positional accuracy and reliability.