
The Architectural Shift: Native USB vs. Bridge Chips
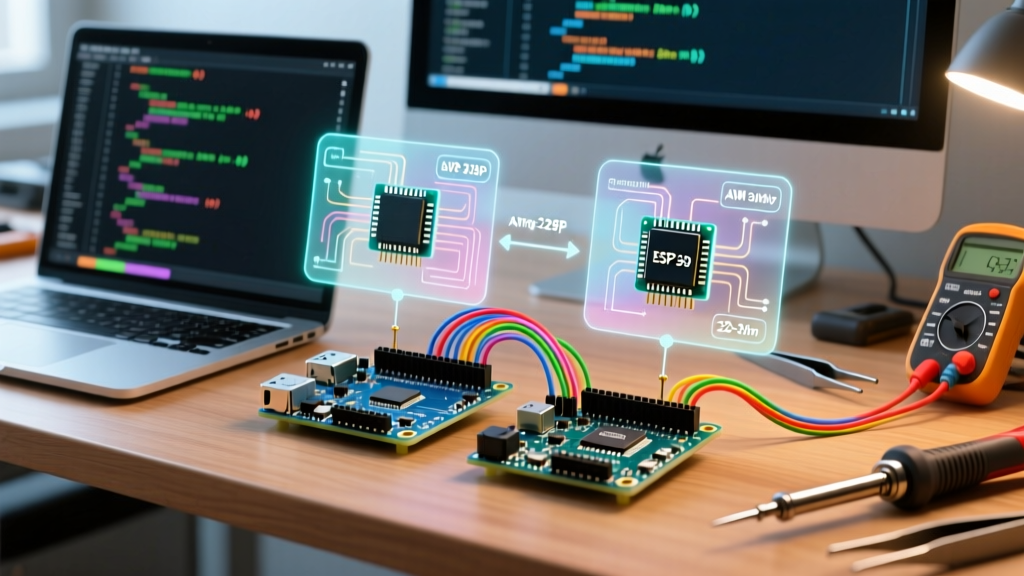
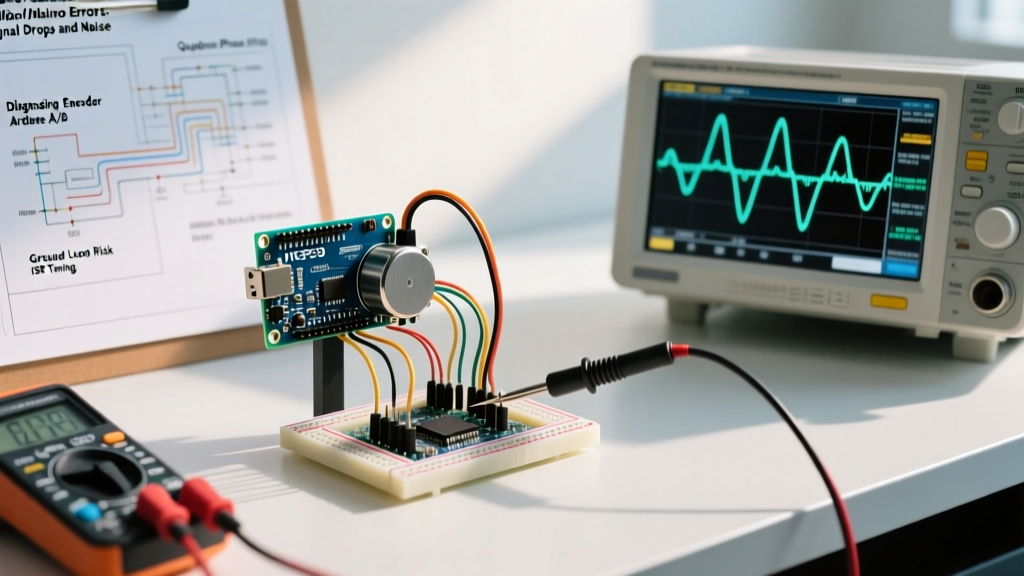
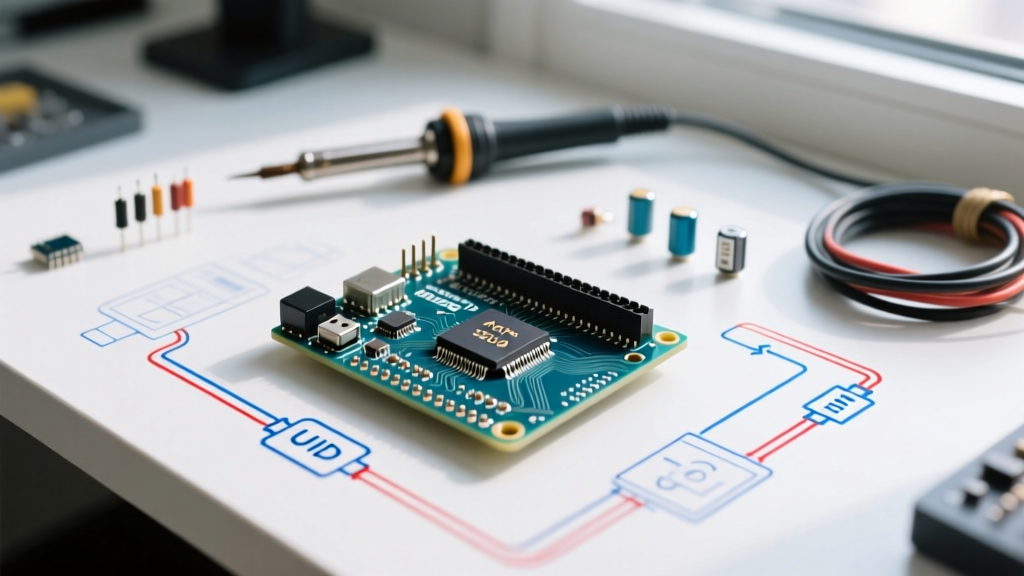
When makers discuss the Leonardo Arduino, they are usually referring to the fundamental architectural shift it introduced to the maker ecosystem: the integration of native USB communication directly into the primary microcontroller. Unlike the classic Arduino Uno, which relies on an ATmega328P for logic and a secondary ATmega16U2 chip to bridge USB-to-Serial, the Leonardo utilizes the ATmega32U4. This single-chip solution routes the USB D+ and D- data lines directly into the main MCU.
This architectural decision drastically changes how the board interacts with a host PC. Because the microcontroller handles the USB stack natively, it can emulate low-level USB devices without requiring custom firmware on a secondary bridge chip. According to the official Microchip/Atmel ATmega32U4 datasheet, the chip features a built-in USB 2.0 full-speed controller, making it a powerhouse for Human Interface Device (HID) projects like custom macro pads, sim-racing rigs, and accessibility controllers.
Expert Insight: The elimination of the bridge chip not only reduces the component count and BOM (Bill of Materials) cost but also removes the latency and bandwidth bottlenecks inherent in serial-to-USB bridge conversions. The ATmega32U4 speaks USB natively.
The Porting Traps: Serial and I2C Routing Differences
The most common failure mode for developers migrating from an Uno to a Leonardo Arduino is misunderstanding how hardware peripherals are mapped. The ATmega32U4 handles serial communication and I2C routing very differently than the ATmega328P, leading to silent failures if you simply copy-paste Uno sketches.
The Serial vs. Serial1 Distinction
On the Uno, the Serial object handles both the USB virtual serial port and the hardware UART on digital pins 0 (RX) and 1 (TX). On the Leonardo, these are split:
- Serial: Refers exclusively to the virtual USB CDC serial port (the COM port you see in your OS).
- Serial1: Refers to the hardware UART mapped to digital pins 0 (RX) and 1 (TX).
If you connect a GPS module or an ESP-01 to pins 0 and 1 and use Serial.begin(9600), your Leonardo will not communicate with the peripheral. You must explicitly use Serial1.begin(9600). Furthermore, because Serial is a virtual USB connection, it requires the host PC to open the port before data is sent. If you do not wrap your debug prints in an if (Serial) check, the Leonardo will hang or drop data while waiting for a USB handshake that may never come if running on a standalone USB power bank.
The I2C Pinout Trap
Another critical edge case involves the I2C bus. On the Uno, SDA is on A4 and SCL is on A5. On the Leonardo, SDA is on Digital Pin 2, and SCL is on Digital Pin 3. While Arduino eventually added a dedicated I2C header at the bottom edge of the Leonardo PCB to ensure shield compatibility, hardwiring a sensor directly to A4/A5 on a Leonardo will result in a dead bus. Always use the Wire library without specifying pins, or physically route your I2C sensors to D2 and D3.
Native HID Emulation: Keyboards, Mice, and Absolute Positioning
The killer feature of the Leonardo Arduino is its ability to act as a native HID device. Using the built-in Arduino Keyboard and Mouse libraries, the board can inject keystrokes and mouse movements directly into the host operating system at the BIOS/UEFI level, completely bypassing the need for custom drivers.
| Feature | ATmega328P (Uno) | ATmega32U4 (Leonardo) |
|---|---|---|
| USB Architecture | Bridge (ATmega16U2) | Native USB Controller |
| HID Emulation | Requires complex bridge reflashing | Native via Keyboard.h / Mouse.h |
| Bootloader Access | Hardware reset button | Software 1200-bps touch |
| Flash Memory | 32 KB (0.5 KB bootloader) | 32 KB (4 KB bootloader) |
| PWM Channels | 6 | 7 |
For projects requiring absolute mouse positioning (such as mapping a joystick axis directly to a screen coordinate rather than relative movement), the standard Mouse.move() library is insufficient because it only supports relative deltas. Advanced makers leverage the ATmega32U4's native USB descriptors by modifying the HID.cpp core files to define an Absolute Digitizer HID report descriptor, allowing the Leonardo to act as a graphics tablet or touchscreen emulator.
2026 Market Reality: The Legacy Board and the Pro Micro Clone
As of 2026, the full-sized, official Arduino Leonardo board is largely considered a legacy product within Arduino's primary lineup, having been superseded in many educational kits by the Nano series and the Uno R4. Finding a brand-new, official full-sized Leonardo often requires purchasing from third-party marketplace sellers at inflated prices ranging from $30 to $45.
However, the architecture of the Leonardo is more alive than ever. The ATmega32U4 chip was shrunk down into the Pro Micro form factor. As detailed in the SparkFun Pro Micro Hookup Guide, these 32U4-based clones are the undisputed kings of the custom mechanical keyboard and macro-pad community. In 2026, high-quality ATmega32U4 Pro Micro clones with USB-C ports and integrated ESD protection can be sourced for $8 to $14. When you buy a 'Leonardo' today, you are almost always buying a Pro Micro variant running the exact same Leonardo bootloader and core logic.
Critical Edge Case: The 'HID Brick' and 1200-bps Recovery
The most notorious failure mode unique to the Leonardo Arduino is the 'HID Brick.' This occurs when a user uploads a sketch that floods the host PC with HID commands immediately upon boot, without any physical trigger or delay.
For example, if your loop() contains Keyboard.print('A'); with no delay, the Leonardo will begin spamming the 'A' key the millisecond it receives power. The host OS will become overwhelmed, the USB stack may freeze, and the Arduino IDE will be unable to establish the serial handshake required to upload a corrected sketch. Because the USB port is native, a crashed USB stack means the COM port disappears entirely from your device manager. The board appears 'bricked.'
Step-by-Step Recovery Protocol
Unlike the Uno, which has a dedicated hardware reset button tied to the bridge chip, the Leonardo relies on a software-triggered bootloader. To recover a flooded Leonardo, you must use the 1200-bps touch method:
- Prepare the IDE: Open your corrected sketch in the Arduino IDE and click 'Upload'. The IDE will begin compiling.
- Open Serial Monitor: While the sketch is compiling, open the IDE Serial Monitor and set the baud rate dropdown to 1200 baud.
- Execute the Touch: The moment the IDE status bar changes from 'Compiling' to 'Uploading', quickly open and close the Serial Monitor. (Alternatively, use a terminal command like
stty -F /dev/ttyACM0 1200on Linux). - The Bootloader Catch: Opening a serial connection at exactly 1200 bps is a hardcoded signal to the ATmega32U4 bootloader to halt the user sketch, reset the USB stack, and enter programming mode for exactly 8 seconds.
- Upload Success: The IDE will catch the newly revived bootloader port (which often re-enumerates as a different COM port number) and flash the fixed code.
To prevent this edge case entirely, always implement a physical safety switch or a mandatory 3-second delay() at the very start of your setup() function when developing HID sketches. This gives the USB stack time to enumerate and provides a window to abort the sketch before the HID flood begins.
Summary: When to Specify the 32U4
The Leonardo Arduino architecture remains an essential tool in the maker's arsenal. While it requires a steeper learning curve regarding serial routing and I2C pinouts compared to the Uno, its native USB capabilities are irreplaceable for low-latency HID projects, custom flight simulator panels, and secure authentication tokens. By understanding the nuances of the ATmega32U4's memory map and bootloader behavior, developers can harness its full potential without falling victim to its unique edge cases.