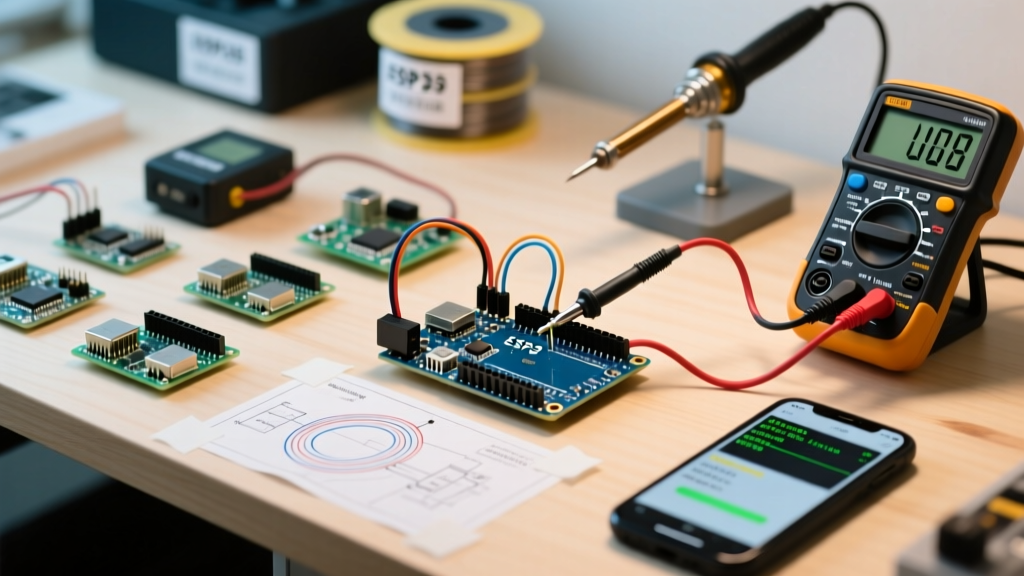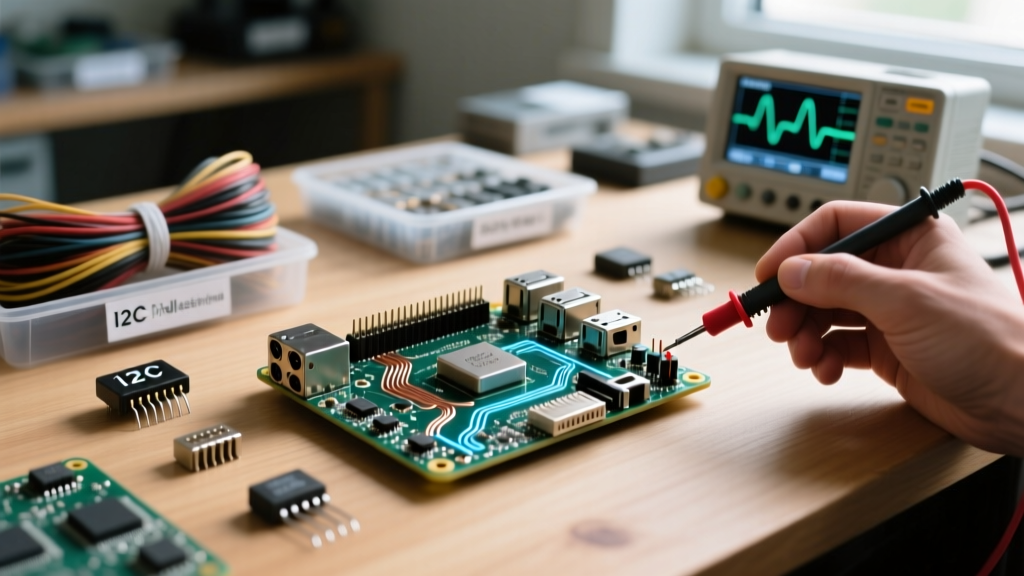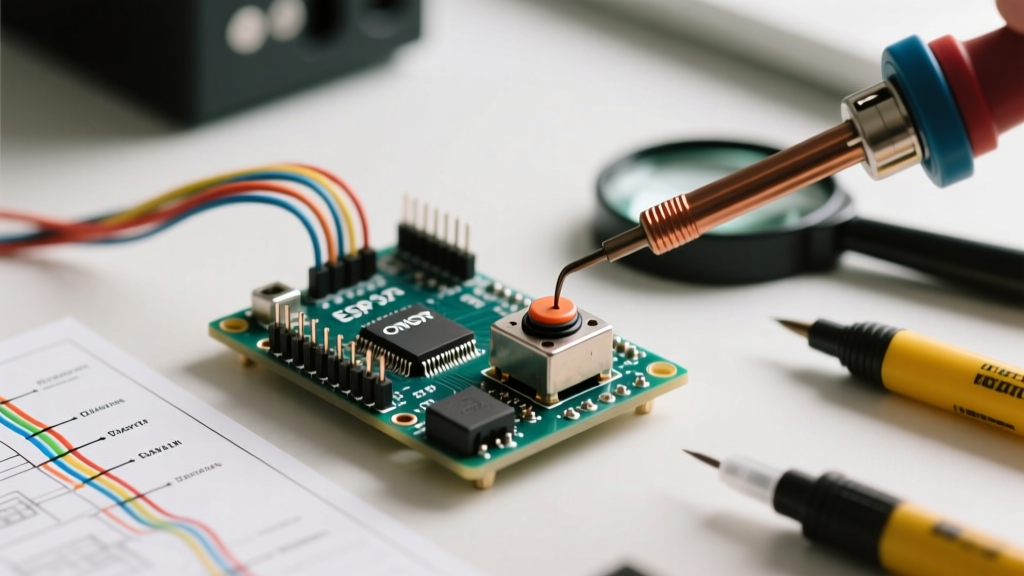

The 'Arduino Botton' Dilemma: Why Stock Switches Fail
If you have found yourself searching for an Arduino botton replacement after your latest project started double-triggering or failing to register inputs, you are not alone. The ubiquitous 6x6x5mm tactile switch included in almost every beginner maker kit is a fantastic starting point, but it is fundamentally flawed for long-term or production-grade deployments. As we move through 2026, the maker ecosystem has matured, and relying on sub-par mechanical contacts is no longer necessary.
These cheap, unbranded tactile switches typically suffer from three critical failure modes:
- Severe Contact Bounce: Micro-welding and mechanical vibration cause the contacts to flutter for 15ms to 30ms upon actuation, resulting in phantom multi-presses.
- Oxidation and Environmental Ingress: Open-frame designs allow dust, moisture, and flux residue to accumulate on the phosphor bronze contacts, leading to high resistance and missed inputs.
- Low Cycle Lifespan: Generic switches are often rated for only 10,000 to 50,000 actuations. In a high-use environment like a macro pad or industrial controller, they will fail within months.
This migration guide will walk you through upgrading your inputs from basic tactile switches to robust, debounce-friendly, and advanced solid-state alternatives.
The 2026 Switch Migration Matrix
When planning your hardware upgrade, you must match the switch technology to your project's environmental and electrical requirements. Below is a comparison of the most reliable upgrade paths available today.
| Switch Technology | Recommended Model / Standard | Avg. Bounce Time | Lifespan (Cycles) | Approx. Cost (2026) | Best Use Case |
|---|---|---|---|---|---|
| Premium Tactile | Omron B3F Series | < 5ms | 100,000 - 3,000,000 | $0.15 - $0.35 | General PCBs, consumer electronics |
| Mechanical Keyboard | Kailh BOX White / Cherry MX | ~ 2ms (with wiper) | 50,000,000+ | $0.25 - $0.60 | Macro pads, heavy-use UI panels |
| Capacitive Touch | TTP223 Module / ESP32 Native | 0ms (Solid State) | Infinite | $0.10 - $0.80 | Sealed enclosures, wet environments |
| Piezo Electric | Picoteq 20mm Piezo | 0ms (Solid State) | Infinite | $1.50 - $3.00 | Vandal-proof, extreme temperature |
Migration Path 1: Premium Mechanical Tactile Switches
If your project requires the physical feedback of a tactile bump but demands reliability, migrating to an industry-standard tactile switch from a reputable manufacturer like Omron, C&K, or Alps Alpine is the most straightforward upgrade.
Why the Omron B3F Series?
The Omron B3F series is the gold standard for board-mounted tactile switches. Unlike generic clones, the B3F utilizes a laser-welded stainless steel snap dome that provides a crisp, consistent actuation force (typically 1.57N or 2.55N) and drastically reduces contact bounce to under 5 milliseconds. Furthermore, they offer IP67-rated sealed variants that can withstand wave soldering and harsh environmental exposure without contact oxidation.
Migration Steps:
- Desolder the existing 6x6mm switch. Ensure you use flux and a desoldering wick to clear the through-holes completely.
- Verify the footprint. The Omron B3F shares the exact same 4-pin through-hole footprint as generic 6x6mm switches, making it a drop-in replacement.
- Solder at 260°C for a maximum of 3 seconds to prevent thermal damage to the internal polymer housing.
Migration Path 2: Mechanical Keyboard Switches (Cherry MX Footprint)
For projects requiring heavy daily actuation—such as custom MIDI controllers, stream decks, or industrial control panels—migrating to full-travel mechanical switches is highly recommended. The standard Cherry MX footprint (14mm x 14mm mounting square) is universally supported by 3D printed enclosures and custom PCBs.
In 2026, the Kailh BOX series is a favorite among advanced makers. The Kailh BOX White, for instance, features an IP56 waterproof and dustproof rating because the actual electrical contact is enclosed in a tiny sealed silicon box, completely isolated from the stem. This eliminates the primary failure point of traditional mechanical switches: contact corrosion.
Migration Path 3: Solid-State Capacitive Touch
Mechanical switches will always suffer from eventual physical wear. If your project is housed in a sealed, waterproof enclosure, or if you need a completely flush UI, capacitive touch is the ultimate migration path.
Using the TTP223 vs. Native MCU Pins
For standard ATmega328P (Arduino Uno/Nano) boards, you will need a dedicated capacitive touch IC like the TTP223. These modules output a clean, debounced digital HIGH signal when a finger alters the capacitance of the sensing pad. They cost roughly $0.15 per channel in bulk.
However, if you are upgrading your entire microcontroller ecosystem to an ESP32-S3 or ESP32-C6, you can eliminate external modules entirely. These modern MCUs feature native, hardware-accelerated touch sensors built directly into specific GPIO pins. By utilizing the ESP32's internal touch peripheral, you can read capacitance changes with microsecond precision, completely bypassing mechanical bounce.
Tackling Contact Bounce: Hardware vs. Software
No matter which mechanical switch you migrate to, contact bounce is a physical reality of metal-on-metal connections. You must implement debouncing. According to the Bounce2 library documentation, failing to debounce can cause a single button press to register as dozens of state changes.
Hardware Debouncing (The RC Filter)
For mission-critical applications where software latency is unacceptable (e.g., high-speed interrupt routines), use a hardware RC low-pass filter.
Expert Calculation: By placing a 10kΩ resistor in series with the switch and a 0.1µF (100nF) ceramic capacitor in parallel with the MCU input to ground, you create a time constant ($\tau$) of 1 millisecond. This filters out the high-frequency micro-bounces while allowing the DC signal to pass cleanly to the microcontroller.
Software Debouncing (The Bounce2 Library)
For 90% of general-purpose Arduino projects, software debouncing is preferred as it saves BOM costs and board space. The Bounce2 library is the modern standard.
#include <Bounce2.h>

Bounce debouncer = Bounce();

void setup() {
  pinMode(2, INPUT_PULLUP);
  debouncer.attach(2);
  debouncer.interval(20); // 20ms debounce window
}

void loop() {
  debouncer.update();
  if (debouncer.fell()) {
    // Execute single, clean trigger
  }
}
Pull-Up Resistor Best Practices for Upgraded Setups
When migrating to higher-quality switches, you must also re-evaluate your pull-up resistor strategy. The official Arduino pinMode reference notes that enabling INPUT_PULLUP activates the microcontroller's internal resistors. On the ATmega328P, these internal resistors are nominally 35kΩ (ranging from 20kΩ to 50kΩ).
While 35kΩ is sufficient for short wire runs in benign environments, it is highly susceptible to Electromagnetic Interference (EMI) in environments with motors, relays, or long cable runs.
- The Fix: Disable the internal pull-up and install an external 4.7kΩ to 10kΩ metal film resistor tied to VCC (5V or 3.3V). This lowers the impedance of the input line, making it significantly harder for stray EMI to induce false voltage spikes that the MCU might interpret as a button press.
Frequently Asked Questions (FAQ)
Can I use a generic 'Arduino botton' library for mechanical switches?
There is no official library named 'botton'. The term is a common misspelling of 'button'. You should always use the universally supported Bounce2 or ezButton libraries, which are optimized for the specific electrical characteristics of mechanical and tactile switches.
Do capacitive touch switches work through thick 3D printed enclosures?
Standard TTP223 modules can reliably sense through up to 3mm of PLA or PETG plastic. If you are printing an enclosure, design a localized thinned section (0.8mm to 1.5mm thick) directly over the touch pad to ensure consistent sensitivity and prevent missed inputs.
What is the maximum wire length for a remote mechanical switch?
For unshielded wire using standard 5V logic, keep runs under 30cm to avoid capacitance and EMI issues. If you must route a switch over 1 meter away from the Arduino, migrate to an I2C GPIO expander (like the MCP23017) located near the switch, or use a shielded twisted-pair cable with a localized hardware RC debounce filter.