
The Hidden Bottleneck in DIY CNC Machining
When makers build their first Arduino CNC router, the focus is almost entirely on mechanical rigidity: linear rails, lead screws, and spindle wattage. However, the most frustrating delays rarely stem from the hardware's cutting speed. They come from a fragmented, unoptimized digital workflow. Buffer underruns, USB disconnects, conservative feed rates, and manual toolpath tweaking can turn a 20-minute carve into a two-hour ordeal.
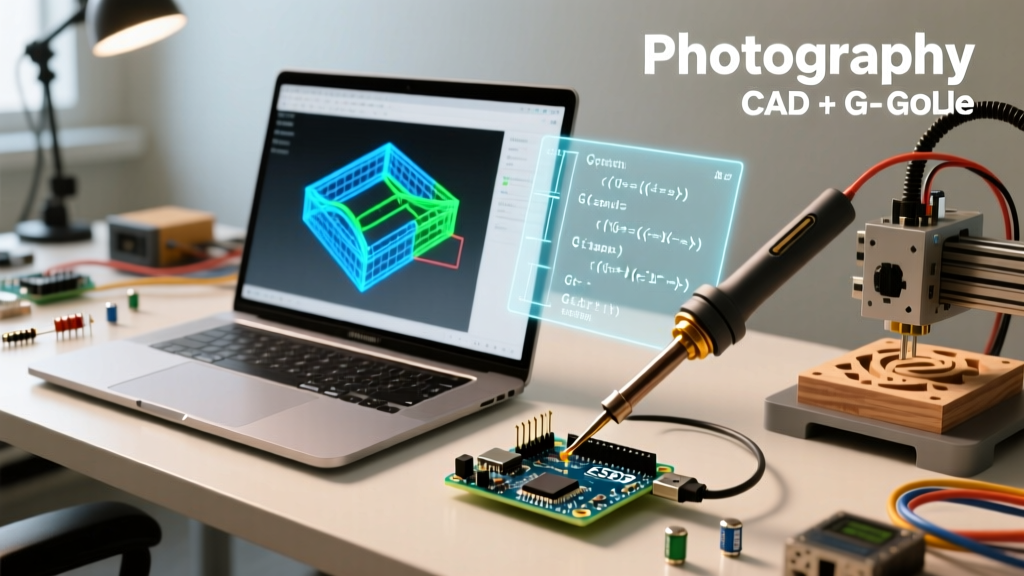
Optimizing your Arduino CNC workflow means treating the entire pipeline—from CAD modeling and CAM toolpath generation to G-code streaming and GRBL firmware configuration—as a single, cohesive system. In 2026, with 8-bit microcontrollers still powering thousands of DIY machines, mastering this pipeline is the difference between a machine that constantly demands babysitting and one that runs autonomously and efficiently.
Phase 1: CAD/CAM Software and Post-Processor Selection
The workflow begins before a single line of G-code is generated. The choice of CAM software and, more importantly, the post-processor dictates how efficiently your Arduino can parse the instructions.
Selecting the Right CAM Stack
- Fusion 360: The industry standard for complex 3D contours and adaptive clearing. However, its default G-code output can be bloated with unnecessary arc-fitting commands that choke the Arduino's serial buffer.
- Carbide Create: Excellent for 2.5D routing and sign-making. It generates exceptionally clean, lightweight G-code that is highly optimized for GRBL-based controllers.
- Easel / Inventables: Best for beginners, but severely limits workflow optimization due to cloud-based processing and locked feed/speed parameters.
The Post-Processor Trap
If you are using Fusion 360 or FreeCAD, you must select the correct post-processor. A common mistake is using the Mach3 or LinuxCNC post-processor for an Arduino CNC setup. These generate M-codes and G-codes (like G61 exact stop mode or complex canned cycles) that GRBL simply ignores or misinterprets, leading to paused workflows and machine errors.
Workflow Rule: Always use the dedicated grbl.cps post-processor in Fusion 360. It strips out unsupported canned cycles, optimizes arc commands (G2/G3), and formats line numbers to prevent serial buffer overflow.
For deep dives into calculating the right chip load and feed rates for your specific end mills, CNC Cookbook's guide on CNC router speeds and feeds remains the definitive reference for preventing tool breakage and reducing cycle times.
Phase 2: GRBL Configuration for Maximum Throughput
GRBL 1.1 is the undisputed firmware for the classic Arduino Uno + CNC Shield V3 setup. Out of the box, GRBL is configured for extreme safety, not speed. To optimize your workflow, you must tune the $ settings to match your machine's physical capabilities. Leaving these at default values forces your machine to crawl during rapid transit moves (G0), wasting minutes per job.
Optimized GRBL Settings Matrix (NEMA 23 Build)
The following table outlines optimized settings for a typical rigid NEMA 23 DIY router (e.g., a custom OpenBuilds or PrintNC frame) using TR8*8 lead screws or 2GT belts.
| Setting | Default | Optimized Value | Function & Workflow Impact |
|---|---|---|---|
$110, $111 |
1000 | 8000 - 12000 | X/Y Max Rate (mm/min). Drastically reduces time spent on non-cutting rapid moves. |
$112 |
500 | 2500 | Z Max Rate. Keep lower than X/Y due to gravity and lead screw pitch limitations. |
$120, $121 |
200 | 500 - 800 | X/Y Acceleration (mm/sec^2). Higher values allow the machine to reach top speed faster on short segments. |
$11 |
0.010 | 0.005 | Junction Deviation (mm). Lowering this forces GRBL to calculate smoother arcs, preventing flat-spotting on circles without stalling the planner buffer. |
$130, $131, $132 |
200 | Machine Specific | Max Travel. Setting exact limits enables safe soft-limits ($20=1), eliminating the need to manually baby-sit homing crashes. |
For a complete breakdown of how the Arduino's ATmega328P handles these kinematic calculations, refer to the official GRBL GitHub Wiki, which details the exact math behind the planner buffer and junction deviation.
Phase 3: Hardware Bottlenecks and Stepper Driver Tuning
Your G-code might be optimized, but if your stepper drivers are missing steps at high speeds, your workflow will be interrupted by ruined workpieces and forced restarts.
Upgrading from A4988 to TMC2209
The standard CNC Shield V3 ships with A4988 or DRV8825 drivers. These are loud, prone to thermal throttling, and struggle with the high step-pulse frequencies required for rapid moves above 8,000 mm/min.
The 2026 Standard: Swap them for TMC2209 drivers (approximately $6 to $9 each). The TMC2209 features StealthChop technology for silent operation and, more importantly, handles high-speed microstepping without the severe torque drop-off seen in older drivers. This allows you to confidently increase your $110 max feed rates without fearing skipped steps.
Precision Vref Tuning
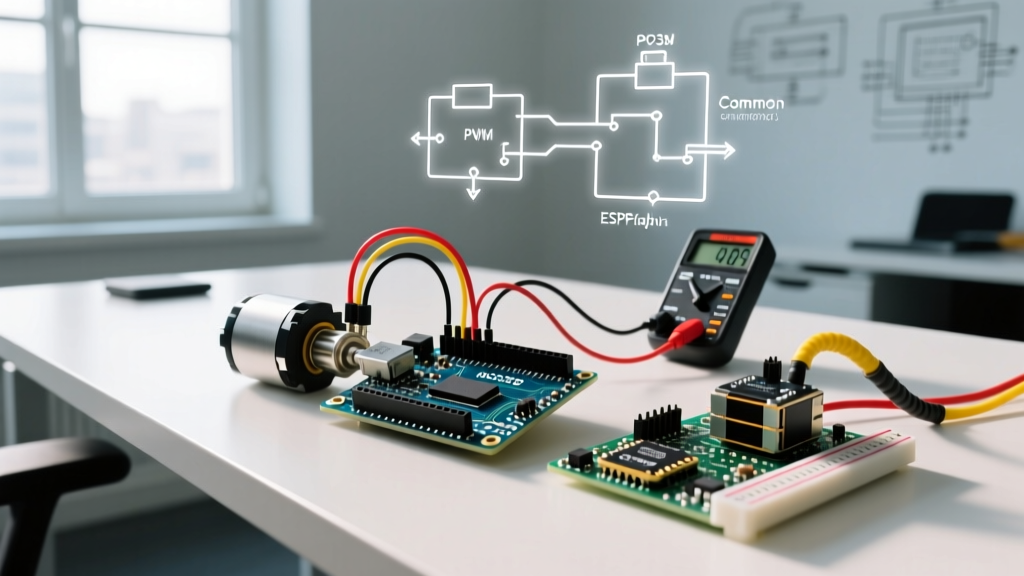
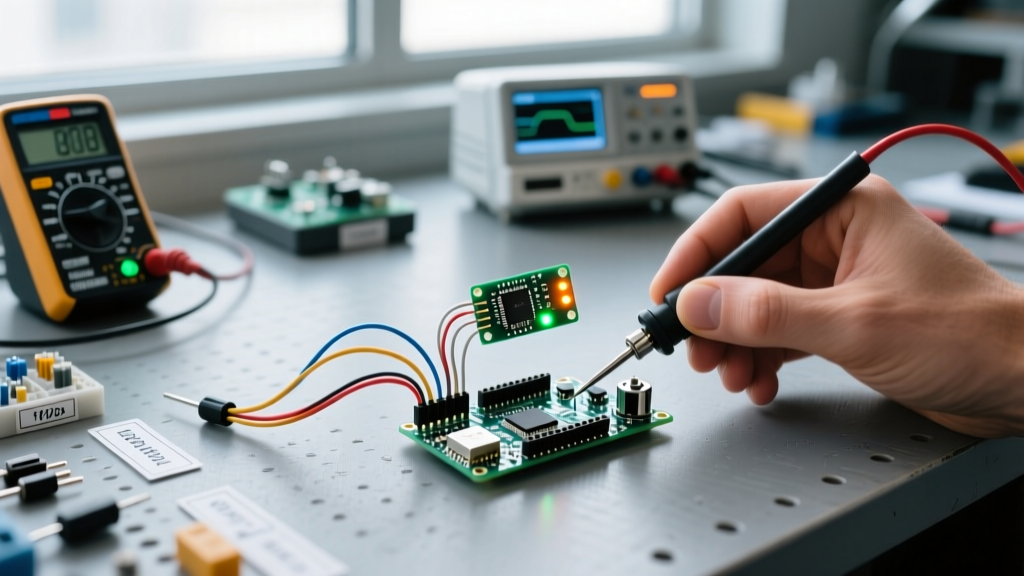
A major workflow killer is setting the stepper current via the potentiometer 'by ear'. You must use a multimeter to set the exact Vref (Reference Voltage). The formula for the TMC2209 is:
Vref = (Imax * 8 * Rsense) / 2
For a standard 2.0A NEMA 23 motor with a 0.11-ohm sense resistor on the driver:
- Imax = 2.0A
- Vref = (2.0 * 8 * 0.11) / 2 = 0.88V
Set your multimeter to DC voltage, place the black probe on the CNC shield ground, and the red probe on the tiny silver adjustment screw on the TMC2209. Dial it precisely to 0.88V. This eliminates mid-job thermal shutdowns and guarantees repeatable accuracy.
Phase 4: G-Code Streaming and Buffer Starvation
The Arduino Uno has a minuscule serial RX buffer (128 bytes). If your G-code sender pushes data faster than the Arduino can parse it, or if a single line of G-code exceeds the buffer limit, the machine will pause, stutter, or leave dwell marks on your workpiece.
Choosing the Right Sender Software
Abandon outdated senders like the original Candle or Universal Gcode Sender (UGS) Classic. Modern workflows demand advanced buffer management.
- UGS Platform (Universal Gcode Sender): The best all-rounder. It features an advanced visualizer, real-time feed rate overrides (crucial for tuning speeds on the fly without pausing the job), and intelligent serial buffering.
- OpenBuilds CONTROL: Highly optimized for GRBL, featuring a clean UI, built-in probing routines for Z-zeroing, and excellent handling of macro buttons to automate repetitive workflow tasks like tool changes.
- bCNC: Ideal for advanced users who need to perform auto-leveling on uneven PCB blanks. It probes the surface and dynamically warps the G-code Z-heights on the fly.
Phase 5: Eliminating EMI and USB Disconnects
Nothing destroys a workflow faster than a machine that randomly stops at 85% completion due to a USB disconnect. This is almost always caused by Electromagnetic Interference (EMI).
The Spindle Noise Problem
Most DIY Arduino CNC builds use a brushed trim router, like the popular Makita RT0701C or a cheap 775 DC spindle. The carbon brushes in these motors generate massive amounts of high-frequency electrical noise. This noise travels back through the spindle mount, into the machine frame, and directly into the Arduino's USB ground, causing the ATmega16U2 (the USB-to-Serial chip) to drop the connection.
The $15 Workflow Saver: USB Isolation
While ferrite beads and shielded cables help, the ultimate fix is galvanic isolation. Purchase an ADUM3160-based USB isolator (typically $12 to $18 online). This small dongle sits between your PC and the Arduino, physically breaking the electrical ground loop while allowing data to pass via magnetic coupling. Implementing this single hardware upgrade will reduce your USB disconnect rate from weekly occurrences to near zero, saving hours of scrapped material and frustration.
Advanced Workflow: The FluidNC Migration Path
If you have optimized your GRBL settings, upgraded your drivers, and isolated your USB, but you still find the 3-axis, 115200-baud limit of the Arduino Uno restrictive, it is time to look at FluidNC.
FluidNC is a modern, highly optimized firmware that runs on the ESP32 microcontroller (a $8 dev board). It is the spiritual successor to GRBL for advanced makers. Migrating to an ESP32-based controller board (like the 6-pack or MKS DLC32) unlocks game-changing workflow optimizations:
- WiFi / WebUI Streaming: Eliminate the USB cable entirely. Upload and stream G-code over WiFi directly from a tablet or laptop, completely bypassing PC-based USB EMI issues.
- Real-Time Overrides: FluidNC handles feed rate and spindle speed overrides smoothly without choking the planner buffer.
- Multi-Axis Support: Seamlessly add a 4th axis (rotary) or dual Y-axis motors without needing complex mechanical linkages or slave drivers.
For makers ready to make the leap, the FluidNC GitHub repository provides comprehensive documentation on porting your existing GRBL machine configurations to the ESP32 architecture.
Summary: The Optimized Pipeline
An optimized Arduino CNC workflow is not about buying a faster spindle; it is about removing digital and electrical friction. By utilizing the correct GRBL post-processor, tuning junction deviation and acceleration parameters, upgrading to TMC2209 drivers with precise Vref tuning, and eliminating EMI via USB isolation, you transform your machine from a finicky hobby project into a reliable, production-ready manufacturing tool.