
The RGB LED in Arduino Error Diagnosis Guide
Integrating an RGB LED in Arduino projects seems like a trivial task until you upload your sketch and the LED outputs muddy brown instead of vibrant purple, or only the red channel illuminates. Whether you are using a standard 5mm through-hole component like the Kingbright WP154A4SURKQGZW or an addressable WS2812B NeoPixel ring, color mixing and wiring errors are the most common hurdles makers face. In 2026, with the widespread adoption of the Arduino Uno R4 Minima (retailing around $27.50) and its updated PWM architecture, legacy wiring habits can lead to unexpected behavior. This guide bypasses basic tutorials and dives straight into advanced error diagnosis, providing exact multimeter tests, resistor calculations, and architectural fixes for the most persistent RGB LED failures.
Diagnostic Matrix: Symptom to Solution
Before tearing apart your breadboard, cross-reference your specific failure mode with this diagnostic matrix. This table isolates the exact hardware or software fault causing your RGB LED in Arduino circuits to malfunction.
| Observed Symptom | Probable Root Cause | Multimeter Test / Verification | Hardware / Software Fix |
|---|---|---|---|
| Only Red illuminates; Green/Blue are completely dead. | Single shared resistor on the common pin (Current Hogging). | Measure voltage across Green/Blue anodes while Red is active. It will read near 0V. | Remove shared resistor. Place individual resistors on each color leg. |
| Colors are inverted (e.g., code says Red, LED shows Cyan). | Common Anode LED treated as Common Cathode in code. | Diode test mode: Black probe on longest pin, Red on others. If it lights up, it is Common Anode. | Invert software logic: use analogWrite(pin, 255 - value). |
| Colors snap from OFF to ON; no fading or mixing. | Wired to digital-only pins instead of PWM-capable pins. | Check silkscreen on Arduino board. Pins 4, 7, 8, 12, 13 lack the ~ symbol. |
Rewire to PWM pins (3, 5, 6, 9, 10, 11 on Uno R3/R4). |
| LED flickers violently or first pixel dies on WS2812B. | Missing data-line resistor or voltage spike on VCC. | Oscilloscope probe on data line shows massive ringing/overshoot on rising edges. | Add 300-500Ω resistor on data line; add 1000µF cap across VCC/GND. |
Failure Mode 1: The "Current Hogging" Resistor Trap
The most frequent hardware error when wiring a standard 4-pin RGB LED is using a single current-limiting resistor on the common cathode or anode pin. While this saves components on the breadboard, it violates basic Kirchhoff's laws and guarantees color mixing failure.
The Physics of Current Hogging
Inside a standard RGB LED package, the red, green, and blue diodes have different forward voltages (Vf). For a typical Kingbright 5mm RGB LED:
- Red Vf: ~2.0V
- Green Vf: ~3.2V
- Blue Vf: ~3.2V
If you attempt to mix Red and Blue to make Purple, the Red diode (with its lower 2.0V forward voltage) will clamp the voltage at the common node. The Blue diode, requiring 3.2V to turn on, will receive insufficient voltage and remain completely dark. The Red channel effectively "hogs" the current.
The Correct Resistor Calculation
You must use three independent resistors. Assuming a 5V logic supply from your Arduino and a target forward current (If) of 20mA (0.02A) per channel, use Ohm's Law R = (Vcc - Vf) / If:
- Red Resistor: (5V - 2.0V) / 0.02A = 150Ω
- Green Resistor: (5V - 3.2V) / 0.02A = 90Ω (Use standard 100Ω)
- Blue Resistor: (5V - 3.2V) / 0.02A = 90Ω (Use standard 100Ω)
Expert Tip: If you are driving high-power surface-mount RGB LEDs like the Cree CLVBA-FKA, standard 1/4W through-hole resistors will overheat and fail. You must upgrade to 1/2W or 1W resistors, or better yet, use a dedicated constant-current LED driver IC like the TLC5940.
Failure Mode 2: Polarity Confusion (Common Anode vs. Cathode)
Many makers assume the longest leg of a 4-pin RGB LED is always the common cathode (ground). While true for many reputable brands, cheap bulk-imported LEDs from online marketplaces frequently invert this standard, using the longest pin for the common anode (VCC). If you wire a Common Anode LED as a Common Cathode, your analogWrite(pin, 255) command will turn the LED off, and analogWrite(pin, 0) will turn it fully on.
The Definitive Multimeter Test
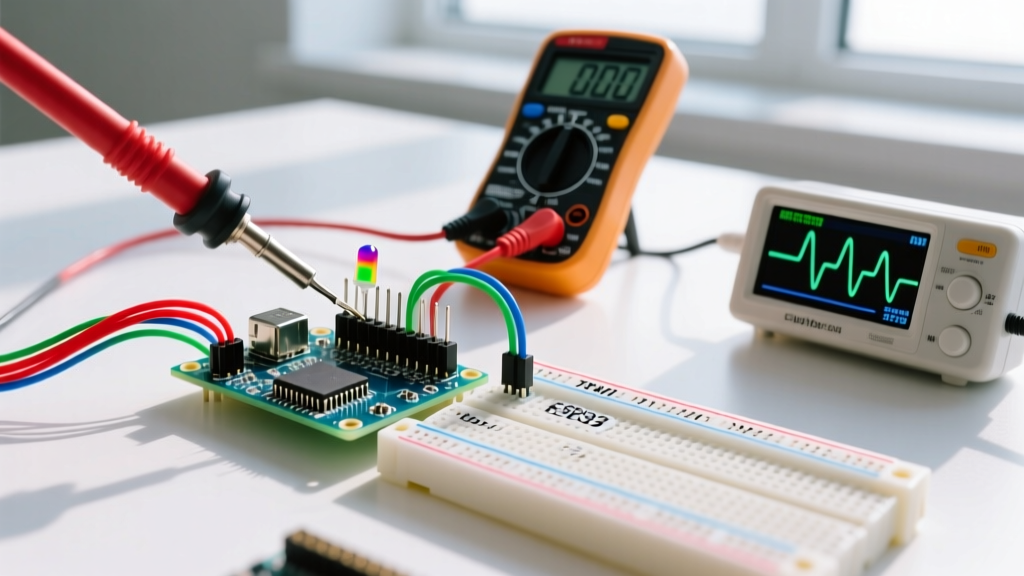
Stop guessing based on pin length. Use your digital multimeter's diode-test mode to map the pinout in seconds:
- Set the multimeter to the diode symbol.
- Place the Black (Common) probe on the suspected common pin.
- Touch the Red (Positive) probe to the other three pins one by one.
- If the individual colors light up, you have a Common Cathode LED.
- If nothing happens, swap the probes: Red on the common pin, Black on the others. If they light up now, it is a Common Anode LED.
For deeper understanding of LED internal structures and polarity testing, refer to the SparkFun LED Tutorial, which provides excellent visual breakdowns of diode junctions.
Failure Mode 3: The PWM Pin Assignment Trap
To mix colors smoothly, you must use Pulse Width Modulation (PWM) via the analogWrite() function. A classic diagnostic error is wiring the RGB channels to digital pins that lack hardware PWM timers. On the classic Arduino Uno R3, pins 4, 7, 8, 12, and 13 are strictly digital. If you wire your Blue channel to pin 8 and use analogWrite(8, 128), the Arduino will simply output a solid HIGH (5V) because the pin cannot simulate an analog voltage. The result? Your LED snaps to 100% brightness instead of dimming.
Always verify the ~ silkscreen next to the pin header. For comprehensive details on how hardware timers generate these signals, consult the official Arduino analogWrite() documentation.
Failure Mode 4: Addressable WS2812B Data Line Errors
If your project uses addressable RGB LEDs (like Adafruit NeoPixels based on the WS2812B chip), standard resistor and polarity rules do not apply. These ICs require a highly specific 800kHz data signal. The most common errors here are catastrophic first-pixel burnout and random color flickering.
The Missing 300-500Ω Data Resistor
The data input (DIN) pin of the first WS2812B in a chain is highly sensitive to voltage spikes and ringing caused by capacitive coupling in long wires. If you connect an Arduino GPIO pin directly to DIN without a 300Ω to 500Ω series resistor, the initial inrush current and signal reflections can permanently destroy the data-in circuitry of the first LED. Once the first pixel dies, it breaks the daisy-chain, leaving the rest of the strip dark or flickering erratically.
The Power Supply Decoupling Capacitor
When an RGB LED in Arduino setups shifts from black to full-white, it draws roughly 60mA per pixel. A strip of 60 LEDs suddenly turning white will yank 3.6 Amps from the power rail in microseconds. This massive transient voltage drop causes the Arduino's brown-out detector to reset the MCU, or causes the LEDs to interpret the voltage sag as corrupted data, resulting in random "rainbow" glitches. You must place a 1000µF electrolytic capacitor directly across the VCC and GND rails at the start of the LED strip to act as a local energy buffer. The Adafruit NeoPixel Überguide mandates this capacitor and provides exact wiring schematics to prevent ground-loop data corruption.
Summary Diagnostic Checklist
Before concluding your RGB LED in Arduino build is defective, run through this final checklist:
- Resistors: Are there three separate resistors for standard LEDs? Are the values calculated for the specific Vf of each color?
- Polarity: Did you verify Common Anode vs. Common Cathode with a multimeter, rather than trusting the pin length?
- PWM: Are all three color channels wired to pins marked with the
~symbol? - Addressable Protection: If using WS2812B, is there a 300Ω resistor on the data line and a 1000µF capacitor on the power rails?
By applying these targeted diagnostic steps, you will eliminate 99% of the hardware and software errors that plague RGB LED integrations, ensuring your Arduino project outputs the exact colors your code intends.