
The Architecture of Raspberry Pi Wireless Networking
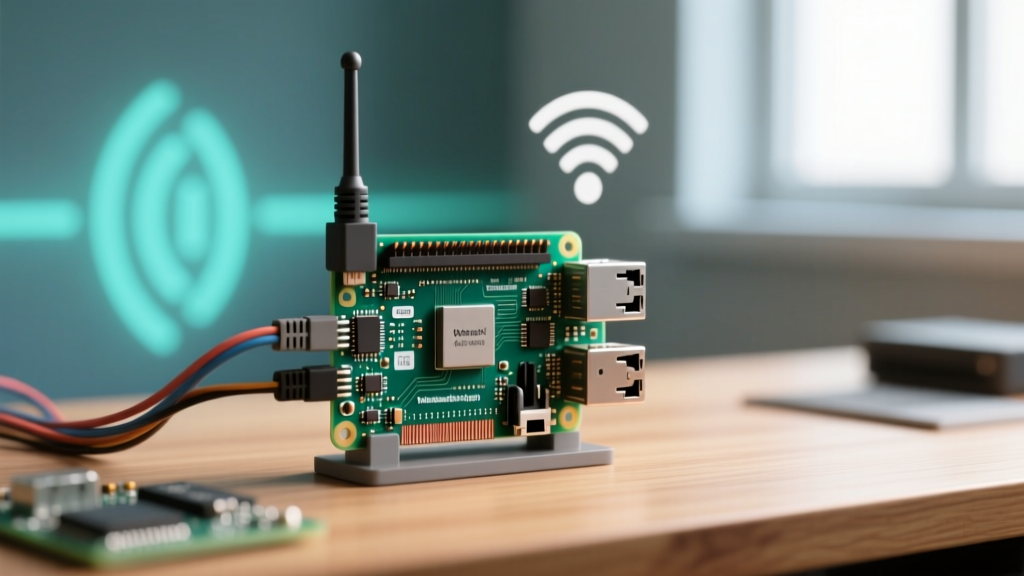
When building an IoT ecosystem, the Raspberry Pi often serves as the central nervous system—hosting MQTT brokers like Mosquitto, running Home Assistant, or acting as a local REST API server for your Arduino and ESP32 fleets. However, a reliable raspi wifi setup is the linchpin of this entire architecture. Unlike microcontrollers that use simplified AT commands or lightweight RTOS WiFi stacks, the Raspberry Pi runs a full Linux networking stack that has recently undergone massive structural changes.
With the release of Raspberry Pi OS Bookworm, the underlying network management shifted from the legacy dhcpcd and wpa_supplicant daemons to NetworkManager. Understanding this paradigm shift is critical for makers who rely on headless deployments, automated provisioning, and rock-solid uptime for their MCU gateways.
Headless vs. Desktop: Choosing Your Setup Method
The method you choose for your raspi wifi setup depends entirely on your deployment environment. Are you sitting at a monitor with a mouse, or are you SSH-ing into a Pi Zero 2 W buried in an electrical cabinet?
The Modern Standard: NetworkManager and nmcli
For headless setups and production gateways, the nmcli (NetworkManager Command Line Interface) tool is now the undisputed standard. NetworkManager handles connection prioritization, roaming, and IP assignment with far greater robustness than older tools.
To connect your Pi to a WPA2/WPA3 network via the terminal, use the following syntax:
sudo nmcli device wifi connect 'Your_MCU_Network_SSID' password 'Your_Secure_Password' name 'Gateway-WiFi'This command creates a persistent connection profile named 'Gateway-WiFi'. You can verify the connection state and signal strength by querying the active connections:
nmcli connection show --activeExpert Insight: If your MCU gateway needs to act as an Access Point for local ESP32 provisioning, NetworkManager handles this elegantly without third-party tools like hostapd. Simply set the IPv4 method to shared:
sudo nmcli connection add type wifi ifname wlan0 con-name 'Pi-AP' ssid 'MCU-Provisioning' ipv4.method shared wifi-sec.key-mgmt wpa-psk wifi-sec.psk 'provision123'The Legacy Fallback: wpa_supplicant.conf
If you are reading older tutorials from the electricalflux archives or other maker blogs, you will frequently encounter the wpa_supplicant.conf method. In older Raspberry Pi OS releases (Bullseye and earlier), dropping a wpa_supplicant.conf file into the /boot/ partition was the standard way to achieve headless WiFi configuration on first boot.
Warning: In modern Raspberry Pi OS (Bookworm and later), the /boot/firmware/ directory no longer parses this file by default because wpa_supplicant has been replaced by NetworkManager. If you are using an older OS for legacy compatibility, the syntax remains:
ctrl_interface=DIR=/var/run/wpa_supplicant GROUP=netdev
update_config=1
country=US

network={
    ssid="Legacy_MCU_Network"
    psk="SuperSecretPassword"
    key_mgmt=WPA-PSK
}
For new deployments, always default to the Raspberry Pi Imager's advanced settings (the gear icon) to inject NetworkManager configurations directly into the OS image before flashing.
Hardware Matrix: Selecting the Right Pi for MCU Gateways
Not all Raspberry Pi boards are created equal when it comes to wireless throughput and antenna design. When designing a gateway to handle telemetry from dozens of Arduino Nano 33 IoT or ESP32-C3 nodes, you must match the hardware to the RF environment.
| Model | WiFi Chipset | Bands Supported | Max Throughput | Best Gateway Use Case |
|---|---|---|---|---|
| Pi Zero 2 W | Cypress CYW43436 | 2.4GHz (802.11n) | ~72 Mbps | Low-power, remote MQTT forwarders; battery-backed sensor hubs. |
| Pi 4 Model B | Cypress CYW43455 | 2.4GHz & 5GHz (802.11ac) | ~433 Mbps | Standard Home Assistant hubs; local MQTT brokers for medium MCU fleets. |
| Pi 5 | Infineon CYW43455 | 2.4GHz & 5GHz (802.11ac) | ~433 Mbps | Heavy edge-computing; running local LLMs alongside MCU telemetry ingestion. |
As documented in the official Raspberry Pi networking documentation, the shift to 5GHz on the Pi 4 and Pi 5 is critical for makers. The 2.4GHz spectrum is notoriously crowded, and moving your Pi gateway to a 5GHz channel frees up the 2.4GHz airspace for your ESP8266 and ESP32 nodes, which are largely limited to 2.4GHz.
RF Physics and Real-World Troubleshooting
The most common failure mode in a raspi wifi setup is not a software misconfiguration, but a physical layer (PHY) RF interference issue. If your Pi is dropping packets or experiencing high latency when communicating with your microcontrollers, investigate the following hardware realities.
The USB 3.0 Broadband Noise Problem
If you are using a Raspberry Pi 4 or 5 with an external USB 3.0 SSD for database logging (e.g., InfluxDB for sensor data), you are likely generating massive RF noise. The Intel USB 3.0 Frequency Interference Paper extensively documents how unshielded USB 3.0 cables and connectors emit broadband noise that peaks directly in the 2.4GHz ISM band.
Maker Troubleshooting Rule: If your Pi Zero 2 W or Pi 4 experiences WiFi dropouts only when an external USB drive is writing data, you are experiencing USB 3.0 noise floor elevation. Fix this by using heavily shielded USB-C cables, wrapping the connector in copper tape, or forcing the Pi's WiFi to connect exclusively via the 5GHz band using
nmcli.
Channel Overlap and Hidden Nodes
Microcontrollers like the ESP32 utilize simplified WiFi MAC layers that can struggle with dense RF environments. If your Pi gateway is on 2.4GHz Channel 1, and your neighbor's router is on Channel 6, the sideband lobes of the signals can still overlap. Always configure your primary router to use non-overlapping channels (1, 6, or 11) and set the channel width to 20MHz rather than 40MHz when operating in the 2.4GHz band to ensure stable MCU-to-Pi communication.
Bridging the Gap: Integrating with Your MCU Fleet
Once your raspi wifi setup is stable, the final step is optimizing the network for the specific quirks of microcontroller WiFi stacks.
DHCP Reservations and mDNS
MCUs frequently drop WiFi connections during deep sleep cycles. When they wake, they request an IP address. If your Pi is running a local DNSMasq server or you are relying on your router's DHCP, ensure that all your Arduino and ESP32 nodes have static DHCP reservations based on their MAC addresses. Furthermore, enable mDNS (Multicast DNS) on your Pi by installing the Avahi daemon (sudo apt install avahi-daemon). This allows your MCUs to resolve the Pi's hostname (e.g., mqtt-gateway.local) without needing to hardcode IP addresses in your C++ sketches.
MQTT Keep-Alives and Power Save Modes
Many WiFi-enabled MCUs enable aggressive power-save modes by default to preserve battery life. This causes the MCU to ignore beacon frames from the Pi's access point, leading to dropped TCP sockets. If you are running an MQTT broker on your Pi, adjust the keepalive interval in your MCU's MQTT client library to be slightly shorter than the router's NAT timeout table, but long enough to prevent the MCU's WiFi radio from staying awake constantly. A 45-second keep-alive is generally the sweet spot for balancing battery life and connection stability on ESP32-based sensor nodes.
Summary Checklist for Production Deployments
- Verify OS version: Use NetworkManager (
nmcli) for Bookworm; usewpa_supplicantonly for Bullseye or older. - Prefer 5GHz for the Pi gateway to leave 2.4GHz airspace open for MCU sensor nodes.
- Audit USB 3.0 peripherals for RF shielding if using 2.4GHz.
- Configure static DHCP reservations for all microcontroller MAC addresses.
- Install
avahi-daemonfor seamless mDNS hostname resolution in your Arduino/ESP-IDF code.
By treating your Raspberry Pi not just as a Linux computer, but as a dedicated RF gateway, you eliminate the intermittent connection drops that plague most DIY IoT projects. Mastering the underlying networking stack ensures your MCU fleet always has a reliable home base for their telemetry data.