
The Deceptive Simplicity of the LED with Button Arduino Projects
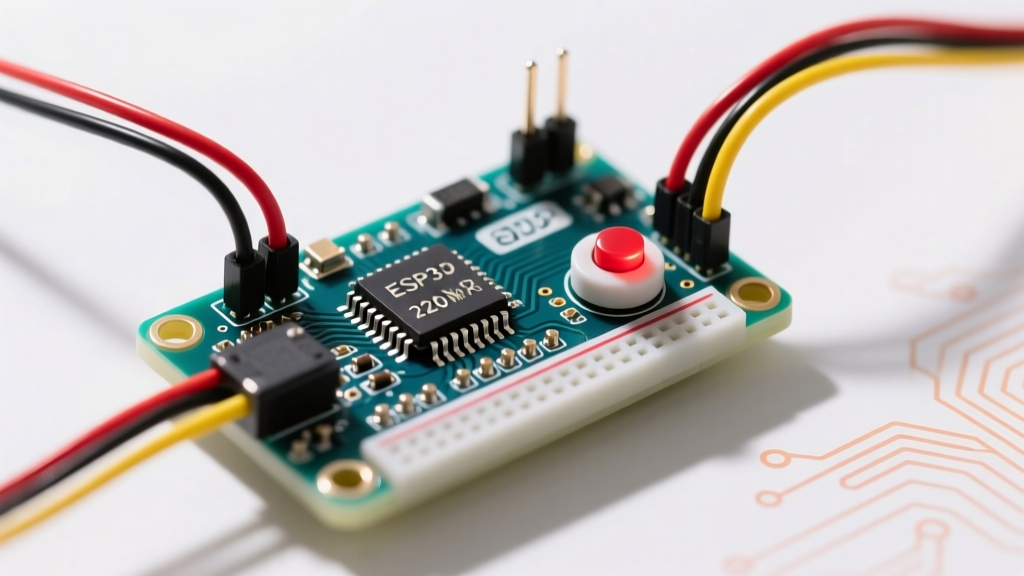
Every electronics hobbyist remembers their first LED with button Arduino build. It is widely considered the 'Hello World' of physical computing. However, beneath this seemingly trivial circuit lies a minefield of electrical engineering realities: switch contact bounce, floating logic pins, and electromagnetic interference (EMI). As we navigate through 2026, the maker community has developed robust, battle-tested methodologies to elevate this basic circuit from a glitchy prototype to a reliable industrial-grade interface.
In this community resource roundup, we curate the most authoritative guides, libraries, and hardware recommendations from the global maker ecosystem to help you master the LED with button Arduino topology.
Switch Hardware Selection: Tactile vs. Arcade
The physical switch you choose dictates your debounce strategy and wiring topology. While the standard 6x6mm tactile switch is ubiquitous in beginner kits, it suffers from high contact bounce times due to its lightweight stamped metal dome. For robust 2026 projects, the community heavily favors heavier actuation switches.
| Switch Type | Actuation Force | Avg Bounce Time | 2026 Avg Price | Best Application |
|---|---|---|---|---|
| 6x6mm Tactile (Through-hole) | 160gf - 260gf | 5ms - 15ms | $0.03 | Compact PCBs, reset buttons |
| 12x12mm Tactile (Top-actuated) | 250gf - 500gf | 3ms - 8ms | $0.08 | Front-panel user inputs |
| 30mm Arcade (Microswitch) | 50gf - 150gf | 1ms - 3ms | $1.50 - $3.00 | Heavy-duty UI, escape rooms |
| Capacitive Touch (TTP223) | N/A (Solid State) | 0ms (No bounce) | $0.45 | Sealed enclosures, wet environments |
The Pull-Up Resistor Paradigm: Internal vs. External
Historically, tutorials wired a button to VCC with a 10kΩ external pull-down resistor to ground. In 2026, this is considered an anti-pattern for simple logic. The ATmega328P and modern RP2040 microcontrollers feature robust internal pull-up resistors (typically 20kΩ to 50kΩ).
By utilizing the INPUT_PULLUP mode in your sketch, you invert the logic (LOW = pressed, HIGH = released) but eliminate the need for external resistors, reducing BOM cost and wiring complexity. According to the Arduino official pinMode() reference, enabling internal pull-ups configures the microcontroller's internal circuitry to safely bias the pin HIGH, preventing the floating pin state that causes erratic LED toggling.
Expert Tip: If your button is located more than 12 inches from the microcontroller, the internal pull-up may be too weak to overcome parasitic capacitance and EMI. In these cases, add an external 4.7kΩ pull-up resistor at the microcontroller pin.
Conquering Contact Bounce: Software and Hardware Solutions
When mechanical contacts close, they do not make a clean connection. The metal domains physically bounce, creating a rapid series of HIGH/LOW transitions lasting anywhere from 1 to 15 milliseconds. If your Arduino polls the pin during this window, a single button press will register as a dozen, causing your LED to toggle unpredictably.
Software Debouncing: The Bounce2 Library
The undisputed community champion for software debouncing is the Bounce2 GitHub repository maintained by Thomas Ouellet Fredericks. Unlike the outdated 'delay()' method found in legacy tutorials—which halts the MCU and ruins real-time performance—Bounce2 uses non-blocking state-change tracking.
Implementation Specifics:
- Instantiate the debouncer:
Bounce debouncer = Bounce(); - Attach to pin:
debouncer.attach(BUTTON_PIN, INPUT_PULLUP); - Set interval:
debouncer.interval(5);(5ms is optimal for 12x12mm tactile switches). - Use
debouncer.fell()to detect the exact moment the button is pressed, triggering the LED state change cleanly.
Hardware Debouncing: The RC + Schmitt Trigger Method
For mission-critical applications where software latency is unacceptable, hardware debouncing is mandatory. As detailed in Hackaday's deep dive into switch noise, the gold standard is an RC low-pass filter paired with a Schmitt trigger inverter (like the 74HC14).
The Circuit:
- Wire a 10kΩ resistor in series with the switch.
- Place a 100nF (0.1µF) ceramic capacitor from the MCU-side of the resistor to ground.
- Route the RC junction through a 74HC14 Schmitt trigger to square off the slow RC charging curve into a crisp digital edge.
State Machines: Implementing Short Press vs. Long Press
Once you have stable debouncing, the next logical step in the LED with button Arduino ecosystem is differentiating between a quick tap and a sustained hold. This requires a non-blocking finite state machine (FSM). The community standard for this is the OneButton library by Matthias Hertel, or extending Bounce2's duration() method.
To implement a long-press LED dimming feature:
- Track the timestamp when
debouncer.fell()is triggered. - In the main loop, check if the button remains LOW and the elapsed time exceeds 1000ms.
- If true, transition to a PWM dimming state, incrementing
analogWrite()by 5 every 50ms. - Upon
debouncer.rose(), lock in the final PWM value.
This approach ensures your microcontroller remains free to handle other tasks, such as driving WS2812B addressable LED strips or reading I2C sensors, without being blocked by delay() functions.
Top 3 Community Tutorials & Deep Dives for 2026
Beyond raw documentation, the maker community thrives on shared project logs. Here are the most highly regarded community resources for expanding your LED with button Arduino knowledge:
- Adafruit's 'Make a Switch Arcade Button' Guide: An exceptional visual resource for fabricating custom arcade-style inputs using 3D printing and microswitches, perfect for scaling up from breadboard tactile switches to finished consumer enclosures.
- Hackster.io 'Capacitive Touch vs Mechanical' Logs: A data-driven comparison by community members measuring latency and false-trigger rates between TTP223 capacitive modules and traditional mechanical switches in high-EMI environments.
- Arduino Forum 'Best Practices for Long Wire Runs': A legendary, continuously updated mega-thread detailing how to use twisted-pair cabling and optocouplers to isolate your LED and button circuits from noisy 120V/240V AC mains environments.
Advanced Troubleshooting: EMI and Ghost Toggles
If your LED toggles randomly without user input, you are likely a victim of Electromagnetic Interference (EMI). Long, untwisted wires act as antennas, picking up 50/60Hz hum from nearby AC wiring or RF noise from Wi-Fi routers.
Actionable Fixes:
- Twisted Pair Wiring: Always route your button signal wire and ground wire as a twisted pair. This ensures induced noise is common-mode and rejected by the MCU's input buffer.
- Bypass Capacitors: Solder a 0.1µF ceramic capacitor directly across the VCC and GND pins of your Arduino to filter high-frequency power rail noise.
- Shielding: For runs exceeding 2 meters, use shielded CAT6 cable, connecting the drain wire to the Arduino ground at one end only to prevent ground loops.
Frequently Asked Questions (FAQ)
Can I wire multiple buttons to a single analog pin?
Yes. By using an R-2R resistor ladder network, you can create a voltage divider that outputs distinct analog voltages based on which button is pressed. While this saves digital I/O pins, it requires careful calibration in the analogRead() thresholds and is highly susceptible to EMI and ADC noise. For critical LED toggling, dedicated digital pins with internal pull-ups remain the 2026 best practice.
Why does my LED flicker when using a mechanical relay alongside my button?
Mechanical relays generate massive inductive voltage spikes (back-EMF) when their coils de-energize. This spike couples into your Arduino's 5V rail and ground plane, causing brownouts or false pin triggers. Always use a flyback diode (e.g., 1N4007) in reverse parallel across the relay coil, and consider powering the relay via a separate opto-isolated driver board.
Conclusion
Mastering the LED with button Arduino circuit is about moving beyond the basic 'digitalRead()' tutorial and embracing professional electrical engineering principles. By leveraging internal pull-ups, implementing non-blocking debounce libraries like Bounce2, and respecting signal integrity over long wire runs, you transform a fragile beginner project into a robust, production-ready interface.