
The Core Divide: Microprocessor vs. Microcontroller
When makers and engineers evaluate raspberry pi vs arduino for complex projects, the debate is rarely about which is universally better. Instead, it is about how to make them work together. The Raspberry Pi (specifically the Pi 5 and Pi Zero 2 W in 2026) is a single-board computer running a full Linux operating system, excelling at high-level tasks like computer vision, machine learning, and network routing. The Arduino (such as the Uno R4 WiFi or Nano ESP32) is a microcontroller designed for deterministic, real-time hardware control, reading analog sensors, and driving PWM motors without OS-level jitter.
Integrating both into a single architecture—often called a 'Pi-Arduino hybrid'—provides the best of both worlds. However, bridging a 3.3V Linux machine with a 5V microcontroller requires strict adherence to electrical compatibility rules. Failing to respect these boundaries will result in catastrophic silicon failure.
Voltage Logic Compatibility: The 3.3V vs 5V Danger Zone
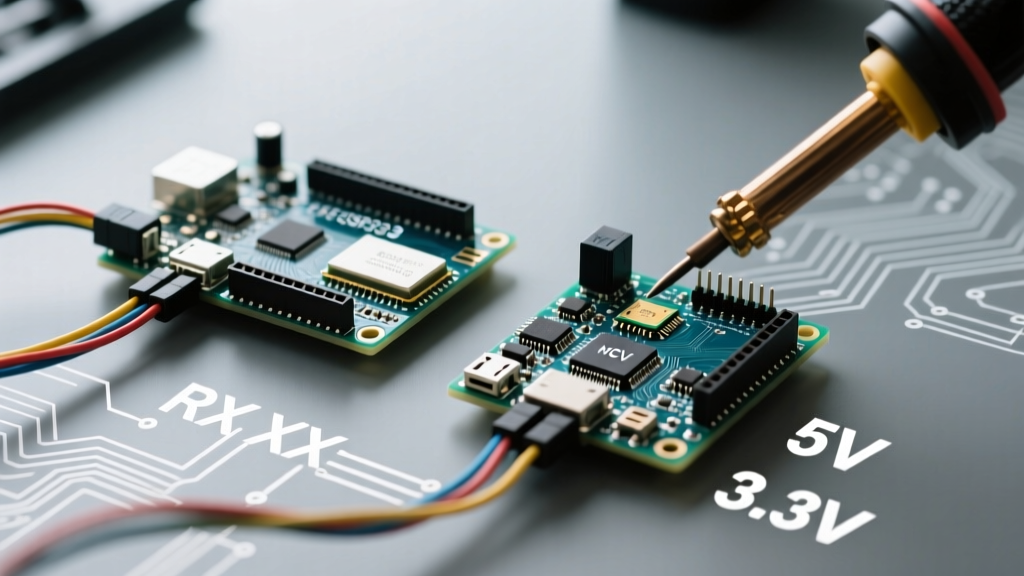
The most critical compatibility hurdle in any raspberry pi vs arduino integration is logic level voltage. The Raspberry Pi 5 GPIO operates strictly at 3.3V and is not 5V tolerant. Applying 5V to any Pi GPIO pin will instantly destroy the BCM2712 SoC. Conversely, classic AVR-based Arduinos (like the Uno R3 or Mega 2560) operate at 5V logic. The newer Arduino Uno R4 Minima operates at 5V, though its companion ESP32-S3 on the R4 WiFi variant uses 3.3V logic for its wireless coprocessor.
Solving the Voltage Mismatch
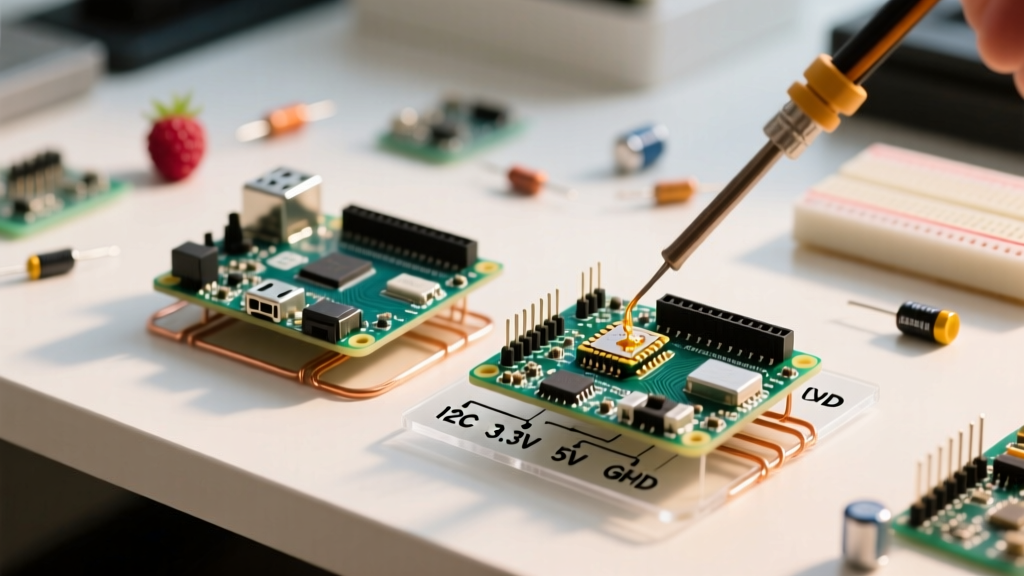
To safely connect a 5V Arduino to a 3.3V Raspberry Pi, you must use a bidirectional logic level shifter. Do not rely on simple voltage dividers for high-speed or bidirectional protocols like I2C.
- MOSFET-based Shifters (BSS138): Ideal for I2C. They use N-channel MOSFETs and pull-up resistors to safely translate 3.3V to 5V. Cost: ~$1.50 per module.
- IC-based Translators (Texas Instruments TXB0108): Better for SPI and UART due to higher propagation speeds and auto-direction sensing. Cost: ~$3.00 per IC.
CRITICAL WARNING: Never connect the Arduino 5V pin directly to the Raspberry Pi 3.3V pin. Always verify your level shifter's low-voltage side (LV) is connected to the Pi 3.3V rail, and the high-voltage side (HV) is connected to the Arduino 5V rail. For comprehensive pin mapping, always reference the interactive Raspberry Pi Pinout before wiring.
Hardware Interfacing Matrix: I2C, SPI, and UART
Choosing the right communication protocol depends on your bandwidth needs and wiring complexity. Below is a compatibility matrix for connecting a Raspberry Pi 5 to an Arduino Uno R4 via level-shifted GPIO.
| Protocol | Pi 5 Pins (BCM) | Arduino R4 Pins | Max Speed | Compatibility Notes |
|---|---|---|---|---|
| I2C | GPIO 2 (SDA), GPIO 3 (SCL) | A4 (SDA), A5 (SCL) | 400 kHz (Fast Mode) | Requires 2.2kΩ pull-up resistors to 3.3V on the Pi side. Ensure no I2C address collisions. |
| SPI | GPIO 9 (MISO), 10 (MOSI), 11 (SCLK), 8 (CE0) | D12 (MISO), D11 (MOSI), D13 (SCK), D10 (SS) | Up to 20 MHz | Unidirectional data lines make level-shifting easier. Ensure SPI_MODE matches on both ends. |
| UART | GPIO 14 (TXD), 15 (RXD) | D0 (RX), D1 (TX) | 115200 Baud (Standard) | Pi TX to Arduino RX. Remember to disable the Linux serial console on the Pi via raspi-config. |
For deep dives into protocol timing and pull-up requirements, the Arduino I2C Communication Guide provides excellent baseline schematics that can be adapted for Pi integration.
Power Delivery and Backpowering Risks
Powering a hybrid raspberry pi vs arduino setup requires careful current budgeting. The Raspberry Pi 5 requires a 27W USB-C PD power supply (5V/5A) to function optimally and provide downstream power to peripherals. The Arduino Uno R4 can be powered via its USB-C port or the VIN pin (7V-12V recommended).
The Backpowering Failure Mode
A common and destructive mistake is powering the Arduino via USB while simultaneously connecting the Arduino 5V pin to the Raspberry Pi 5V GPIO pin. This creates a backpowering loop where current flows backward through the Pi's power management IC (PMIC), potentially causing thermal throttling or PMIC failure.
- Best Practice: Power the Raspberry Pi via its dedicated USB-C port.
- Arduino Power: Power the Arduino separately via a 9V battery or bench supply into the VIN pin, or use a shared 5V high-current buck converter (like an LM2596 set to 5.1V) feeding both the Pi 5V GPIO (Pin 2) and the Arduino 5V pin.
- Common Ground: You must connect a ground wire between the Pi GND (Pin 6) and Arduino GND. Without a common ground reference, signal voltages will float, leading to erratic sensor readings and phantom I2C triggers.
Software Bridging: Firmata vs. MQTT vs. Raw Serial
Hardware compatibility is only half the battle; the two boards must understand each other's software commands. In 2026, makers generally choose between three software bridging architectures.
1. StandardFirmata (Low Latency, High Coupling)
By flashing the StandardFirmata sketch onto the Arduino, the Raspberry Pi can control the Arduino's GPIO pins directly using Python libraries like pyFirmata. This is excellent for simple robotics where the Pi acts as the brain and the Arduino as the I/O expander. However, it introduces latency due to serial polling and requires a constant USB or UART connection.
2. MQTT over Wi-Fi (Decoupled, Scalable)
If using an Arduino Uno R4 WiFi or Nano ESP32, the best approach is to connect both boards to the same local network. The Arduino publishes sensor data to an MQTT broker (like Mosquitto running on the Pi), and the Pi publishes control commands. This completely eliminates GPIO wiring constraints and allows for over-the-air (OTA) updates to the Arduino.
3. Raw UART Serial (Reliable, Offline)
For environments without Wi-Fi, sending structured JSON or CSV strings over a level-shifted UART connection is highly reliable. Use a checksum (like CRC8) in your serial packets to ensure data integrity, as electromagnetic interference (EMI) from motors can corrupt raw serial bytes.
Real-World Integration Scenario: Automated Greenhouse
Consider a commercial-grade automated greenhouse. The raspberry pi vs arduino debate is solved by assigning tasks based on silicon strengths:
- Arduino Mega 2560: Reads 16 analog soil moisture sensors, drives 12V solenoid water valves via MOSFETs, and manages 5V PWM grow lights. It handles the real-time, safety-critical hardware loops.
- Raspberry Pi 5: Runs a local Flask web server, hosts an InfluxDB time-series database for moisture logging, and uses a Pi Camera Module 3 to run a TensorFlow Lite model detecting early signs of powdery mildew on leaves.
The Arduino sends aggregated moisture data to the Pi every 60 seconds via I2C. If the Pi's vision model detects disease, it sends an interrupt signal back to the Arduino to adjust the UV-C sterilization lights. For more on managing different logic voltages in complex sensor networks, review the SparkFun Logic Levels Tutorial.
FAQ: Common Compatibility Pitfalls
Can I plug an Arduino shield into a Raspberry Pi?
No. While they share a similar physical footprint, the pinouts are entirely different. Plugging a 5V Arduino motor shield onto a Raspberry Pi will short the 5V rail to Pi data pins, instantly destroying the Pi. Use a dedicated Pi HAT or wire the shield manually through a level shifter.
Why is my I2C connection dropping packets between the Pi and Arduino?
I2C relies on pull-up resistors. If you are using a cheap MOSFET logic level shifter, it likely includes 10kΩ pull-up resistors. At 400kHz I2C speeds, 10kΩ is too weak to pull the capacitance of the wires high fast enough, resulting in data corruption. Solder 2.2kΩ or 4.7kΩ resistors across the SDA/SCL lines to the 3.3V and 5V rails to fix this edge case.
Does the Arduino Uno R4 WiFi change the compatibility rules?
Yes. The main Renesas RA4M1 microcontroller on the Uno R4 WiFi is 5V tolerant, but the onboard ESP32-S3 module operates at 3.3V. If you are routing signals through the ESP32 for Wi-Fi bridging, you must treat the entire Arduino board as a 3.3V device when interfacing with specific Wi-Fi-driven sketches, though the primary 5V GPIO headers remain safe for standard level-shifted Pi connections.