
The Evolution of Arduino in Industrial Automation
For years, the Arduino ecosystem was strictly confined to prototyping benches, educational labs, and DIY home automation. However, as edge computing and Industrial IoT (IIoT) demands have surged through 2026, the line between hobbyist microcontrollers and rugged Programmable Logic Controllers (PLCs) has completely blurred. Makers and systems integrators are increasingly searching for a reliable Arduino PLC starter kit to bridge the gap between low-cost C++ programming and IEC 61131-3 industrial compliance.
But what actually constitutes a 'starter kit' in the industrial space? Unlike a standard Arduino Uno box that includes a breadboard and jumper wires, an industrial PLC starter configuration requires DIN-rail mounting, 24VDC power supplies, optically isolated I/O, and robust terminal blocks. In this community resource roundup, we break down the top hardware platforms, the essential peripheral components you need to build a complete kit, and the critical failure modes you must avoid when deploying Arduino-based logic in harsh environments.
Hardware Matrix: The Big Three Arduino-Compatible PLCs
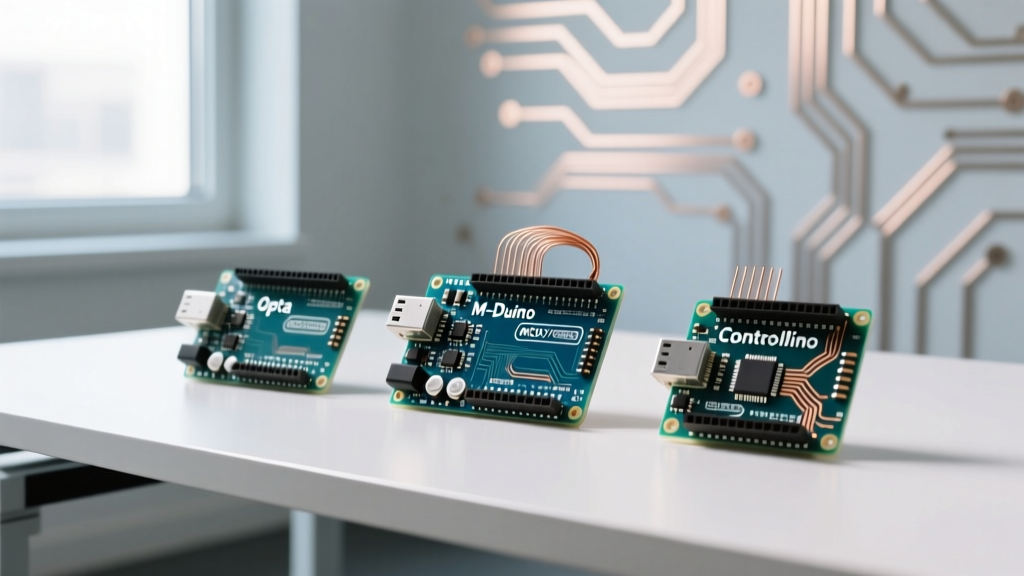
When the community discusses Arduino-based PLCs, three primary hardware families dominate the conversation. Below is a technical comparison of the flagship models from each manufacturer, reflecting current 2026 market availability and pricing.
| Platform | Core MCU | Digital I/O | Analog Inputs | Relay Outputs | Avg. Price (2026) |
|---|---|---|---|---|---|
| Arduino Opta (WiFi/Ethernet) | STM32H747XI (Dual-Core) | 8 Configurable | 8 (0-10V / 4-20mA) | 4 (8A @ 250VAC) | $190 - $230 |
| Industrial Shields M-Duino | ATmega2560 (16MHz) | Up to 58 | Up to 14 | Up to 10 | $160 - $280 |
| CONTROLLINO MAXI | ATmega2560 (16MHz) | 24 (12 In / 12 Out) | 11 (10-bit) | 8 (6A @ 250VAC) | $210 - $245 |
Deep Dive: The Arduino Opta
Released as Arduino's first official foray into the PLC market, the Opta remains the community's top recommendation for engineers who want native support for the Arduino PLC IDE. Powered by a dual-core STM32H747XI (Cortex-M7 at 480MHz and Cortex-M4 at 240MHz), it offers massive overhead for complex PID loops and edge machine learning. The Opta features 8 highly flexible analog inputs that can be software-configured for 0-10V voltage reading or 4-20mA current loop monitoring without needing external shunt resistors. For networking, the Ethernet variant supports native Modbus TCP, OPC UA, and MQTT, making it a powerhouse for IIoT gateways. You can explore the full pinout and architecture in the official Arduino Opta documentation.
Deep Dive: Industrial Shields M-Duino
For makers who prefer the classic AVR architecture and want absolute transparency, the M-Duino family by Industrial Shields is the gold standard. It is essentially an Arduino Mega 2560 completely redesigned for 24VDC industrial environments. The M-Duino is highly modular; you can stack additional I/O modules via I2C or SPI to scale your system up to 58 digital I/O points. Because it uses the standard ATmega2560 bootloader, it integrates flawlessly with the open-source OpenPLC Project, allowing you to write Ladder Logic or Structured Text while flashing directly via the standard Arduino IDE.
Building the Physical Kit: Beyond the Microcontroller
Buying the PLC is only 40% of the battle. To create a true Arduino PLC starter kit, you must assemble the physical infrastructure required to mount, power, and wire the controller safely. Here is the exact Bill of Materials (BOM) recommended by the ElectricalFlux community for a benchtop testing rig.
- DIN Rail & Enclosure: A 35mm Top-Hat DIN rail (approx. 250mm length) mounted inside an IP65-rated polycarbonate enclosure (e.g., Bud Industries or Hammond Manufacturing).
- Power Supply: Mean Well DR-15-24 (15W, 24VDC, 0.63A). This is a slim, DIN-rail mountable switching power supply that provides clean, isolated power for both the PLC and external 24V sensors.
- Terminal Blocks: Phoenix Contact UTTB 2.5 series or Weidmuller WDK series. These double-level terminal blocks save massive amounts of rail space and allow for clean separation of 24VDC, GND, and signal wires.
- Circuit Protection: MCBs (Miniature Circuit Breakers) rated for 2A and 6A to protect the PLC's internal power regulation and output relay banks from catastrophic short circuits.
Software Ecosystem: PLC IDE vs. OpenPLC
Hardware is useless without the right logic environment. The community is currently split between two primary software pathways for Arduino PLCs:
- Arduino PLC IDE (Proprietary/Paid): Required for the Opta. It provides a polished, IEC 61131-3 compliant environment supporting Ladder Diagram (LD), Function Block Diagram (FBD), Sequential Function Chart (SFC), and Structured Text (ST). It includes built-in simulation and variable tracing, which is invaluable for debugging complex state machines before deploying to the factory floor.
- OpenPLC (Open Source): The darling of the maker community. OpenPLC provides a free runtime that can be flashed onto almost any Arduino-compatible board (including the M-Duino and Controllino). It supports LD, FBD, ST, Instruction List (IL), and Sequential Function Chart (SFC). The web-based HMI editor allows you to create simple dashboard controls directly from the PLC's IP address.
Community Insight: If you are transitioning from standard C++ Arduino sketches, do not immediately jump into Ladder Logic. Start with Structured Text (ST) in the PLC IDE. ST reads very similarly to C/C++ and Pascal, allowing you to leverage your existing programming knowledge while adapting to the cyclic scan-rate execution model of a true PLC.
Critical Failure Modes and Edge Cases
Deploying an Arduino PLC starter kit in a real-world industrial or heavy-maker environment introduces electrical hazards that a standard USB-powered Uno never faces. Here are the top three failure modes you must engineer against:
1. Inductive Kickback and Relay Welding
The electromechanical relays on the Opta and Controllino are rated for 8A and 6A respectively. However, if you use these relays to switch inductive loads like solenoid valves, contactors, or DC motors, the collapsing magnetic field will generate a massive back-EMF voltage spike. This spike will cause arcing across the relay contacts, eventually welding them shut in the 'ON' position. The Fix: Always install a flyback diode (e.g., 1N4007) in reverse parallel across DC inductive loads, or use an RC snubber network for AC loads.
2. Ground Loops in 4-20mA Analog Inputs
When wiring industrial 4-20mA pressure or temperature transmitters to the Opta's analog inputs, ground potential differences between the sensor's power supply and the PLC's 24VDC supply can introduce severe noise or destroy the analog-to-digital converter (ADC) front end. The Fix: Ensure your 4-20mA transmitters are '2-wire loop-powered' and share a common, star-grounded reference with the PLC's analog ground (AGND). Never connect the shield of a sensor cable at both ends; ground the shield only at the PLC enclosure.
3. EMI from VFDs (Variable Frequency Drives)
If your Arduino PLC is mounted in a panel alongside a VFD controlling a 3-phase motor, the high-frequency PWM switching of the VFD will radiate massive electromagnetic interference. This can cause phantom triggers on digital inputs or corrupt Modbus RTU RS-485 communication. The Fix: Keep all low-voltage signal wiring (RS-485, 0-10V, digital inputs) physically separated from high-voltage motor cables by at least 200mm. Use twisted-pair shielded cables for all RS-485 Modbus networks and terminate the ends with a 120-ohm resistor.
Final Verdict for 2026
The ideal Arduino PLC starter kit depends entirely on your end goal. If you are an OEM or systems integrator needing native OPC UA, secure boot, and IEC 61131-3 compliance out of the box, the Arduino Opta paired with the official PLC IDE is unmatched. If you are a hobbyist, educator, or open-source advocate wanting to build a custom, highly expandable IIoT node on a budget, the Industrial Shields M-Duino combined with OpenPLC and a Mean Well DIN-rail power supply offers the best balance of flexibility, transparency, and ruggedness. Whichever path you choose, respect the physics of industrial wiring: isolate your grounds, snub your inductive loads, and always test your logic in simulation before applying 24V power.