
The Limitations of Default GFX Typography
When building user interfaces for microcontrollers, typography is often an afterthought. The default Adafruit_GFX library ships with a single, hardcoded 5x7 pixel font. While functional for basic debugging on a 0.96-inch SSD1306 OLED, it lacks the visual hierarchy, readability, and aesthetic appeal required for modern consumer-facing maker projects. As of 2026, with high-resolution 2.8-inch ILI9341 TFTs and 2.13-inch e-Ink displays becoming standard in the sub-$15 range, relying on blocky default fonts severely limits your project's potential.
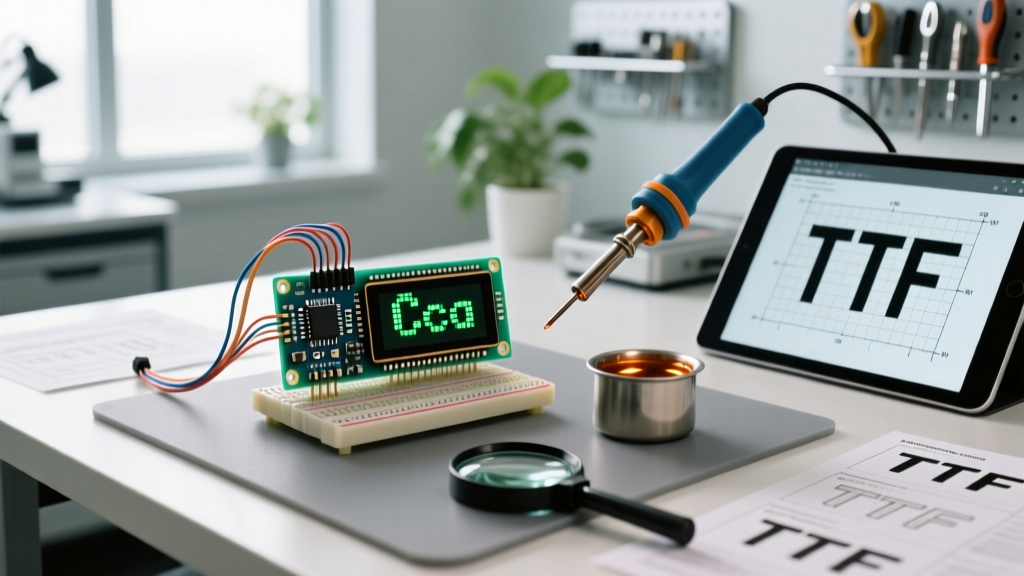
Implementing a custom Arduino font requires converting standard TrueType (TTF) or OpenType (OTF) files into C-style byte arrays that can be stored in your microcontroller's Flash memory. This tutorial provides a comprehensive, step-by-step workflow for converting, integrating, and troubleshooting custom fonts using the industry-standard Adafruit_GFX ecosystem, while addressing the critical memory and coordinate-system pitfalls that trap most beginners.
Prerequisites: Hardware and Software Stack
Before compiling custom font arrays, ensure your development environment and hardware are properly configured. This guide assumes you are using a display compatible with the Adafruit_GFX rendering engine.
- Hardware: Any GFX-compatible display (e.g., 1.3-inch SH1106 OLED, 2.4-inch ILI9341 TFT, or SSD1327 grayscale OLED). Compatible MCUs range from the classic ATmega328P (Arduino Uno) to modern powerhouses like the ESP32-S3 or Raspberry Pi RP2040.
- Core Library: Adafruit GFX Library (ensure you are on version 1.11.x or newer via the Arduino Library Manager).
- Font Conversion Tool: The
fontconvertCLI utility included in the Adafruit_GFX repository. - System Dependencies: The FreeType 2 development libraries installed on your host OS (Windows, macOS, or Linux).
Step 1: Setting Up the Fontconvert Toolchain
The fontconvert utility relies on the FreeType C library to rasterize vector TTF glyphs into monochrome bitmap arrays. You must compile this tool on your host machine before you can generate header files for your Arduino.
macOS and Linux Setup
Open your terminal and install the FreeType development headers. On Ubuntu/Debian, run:
sudo apt-get install libfreetype6-dev makeOn macOS, use Homebrew:
brew install freetype makeWindows Setup (via WSL)
Native Windows compilation of fontconvert is notoriously problematic due to Makefile pathing issues. The most reliable method in 2026 is to use the Windows Subsystem for Linux (WSL). Install Ubuntu via the Microsoft Store, then follow the Linux instructions above.
Compiling the Utility
Navigate to the fontconvert directory inside your downloaded Adafruit_GFX library folder (usually located in Arduino/libraries/Adafruit_GFX_Library/fontconvert/) and execute:
makeThis generates an executable binary named fontconvert in the same directory.
Step 2: Converting TTF to C-Array
Now that the toolchain is ready, you can convert any TTF file into a format the Arduino compiler understands. The basic syntax for the command is:
./fontconvert [path-to-font.ttf] [point-size] [first-char] [last-char] > [OutputName.h]Optimizing for Flash Memory
A common mistake is converting the entire extended ASCII or Unicode character set, which will instantly overflow the 32KB Flash limit of an ATmega328P. For standard English interfaces, restrict the character range to printable ASCII (Space through Tilde, characters 32 to 126).
Example Command:
./fontconvert ~/Fonts/Roboto-Regular.ttf 18 32 126 > Roboto18pt.hThis command rasterizes the Roboto font at 18 points, including only standard printable characters, and saves the output to Roboto18pt.h.
Step 3: Integration and the Baseline Paradigm Shift
Move the generated .h file into your Arduino sketch folder and include it at the top of your .ino file. However, simply calling setFont() introduces a massive architectural shift in how the GFX library calculates coordinates.
CRITICAL E-E-A-T WARNING: The Baseline Shift
Default GFX fonts use a top-left coordinate system. If you set the cursor to(0, 0), the text draws downward and rightward from the top edge of the screen.
Custom fonts generated by FreeType use a typographic baseline coordinate system. TheYcoordinate represents the bottom line upon which the letters sit. If you set the cursor to(0, 0)with a custom 18pt font, the text will render entirely off-screen above the display boundary. You must offset yourYcursor by at least the font's cap-height (e.g.,display.setCursor(0, 20);for an 18pt font).
Implementation Code
#include <Adafruit_GFX.h>
#include <Adafruit_SSD1306.h>
#include 'Roboto18pt.h' // Your custom font

Adafruit_SSD1306 display(128, 64, &Wire, -1);

void setup() {
  display.begin(SSD1306_SWITCHCAPVCC, 0x3C);
  display.clearDisplay();

  // Apply custom font
  display.setFont(&Roboto18pt);
  display.setTextSize(1);
  display.setTextColor(SSD1306_WHITE);

  // Note the Y-offset to account for the baseline shift!
  display.setCursor(5, 24);
  display.print('Flux');

  display.display();
}

void loop() {}
Memory Profiling: Flash vs. RAM Constraints
Typography is highly memory-intensive. Every glyph is stored as a 1-bit-per-pixel bitmap array in PROGMEM (Flash). Below is a profiling matrix of common custom Arduino font configurations to help you budget your memory.
| Font Family | Point Size | Char Range | Flash Usage (Bytes) | Recommended MCU Architecture |
|---|---|---|---|---|
| FreeSans | 9pt | 32-126 | ~4,150 | ATmega328P (Uno/Nano), RP2040 |
| Roboto | 14pt | 32-126 | ~9,800 | SAMD21, ESP8266 |
| OpenSans | 24pt | 32-126 | ~23,500 | ESP32, Teensy 4.1 |
| Montserrat | 36pt | 32-126 | ~58,000 | ESP32-S3 (with PSRAM) |
Data sourced from local compilation using Adafruit_GFX v1.11.5 on GCC ARM toolchains.
Advanced Rendering: Anti-Aliasing on TFTs
The standard fontconvert tool produces 1-bit monochrome bitmaps. This is perfect for OLEDs and e-Ink displays, which are inherently monochrome. However, if you are driving a 16-bit color ILI9341 TFT display, 1-bit fonts will look jagged and aliased at larger sizes.
For full-color TFTs requiring smooth, anti-aliased typography, abandon the GFX fontconvert tool and pivot to the LVGL Font Converter. LVGL (Light and Versatile Graphics Library) supports 4-bit and 8-bit anti-aliased alpha channels, allowing custom fonts to blend smoothly into complex color backgrounds. While LVGL has a steeper learning curve and higher RAM overhead, it is the undisputed standard for premium MCU GUIs in 2026.
Troubleshooting Common Font Rendering Failures
1. Compilation Error: 'Section Type Conflict' or 'PROGMEM' errors
Cause: You have included the same generated font header file in multiple .cpp or .ino files, causing the compiler to attempt to allocate the same PROGMEM array multiple times.
Solution: Treat the generated .h file as a data source. Include it in one central .cpp file, and use extern const uint8_t FontName[] PROGMEM; in your header to reference it globally without redefining it.
2. Text Renders as Garbage Characters or Blocks
Cause: Your sketch is attempting to print characters outside the range you defined during conversion (e.g., trying to print a degree symbol '°' or an umlaut 'ü' when you only converted ASCII 32-126).
Solution: Re-run the fontconvert command with an extended range. For Western European languages, use 32 255 to capture the extended ASCII set. Be aware this will increase Flash consumption by roughly 40%.
3. Text Overlaps or Bleeds into Adjacent Lines
Cause: Custom fonts do not automatically calculate line-height spacing the way default fonts do. The GFX library simply draws the next line exactly where you tell it to.
Solution: Manually calculate your line spacing. A safe rule of thumb for custom fonts is to multiply the point size by 1.4 to find the next Y-cursor position. For an 18pt font, increment your Y cursor by 25 pixels per line.
Summary
Mastering custom typography elevates an embedded project from a breadboard prototype to a polished product. By leveraging the FreeType-based fontconvert utility, strictly managing your ASCII character ranges to preserve Flash memory, and respecting the typographic baseline shift, you can render crisp, beautiful interfaces on any GFX-compatible display. Always profile your memory usage before compilation, and consider LVGL if your project demands anti-aliased rendering on color TFTs.