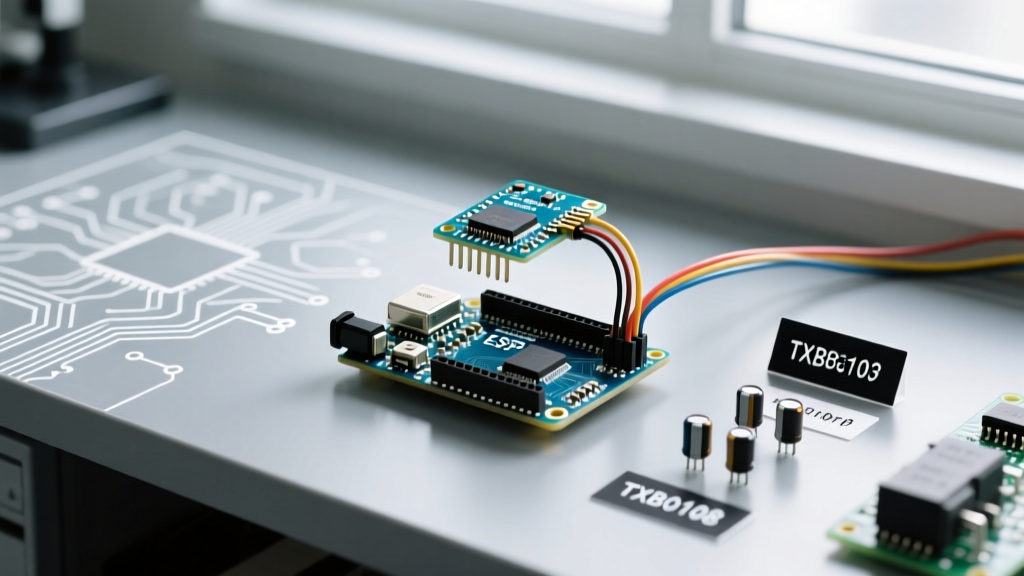

The mmWave Revolution in Maker Spaces
By 2026, millimeter-wave (mmWave) radar sensors have largely displaced traditional Passive Infrared (PIR) modules in advanced maker projects. Unlike PIR sensors, which only detect moving heat signatures, mmWave radar modules can detect micro-movements like human breathing, enabling true static presence detection. However, integrating a radar Arduino setup is rarely as simple as plugging in an ultrasonic sensor. Radar modules demand strict adherence to logic level tolerances, high-speed UART configurations, and precise power delivery. This compatibility guide breaks down the exact electrical and protocol requirements for pairing popular radar sensors with the Arduino ecosystem, ESP32, and Teensy platforms.
Logic Level Compatibility: The 3.3V vs 5V Trap
The most common point of failure in radar Arduino projects is logic level mismatching. The vast majority of modern mmWave and Doppler radar SoCs (System on Chips) operate strictly at 3.3V logic. Feeding a 5V signal from a classic Arduino Uno R3 (ATmega328P) directly into the RX pin of a 3.3V radar module will degrade the sensor's internal ESD diodes over time, eventually leading to permanent silicon failure.
Level Shifting Solutions
If you are using a 5V microcontroller, you must step down the TX signal from the Arduino to the radar's RX pin. While resistor voltage dividers (e.g., 2kΩ and 3.3kΩ) work for low-speed I2C or analog signals, they are unsuitable for high-speed radar UART. The parasitic capacitance of the radar's RX pin combined with the divider resistors creates a low-pass filter, rounding off the sharp edges of the serial data stream and causing bit errors at baud rates above 38,400.
Expert Recommendation: For reliable radar Arduino communication on 5V boards, use a dedicated bi-directional logic level shifter IC like the TXS0108E or a MOSFET-based BSS138 breakout board. These maintain sharp signal rise times essential for high-baud UART.
For a deeper understanding of microcontroller voltage tolerances, refer to the official Arduino Logic Levels Guide, which outlines the exact V_IH and V_IL thresholds for various AVR and ARM architectures.
Radar Arduino Sensor Compatibility Matrix
Not all radar sensors are created equal. Below is a compatibility matrix detailing the electrical and protocol requirements for the most common modules used in the maker community as of 2026.
| Sensor Model | Interface | Logic Voltage | Best Matched MCU | Approx. Price (2026) |
|---|---|---|---|---|
| RCWL-0516 | Analog / Digital GPIO | 3.3V - 5V Tolerant | Arduino Uno R3 / Nano | $1.50 - $2.50 |
| Hi-Link HLK-LD2410B-P | UART (256k default) | 3.3V Strict | ESP32-S3 / Teensy 4.1 | $3.50 - $5.00 |
| Infineon BGT60TR13C | SPI (Up to 50MHz) | 3.3V / 1.8V IO | Teensy 4.1 / Portenta H7 | $18.00 - $25.00 |
| LD2450 (Tracking) | UART (256k) / I2C | 3.3V Strict | ESP32 / Arduino Nano 33 IoT | $12.00 - $16.00 |
The UART Baud Rate Bottleneck (And How to Bypass It)
The Hi-Link HLK-LD2410 series is currently the gold standard for budget static presence detection. However, it ships from the factory with a default UART baud rate of 256,000 bps. This creates a massive compatibility bottleneck for standard Arduino boards.
The SoftwareSerial Failure Mode
Many makers attempt to use the SoftwareSerial library on an Arduino Uno to free up the hardware UART for debugging. SoftwareSerial relies on CPU pin-change interrupts and software timing loops. At 256,000 baud, the bit duration is just 3.9 microseconds. The ATmega328P running at 16MHz simply cannot execute the interrupt service routine (ISR) fast enough to reliably sample the bits. The result is total data corruption.
Hardware UART Limitations and Fixes
Even using the hardware UART (Serial.begin(256000)) on a 16MHz ATmega328P introduces a baud rate calculation error of roughly -3.5%. While technically within the standard +/- 5% UART tolerance, when combined with the internal oscillator variance of the budget radar module, frame errors spike dramatically.
The Actionable Fixes:
- Use the Manufacturer App: Connect the LD2410 to your smartphone via Bluetooth and use the Hi-Link app to permanently reconfigure the sensor's baud rate to 115,200 bps before wiring it to your Arduino.
- Upgrade the MCU: Migrate to an ESP32 or Teensy 4.1. The ESP32 features multiple hardware UART peripherals with fractional baud rate generators, achieving a near-perfect 256,000 bps lock with zero CPU overhead.
Power Delivery: Managing TX Burst Currents
Radar sensors do not draw a constant current. When the mmWave transceiver fires a chirp sequence, it experiences massive, high-frequency current spikes. The HLK-LD2410, for example, has a quiescent current of ~20mA but can spike to 75mA during TX bursts. Advanced FMCW (Frequency-Modulated Continuous Wave) radar chips from Texas Instruments can spike well over 150mA during active sweeping.
The Decoupling Math
If you power a radar module directly from the 3.3V pin of an ESP32 development board using long jumper wires, the parasitic inductance of the wires will prevent the board's main LDO from responding to the microsecond-scale current spikes. This causes localized voltage droop, triggering the radar's internal brownout reset loop.
To calculate the voltage droop, use the formula: ΔV = ΔI × ESR. If your decoupling capacitor has an Equivalent Series Resistance (ESR) of 2 ohms (typical for cheap electrolytics), a 70mA spike causes a 140mV droop. This is enough to corrupt the sensor's internal ADC readings.
Hardware Rule: Always solder a 100µF low-ESR polymer capacitor in parallel with a 100nF (0.1µF) X7R ceramic capacitor directly across the VCC and GND pins of the radar module. The ceramic handles the high-frequency nanosecond transients, while the polymer handles the millisecond TX burst envelopes.
Advanced SPI Integration: Infineon BGT60TR13C
For makers building high-resolution gesture recognition or vital sign monitoring, 60GHz FMCW radar like the Infineon BGT60TR13C is required. Unlike the UART-based HLK modules, this sensor outputs raw ADC data cubes via SPI.
Compatibility here is dictated by SPI clock speed and DMA (Direct Memory Access). The BGT60TR13C requires an SPI clock up to 50MHz to stream data without dropping frames. The standard Arduino Uno (SPI max ~8MHz) and even the ESP32 (practical SPI limit ~20MHz for stable radar FIFO reads) will bottleneck the data pipeline. The Teensy 4.1, clocked at 600MHz with hardware DMA-backed SPI, is the only accessible maker board capable of ingesting the raw radar point cloud data in real-time without dropping packets.
Troubleshooting Common Radar Arduino Failures
When your radar Arduino integration fails, use this diagnostic checklist to isolate the fault:
- Sensor powers on but outputs garbage characters: You have a baud rate mismatch or a ground loop. Ensure the MCU and radar share a common, star-routed ground. Verify if the sensor is set to 256k while your serial monitor is at 115.2k.
- Sensor constantly reboots when mounted behind a wall: mmWave radar is highly sensitive to dielectric materials. If mounting behind drywall or plastic, you must configure the sensor's 'gate sensitivity' via UART commands to compensate for the signal attenuation. Failing to do so causes the radar's automatic gain control (AGC) to max out the TX power, leading to thermal throttling and reboots.
- ESP32 Wi-Fi drops when radar detects motion: The radar TX burst is causing a voltage sag on the 3.3V rail, dropping the ESP32's Wi-Fi RF amplifier below its operating threshold. Implement the dual-capacitor decoupling strategy mentioned above and power the radar from a dedicated 3.3V LDO (like an AP2112K-3.3) rather than the ESP32's onboard regulator.
By respecting logic thresholds, managing high-speed serial bottlenecks, and engineering robust local power delivery, you can reliably integrate advanced mmWave radar into your microcontroller projects, unlocking a new tier of environmental awareness for your embedded systems.