
The Reality of Microcontroller I/O Failures
When building embedded systems, few things are as frustrating as a silent I/O failure. You upload your sketch, the IDE reports a successful compilation, yet your sensors read garbage data or your actuators remain dead. Diagnosing input and output Arduino pin errors requires a systematic approach that bridges software logic and hardware physics. Unlike high-level programming where errors throw exceptions, microcontroller I/O failures often manifest as physical anomalies: floating voltages, thermal runaway, or ghost interrupts.
As of 2026, the maker ecosystem offers a vast array of development boards. The classic 5V ATmega328P-based boards (like the Arduino Uno R3) sit alongside 3.3V architectures like the Arduino Nano 33 IoT (SAMD21) and the Renesas RA4M1-powered Arduino Uno R4 Minima. Each architecture enforces strict electrical limits. Misunderstanding these limits is the primary catalyst for I/O degradation. This guide provides a deep-dive diagnostic framework for identifying, isolating, and resolving hardware and software I/O errors.
Hardware Failure Modes: Exceeding Silicon Limits
The most catastrophic input and output Arduino errors stem from violating the absolute maximum ratings defined in the microcontroller's datasheet. The ATmega328P, for instance, specifies a recommended maximum DC current of 20mA per I/O pin, with an absolute ceiling of 40mA. More critically, the total current sourced or sunk across the entire VCC/GND package must not exceed 200mA.
The Inductive Kickback Phenomenon
A common fatal error involves driving inductive loads—such as a standard 5V Songle SRD-05VDC-SL-C relay coil or a small DC motor—directly from a digital output pin. When the pin transitions from HIGH to LOW, the collapsing magnetic field in the coil generates a massive reverse voltage spike (Back-EMF), calculated by V = -L(di/dt). This spike can easily exceed 50V, instantly punching through the microcontroller's internal clamping diodes and permanently shorting the I/O port register to ground.
- Diagnostic Symptom: The pin reads a permanent 0V (LOW) even when commanded HIGH. The physical silicon near the I/O pad may exhibit micro-fractures or discoloration.
- Hardware Fix: Never drive inductive loads directly. Always use a logic-level N-channel MOSFET (like the IRLZ44N) or an NPN Darlington transistor (TIP120), paired with a 1N4007 flyback diode placed in reverse bias across the coil.
Logic Level Mismatches and Overvoltage
Interfacing 5V peripherals with 3.3V microcontrollers (like the ESP32-WROOM-32E or Arduino Zero) without translation is a frequent source of degradation. Feeding a 5V HIGH signal into a 3.3V-tolerant pin might work temporarily due to internal ESD diodes clamping the voltage, but it continuously injects current into the VCC rail, causing erratic behavior and eventual thermal failure. For robust I2C or SPI communication between mixed-voltage domains, a bidirectional level shifter like the Texas Instruments TXS0108E is mandatory. Refer to the SparkFun Logic Levels Tutorial for a comprehensive breakdown of voltage thresholds (VIL, VIH, VOL, VOH).
Software and IDE Configuration Errors
Not all I/O errors are physical. Many perceived hardware failures are actually software misconfigurations within the Arduino IDE. The microcontroller's I/O registers must be explicitly configured before use.
The Floating Pin Dilemma
If a digital pin is configured as an INPUT but left electrically unconnected (floating), its high-impedance state makes it act as an antenna. Electromagnetic interference (EMI) from nearby switching regulators or even your hand can induce voltage fluctuations, causing ghost interrupts or erratic digital reads. The ATmega328P features internal pull-up resistors ranging from 20kΩ to 50kΩ. Failing to enable them in software is a critical oversight.
// INCORRECT: Leaves pin floating, susceptible to EMI
pinMode(2, INPUT);

// CORRECT: Engages internal 20k-50k pull-up resistor
pinMode(2, INPUT_PULLUP);
attachInterrupt(digitalPinToInterrupt(2), isr, FALLING);
For high-speed or noisy environments, internal pull-ups are insufficient. A hard external 4.7kΩ or 10kΩ pull-down/pull-up resistor is required to provide a low-impedance path to ground or VCC, effectively shorting out induced noise.
PWM Pin Misallocation
Attempting to use analogWrite() on a pin that lacks hardware Pulse Width Modulation (PWM) timers will result in a static HIGH or LOW output, not a variable duty cycle. On the Arduino Uno R3, only pins 3, 5, 6, 9, 10, and 11 are hardware PWM-capable (indicated by the tilde ~ silkscreen). Writing PWM to Pin 4 will simply output 5V if the value is >127, or 0V if <=127. Always verify the Arduino Digital Pins Documentation for your specific board's timer mappings.
Step-by-Step Diagnostic Workflow
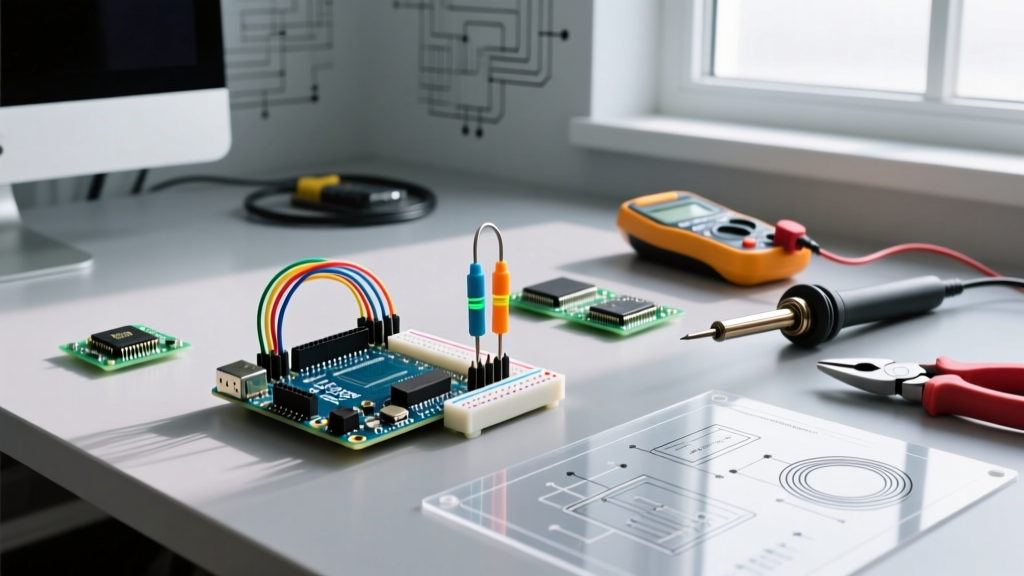
When an I/O anomaly occurs, abandon the complex sketch and isolate the variable. Follow this diagnostic sequence using professional test equipment.
Pro-Tip: Keep a dedicated 'Bare Minimum' diagnostic sketch saved in your IDE. This sketch should toggle every suspect pin at a 1Hz frequency, allowing you to quickly verify baseline silicon health without peripheral interference.
Step 1: Continuity and Short Testing (Power Off)
Disconnect all power. Using a True RMS multimeter (such as the Fluke 117), set it to continuity mode. Probe the suspect I/O pin against the GND and 5V/3.3V rails. If the multimeter beeps (indicating less than 10Ω resistance), the internal I/O buffer has likely blown, creating a dead short. The microcontroller must be replaced.
Step 2: Voltage Drop and Logic Verification (Power On)
Power the board and upload the bare minimum toggle sketch. Measure the DC voltage at the pin. A healthy ATmega328P should output ~4.8V to 5.0V on HIGH. If the voltage reads somewhere in the middle (e.g., 2.1V) and the pin is unloaded, the internal output driver FETs are damaged. For high-frequency signals like PWM or SPI clock lines, a multimeter will only show an averaged RMS voltage. You must use an oscilloscope (like the Rigol DS1054Z) or a logic analyzer (like the Saleae Logic Pro 8) to verify the square wave integrity and check for ringing or slow rise times caused by excessive capacitive load.
I/O Troubleshooting Matrix
Use this matrix to rapidly cross-reference symptoms with root causes and required diagnostic tools.
| Symptom | Probable Root Cause | Diagnostic Tool | Resolution Strategy |
|---|---|---|---|
| Pin stuck permanently HIGH/LOW | Internal FET blown / Short to rail | Multimeter (Continuity) | Isolate trace; Replace MCU |
| Erratic Sensor / Button Reads | Floating pin / EMI Noise coupling | Oscilloscope | Enable INPUT_PULLUP or add 10kΩ external resistor |
| PWM Motor Jitter / Stalling | Insufficient current / Voltage sag | Multimeter (DC Voltage) | Implement logic-level MOSFET (IRLZ44N) on separate rail |
| I2C Bus Lockup / NACK Errors | Logic level mismatch (5V vs 3.3V) | Logic Analyzer | Insert TXS0108E bidirectional level shifter |
| Ghost Interrupts Triggering | Capacitive coupling on long wires | Oscilloscope | Add 100nF ceramic bypass capacitor from pin to GND |
Protecting Your Microcontroller I/O
Prevention is vastly cheaper than replacing fried silicon. In industrial or high-noise environments, implement hardware isolation for all external input and output Arduino connections.
- Optocouplers for Digital Inputs: Use a PC817 optocoupler to physically isolate high-voltage or noisy external switches from the microcontroller's logic pins. The LED side handles the external signal, while the phototransistor side safely pulls the Arduino pin to ground.
- Series Current Limiting: Place a 220Ω to 330Ω resistor in series with any I/O pin that connects to an external cable or breadboard. If a short occurs, the resistor limits the current to safe levels (e.g., 5V / 330Ω = 15mA), protecting the internal silicon.
- TVS Diodes: For pins exposed to the outside world (e.g., RS-485 communication lines), use Transient Voltage Suppression (TVS) diodes to clamp electrostatic discharge (ESD) events before they reach the microcontroller.
Mastering the diagnosis of I/O errors transforms you from a code-copying hobbyist into a capable embedded systems engineer. Always respect the physics of the silicon, verify your assumptions with a multimeter, and consult the Adafruit Multimeter Guide if you need to brush up on proper probing techniques.
Frequently Asked Questions
Can a damaged I/O pin affect the rest of the Arduino?
Yes. If an I/O pin is shorted to a voltage higher than VCC, current can flow backward through the internal protection diodes into the main power rail, potentially resetting the microcontroller, corrupting EEPROM data, or destroying the onboard 5V linear regulator (such as the NCP1117 on the Uno R3).
Why does my analogRead() fluctuate wildly when no sensor is connected?
An unconnected analog pin acts as a high-impedance antenna, picking up 50Hz/60Hz mains hum and RF interference from the environment. This is normal behavior. To stabilize an unused analog pin, configure it as a digital output and write it LOW, or connect a 10kΩ pull-down resistor to ground.
Is it safe to hot-swap sensors while the Arduino is powered?
Generally, no. Hot-plugging I2C or SPI sensors can cause transient voltage spikes or momentary shorts between VCC and SDA/SCL lines, which can corrupt the I2C bus state machine inside the microcontroller, requiring a hard power cycle to reset. Always use hot-swap buffer ICs if live connection is required.