
The Reality of Arduino Programming: Beyond the Blink Sketch
When beginners search for how to program an Arduino, they are usually met with idyllic tutorials showing a seamlessly blinking LED. The reality of embedded development is far more complex. Programming an Arduino is not just about writing C++ code; it is about navigating a multi-stage toolchain involving the GCC compiler, the Avrdude uploader, the microcontroller's bootloader, and the physical USB-to-Serial bridge.
In 2026, with the widespread adoption of the Arduino IDE 2.3.x series and the transition toward ARM-based boards like the Uno R4 Minima alongside classic AVR boards like the Uno R3, the error landscape has expanded. This guide bypasses basic syntax tutorials and dives deep into the exact failure modes, error codes, and hardware bottlenecks that halt your programming workflow.
Deconstructing the Toolchain: Where Errors Originate
To diagnose an error, you must understand the journey your sketch takes. When you hit the "Upload" button, three distinct phases occur:
- Preprocessing & Compilation: The IDE wraps your
.inofile in a hiddenmain.cpp, generates function prototypes, and passes it to theavr-gcc(orarm-none-eabi-gccfor R4) compiler. - Uploading (Avrdude/Bossac): The compiled
.hexor.binfile is sent via the serial port to the board's USB-to-Serial chip (e.g., ATmega16U2, CH340G, or CP2102). - Bootloader Execution: The microcontroller's bootloader receives the payload and writes it to the Flash memory.
An error can occur at any of these nodes. Enabling Verbose Output in the IDE preferences (File > Preferences > Show verbose output during: compilation and upload) is mandatory for accurate diagnosis.
Phase 1: Diagnosing Compilation Errors (Exit Status 1)
Compilation errors mean the code never left your computer. The IDE will output exit status 1, which is a generic wrapper for "the compiler found a fatal flaw."
The "Missing Library" Cascade
The most frequent compilation failure in complex sketches is a missing dependency. In IDE 2.x, the Library Manager is robust, but recursive dependencies often fail silently.
Pro Tip: If you encounter
fatal error: Adafruit_Sensor.h: No such file or directorywhile trying to compile a BME280 sketch, it means the primary library (Adafruit BME280) was installed, but its prerequisite (Adafruit Unified Sensor) was not. Always check the library's GitHublibrary.propertiesfile for thedepends=field.
Scope and Prototype Generation Failures
The Arduino IDE automatically generates function prototypes for you. However, if you use custom structs or typedefs as return types or arguments, the IDE's regex-based prototype generator will fail, resulting in 'YourType' was not declared in this scope. The fix is to manually write your function prototypes at the top of the sketch, or migrate your code into a standard .cpp and .h file structure within a custom library folder.
Phase 2: Upload Failures and Avrdude Diagnostics
If compilation succeeds but the upload fails, you are dealing with a hardware, driver, or bootloader communication breakdown. The Avrdude GitHub repository maintains the underlying software that pushes code to AVR chips, and its error logs are your best diagnostic tool.
The Infamous "Programmer is Not Responding"
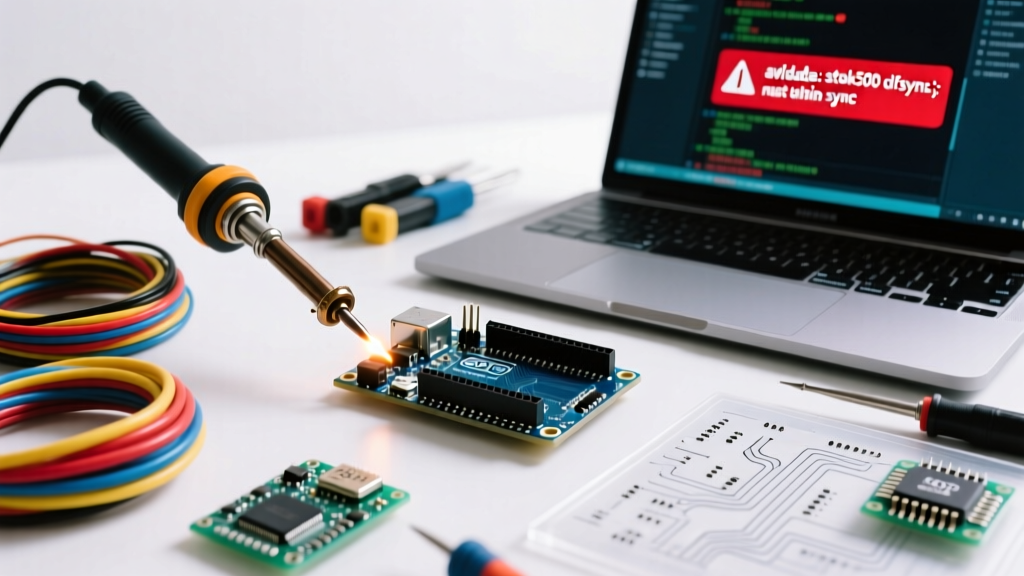
The error avrdude: stk500_recv(): programmer is not responding is the most searched Arduino programming error in existence. It means the PC sent a synchronization handshake (STK500 protocol) to the bootloader, but received no reply.
| Error Signature | Root Cause | Actionable Hardware/Software Fix |
|---|---|---|
stk500_recv(): programmer is not responding |
Wrong Bootloader Version Selected | For Arduino Nano V3 clones (pre-2018 optiboot), change Tools > Processor to ATmega328P (Old Bootloader). Baud rate drops from 115200 to 57600. |
ser_open(): can't open device "COM3" |
Port Locked or USB Cable is Charge-Only | Test cable with a multimeter for D+/D- continuity. Close any background serial monitors (e.g., Cura, Putty) holding the COM port hostage. |
avrdude: verification error, first mismatch at byte 0x0000 |
Corrupted Flash Memory or Failing Chip | Perform a full chip erase via ISP programmer, or replace the ATmega328P-PU DIP chip (approx. $3.50 for a genuine Microchip part). |
board at /dev/ttyACM0 is not available |
Linux Permission Denied (Udev rules) | Add your user to the dialout group: sudo usermod -a -G dialout $USER, then reboot the host machine. |
Driver Conflicts: CH340 vs. ATmega16U2
Genuine Arduino boards use the ATmega16U2 as a USB-to-Serial bridge, which utilizes native CDC/ACM drivers on modern operating systems. However, the market is flooded with $4 to $8 clone boards utilizing the WCH CH340G or CH340C chips. On Windows 11, unsigned or outdated CH340 drivers will silently fail to bind to the COM port. You must manually download the signed 2024+ WCH drivers and install them via Device Manager by pointing to the .inf file directly.
Phase 3: The Silent Killer - SRAM Exhaustion
You can successfully compile and upload a sketch, only for the Arduino to freeze, reboot randomly, or output garbage to the Serial Monitor. This is rarely a programming logic error; it is almost always an SRAM overflow.
The classic ATmega328P has 32KB of Flash (for code) but only 2KB of SRAM (for runtime variables). When you write:
Serial.println("This is a very long status message for the LCD display and serial log.");The compiler stores that string literal in Flash, but the C++ runtime copies it into SRAM upon execution. Ten such strings will consume 10% of your total memory. To diagnose this, use the `MemoryFree` library to print available SRAM at runtime. To fix it, force the compiler to read directly from Flash using the F() macro:
Serial.println(F("This is a very long status message..."));According to the official Arduino IDE troubleshooting documentation, utilizing the PROGMEM attribute for large lookup tables and arrays is critical for preventing stack collisions on 8-bit AVR architectures.
Advanced Recovery: Bypassing the Bootloader via ISP
If you have corrupted the bootloader (often caused by uploading raw C code without the Arduino framework, or misconfiguring the fuse bits), the board will no longer accept serial uploads. You cannot fix this via the USB cable.
You must use an In-System Programmer (ISP). A USBasp V2.0 programmer (available for roughly $4.50 online) connects directly to the 2x3 ICSP header on the Arduino board.
- Connect the USBasp to the ICSP header (ensure the red stripe on the ribbon cable aligns with Pin 1 / MISO).
- In the IDE, select Tools > Programmer > USBasp.
- Select Tools > Burn Bootloader.
This process uses Avrdude to directly write the optiboot_atmega328p.hex file to the chip's flash and resets the hardware fuse bits (specifically the BOOTRST fuse) to tell the microcontroller to jump to the bootloader address on startup. For a deep dive into fuse bit configurations and ISP wiring, the SparkFun Bootloader Installation Guide remains the definitive hardware reference.
Summary: The Diagnostic Mindset
Learning how to program an Arduino is ultimately an exercise in systematic debugging. When an error occurs, isolate the domain: Is it a syntax issue (Compiler)? A communication issue (Avrdude/Drivers)? Or a resource issue (SRAM/Bootloader)? By reading the verbose logs, understanding your specific USB-to-Serial bridge chip, and respecting the harsh memory limits of 8-bit microcontrollers, you will transition from a frustrated beginner to a capable embedded systems engineer.