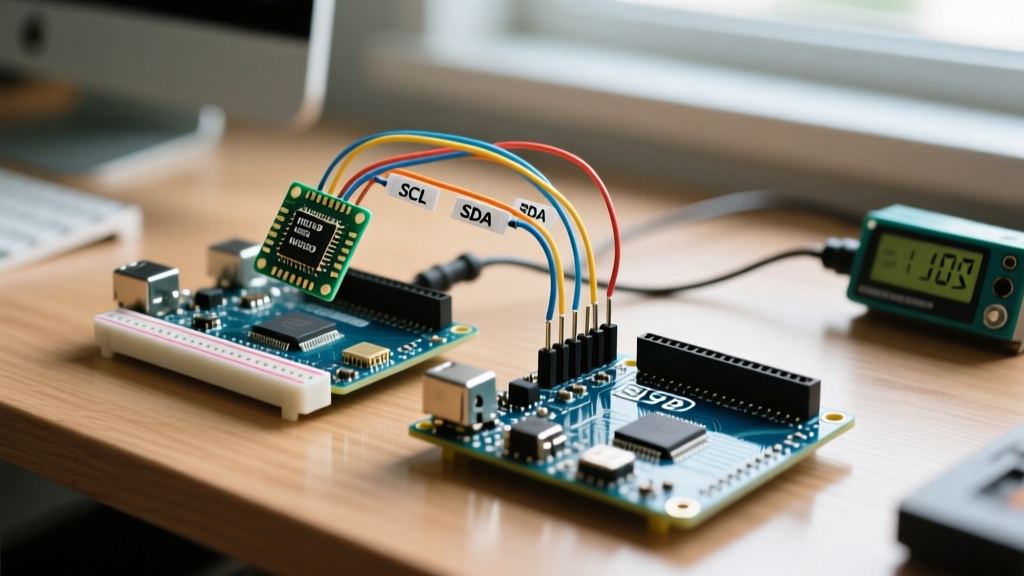

The Reality of Arduino and Mac Development in 2026
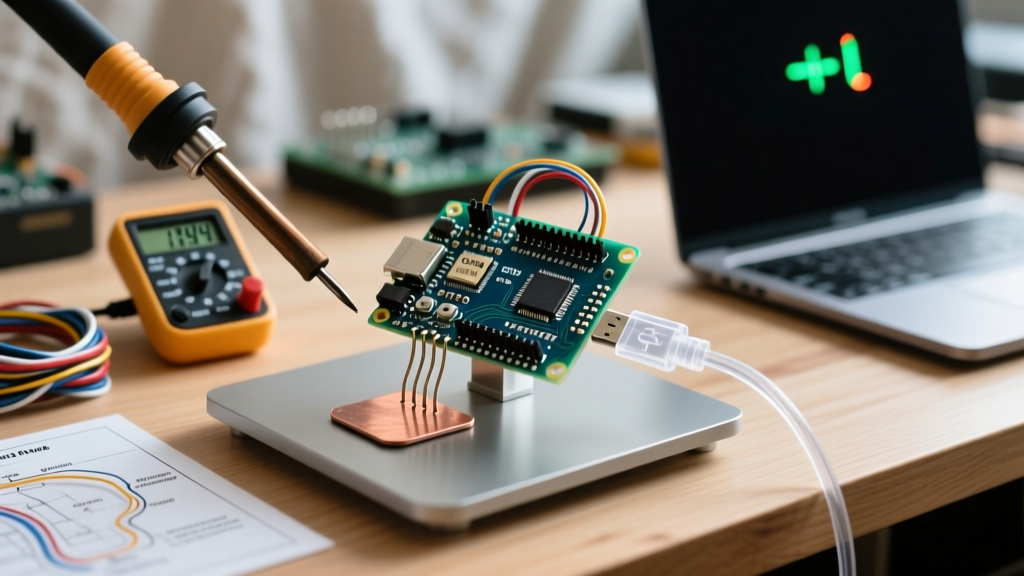
Setting up an embedded development environment on Apple hardware has evolved significantly. If you are pairing an Arduino and Mac workflow, the transition to Apple Silicon (M1, M2, M3, and M4 chips) and the stringent security protocols introduced in macOS Ventura, Sonoma, and Sequoia mean that legacy tutorials are largely obsolete. Gone are the days of simply plugging in a USB cable and hitting 'Upload'. Today, developers must navigate macOS accessory security prompts, ARM64-native IDE architectures, and third-party serial driver approvals.
This comprehensive guide bypasses the fluff and provides exact, step-by-step configurations to get your macOS machine talking to your microcontrollers—whether you are using an official $27.50 Arduino Uno R4 WiFi or a $12 generic CH340-based clone.
Phase 1: Selecting the Correct IDE Architecture
The first critical decision is choosing the right software version. Arduino IDE 2.x has been rebuilt on a modern framework, but understanding how it interacts with macOS is vital for performance and compilation speed.
| Feature | Arduino IDE 2.3.x (Recommended) | Arduino IDE 1.8.19 (Legacy) |
|---|---|---|
| Architecture | Native ARM64 (Apple Silicon) & x64 | x64 only (Requires Rosetta 2) |
| Compilation Speed | Up to 4x faster on M-series chips | Slower, emulated via Rosetta |
| Serial Monitor | Integrated, supports plotter & ANSI | Basic, external window |
| macOS Security | Properly signed, minimal Gatekeeper friction | Often blocked by macOS Gatekeeper |
Action Step: Always download the native Apple Silicon .dmg or .zip from the official Arduino software page. Do not use the Intel version on an M-series Mac unless you are maintaining legacy dependencies that require Java 8.
Phase 2: Bypassing macOS USB Accessory Security
Starting with macOS 13 (Ventura) and continuing through macOS 15 (Sequoia), Apple implemented a strict security policy requiring user approval before USB accessories can communicate with the system. This is the number one reason new Mac users think their Arduino is 'dead' upon first connection.
Step-by-Step Accessory Approval
- Plug your Arduino (e.g., Nano ESP32 or Uno R3) directly into the Mac's USB-C/Thunderbolt port using a data-capable cable.
- A system prompt will appear: 'Allow accessory to connect?'
- Select Allow. If you miss this prompt or click 'Don't Allow', the board will receive power but the serial port will remain hidden from the IDE.
- To reset this decision, navigate to System Settings > Privacy & Security > Accessories. Here, you can manually approve the Arduino or 'Always Allow' it for future sessions.
For a deeper understanding of how macOS handles peripheral handshakes, refer to Apple's official support documentation on accessory security.
Phase 3: The CH340 Driver Hurdle (For Clone Boards)
Official Arduino boards use native USB-CDC or high-quality FTDI/16U2 chips that macOS supports out-of-the-box. However, the maker market is flooded with budget-friendly clones utilizing the WCH CH340 or CH341 USB-to-Serial chips. macOS does not include native drivers for these.
Installing the WCH CH34x Driver
If your board's port is greyed out in the IDE's 'Tools > Port' menu, you likely need the CH340 driver. Because macOS Sequoia heavily restricts kernel extensions (kexts), you must use the modern user-space driver provided by WCH.
- Download the latest CH34xV3.1 driver package from a trusted repository like SparkFun's CH340 Driver Guide.
- Run the
.pkginstaller. - Crucial Step: Open System Settings > Privacy & Security. Scroll down to the 'Security' section. You will likely see a message stating that system software from developer 'WCH' was blocked.
- Click Allow, enter your macOS administrator password, and restart your Mac.
Expert Warning: Never download CH340 drivers from random third-party blogs. Outdated drivers from the pre-Catalina era will cause kernel panics on Apple Silicon Macs. Always source the v3.1+ ARM64 compatible package.
Phase 4: Verifying Serial Ports via Terminal
The Arduino IDE's port menu can sometimes be slow to refresh or fail to display device names correctly. As an embedded engineer, you should know how to verify the serial connection at the OS level using the macOS Terminal.
Open Terminal and type the following command before plugging in your board:
ls /dev/tty.*Note: On macOS, /dev/tty.* represents incoming 'Teletype' connections. You actually want to look for /dev/cu.* ('Call Up'), which is the correct outbound serial stream for flashing microcontrollers.
Run the correct command:
ls /dev/cu.*Plug in your Arduino and run it again. You should see a new device appear, such as /dev/cu.usbmodem14201 (for official boards) or /dev/cu.usbserial-1420 (for CH340 clones). If this device appears in Terminal but not in the Arduino IDE, your IDE installation is corrupted or lacks disk access permissions.
Phase 5: Adding Third-Party Board Managers
Modern maker projects rarely stop at the basic AVR architecture. To program ESP32, STM32, or Raspberry Pi RP2040 boards, you must configure the Board Manager URLs.
- Open Arduino IDE and go to Arduino IDE > Settings (or press
Cmd + ,). - Locate the Additional boards manager URLs field.
- Paste the official Espressif JSON URL for ESP32:
https://raw.githubusercontent.com/espressif/arduino-esp32/gh-pages/package_esp32_index.json - Navigate to the Boards Manager icon on the left sidebar, search 'esp32', and install the latest Espressif package.
Troubleshooting Matrix: Common macOS Upload Failures
Even with perfect configuration, hardware quirks can interrupt the compilation and upload pipeline. Use this matrix to diagnose your specific failure mode.
| Error Message / Symptom | Root Cause | macOS Specific Solution |
|---|---|---|
avrdude: ser_open(): can't open device |
Port is locked by another process or cable is charge-only. | Verify cable supports data. Check Activity Monitor and force-quit any rogue 'serial' or '3D printer' slicer apps holding the port. |
| Board resets but fails to enter bootloader (Upload hangs at 0%) | USB-C Hub power delivery brownout during flash. | Bypass unpowered USB-C hubs. Connect directly to the Mac's Thunderbolt port to ensure stable 5V/900mA delivery during the erase cycle. |
Board at /dev/cu.usbmodem... is not available |
macOS revoked accessory permission after sleep/wake cycle. | Unplug, wait 5 seconds, replug, and click 'Allow' on the macOS accessory prompt. Do not use 'Always Allow' if using a shared hub. |
| Compilation fails with 'Permission Denied' in tmp folder | macOS Gatekeeper quarantined the IDE executable. | Open Terminal and run: xattr -cr /Applications/Arduino.app to strip the quarantine flag from the application bundle. |
Summary: Optimizing Your Workflow
Mastering the intersection of Arduino and Mac environments requires respecting the operating system's security boundaries while leveraging the raw compilation speed of Apple Silicon. By utilizing the native ARM64 IDE, properly managing macOS accessory permissions, and installing verified user-space drivers for clone boards, you eliminate 99% of the friction associated with macOS embedded development. Keep your USB-C cables verified for data transfer, rely on Terminal for ground-truth port verification, and your sketch uploads will remain seamless across macOS updates.